

Windows 11 comes with a slew of pre-installed fonts that you can use for your projects. Fonts allow you change the appearance of your text, and if you are a designer, you will know exactly how important it is, to use the right font in the right project. Fonts also allow you to convey a certain tone. For example, if you are creating a professional document, you will want to use a font that gives that formal or professional appearance.
However, if you are creating something that is more out there and quirky, you will want to use a font that is a lot more bold, and unique in appearance. We can go on and one about fonts, but today, we are going to deal with how you can install your own fonts on Windows 11. As I mentioned earlier, Microsoft has bundled in a slew of fonts in Windows 11, but there are many fonts on the internet, that you can download and install into your computer.
Doing this will make the font a part of the rest of the catalog, and whenever you are creating a document, the newly installed font will also be available as an option. So, if you are looking to get some new fonts onto your Windows 11 computer, this is how you can do it –
How to install a font on Windows 11
Ok, so before we begin this tutorial, please note that there are many websites out there, that give you some cool new fonts, but for this tutorial, we will be going to Google Fonts. But, no matter where you download the font from, the installation process is the same. Also, fonts are available in two formats – .otf and .ttf.
You can use either of the two, so with that out of the way, let’s get into it –
Step 1. Open the web browser of your choice and head to the Google Fonts website.

Step 2. On the Google Fonts home page, you will see a huge catalog of fonts that you can download into your computer for free.
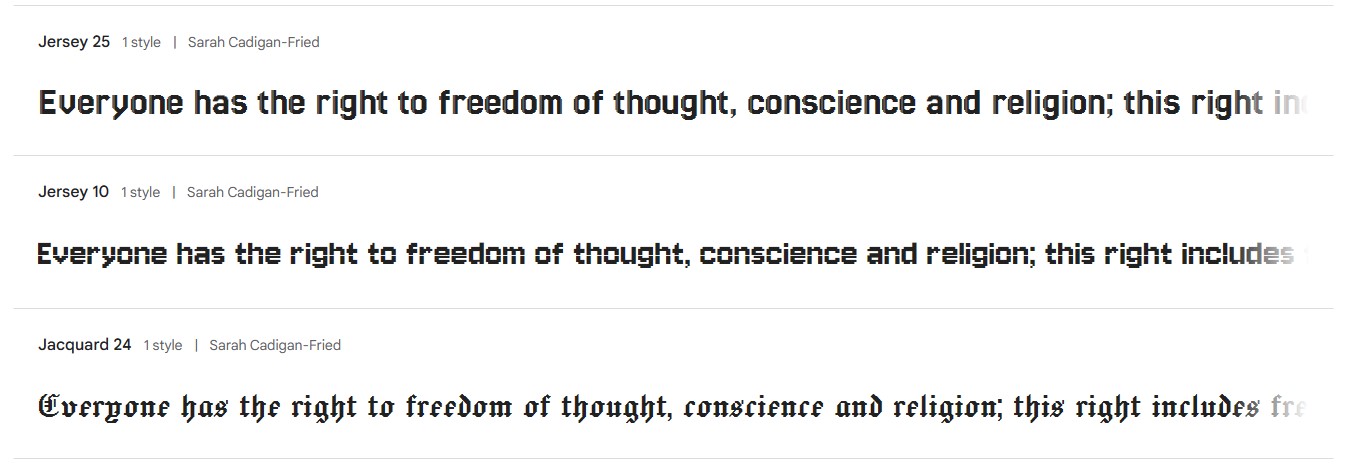
Step 3. Scroll through the list of fonts and select the one you want to download.

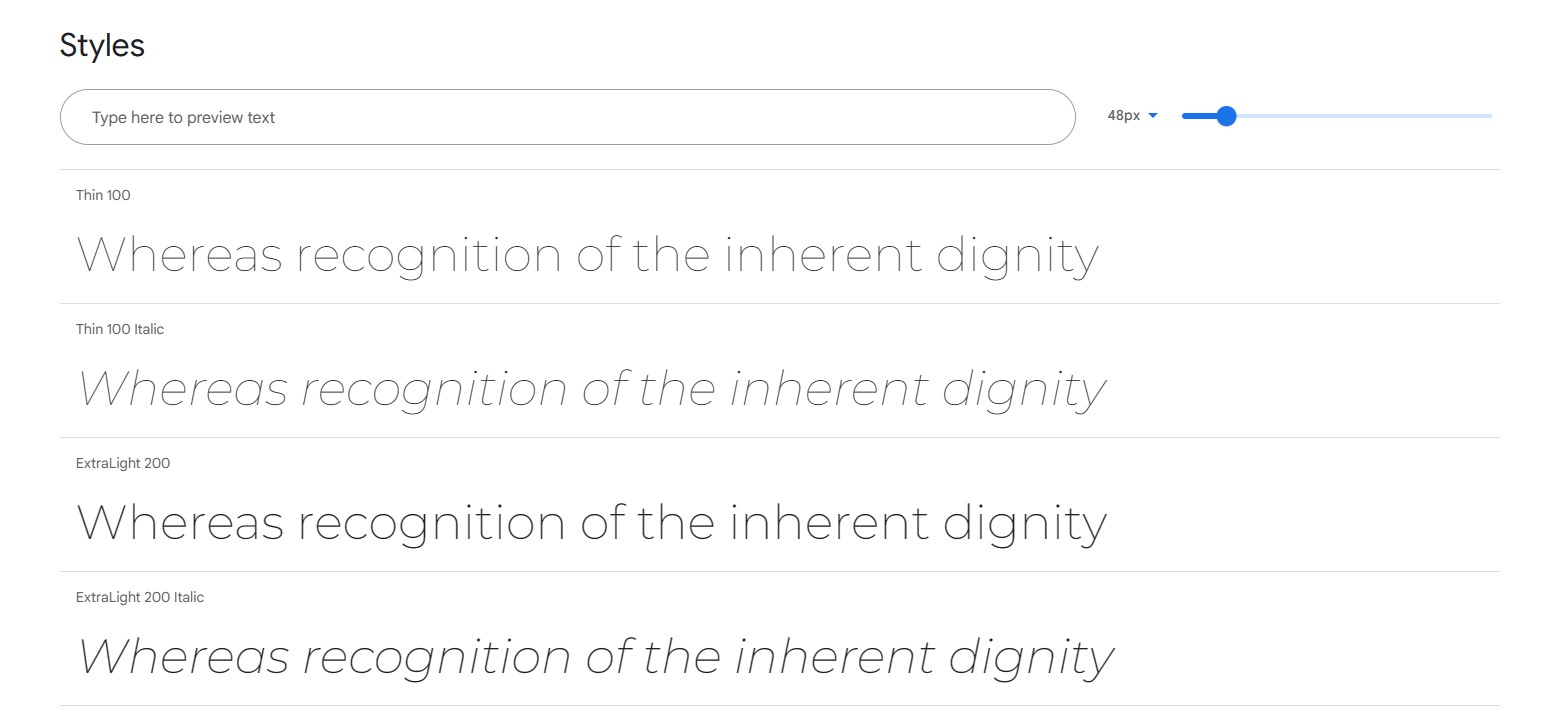
Step 4. Now, on the font page, you will be able to see details about the font, and the varieties of the same.
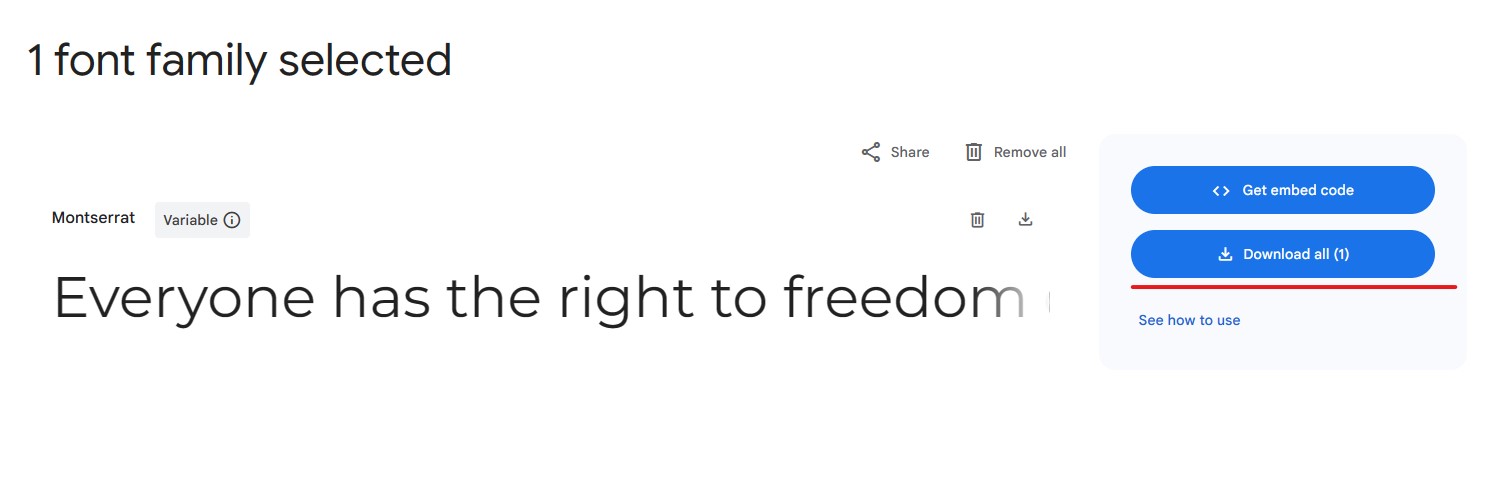
Step 5. Once you are satisfied, click on the ‘Get Font’ button.

Step 6. On the download page, verify the font once more, and click on the ‘Download All’ button.
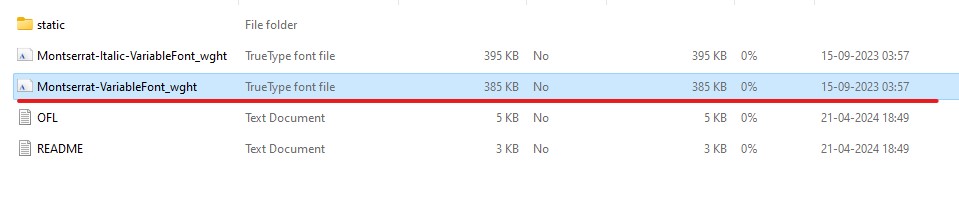
Step 7. The font will be downloaded and saved as a ZIP file in your download folder.
Step 8. Unzip the folder and you will see the font file, which is classified as a TrueType font file. Double click on the file.
Step 9. On the Font installation window, simply click on the ‘Install’ button, and you are done.
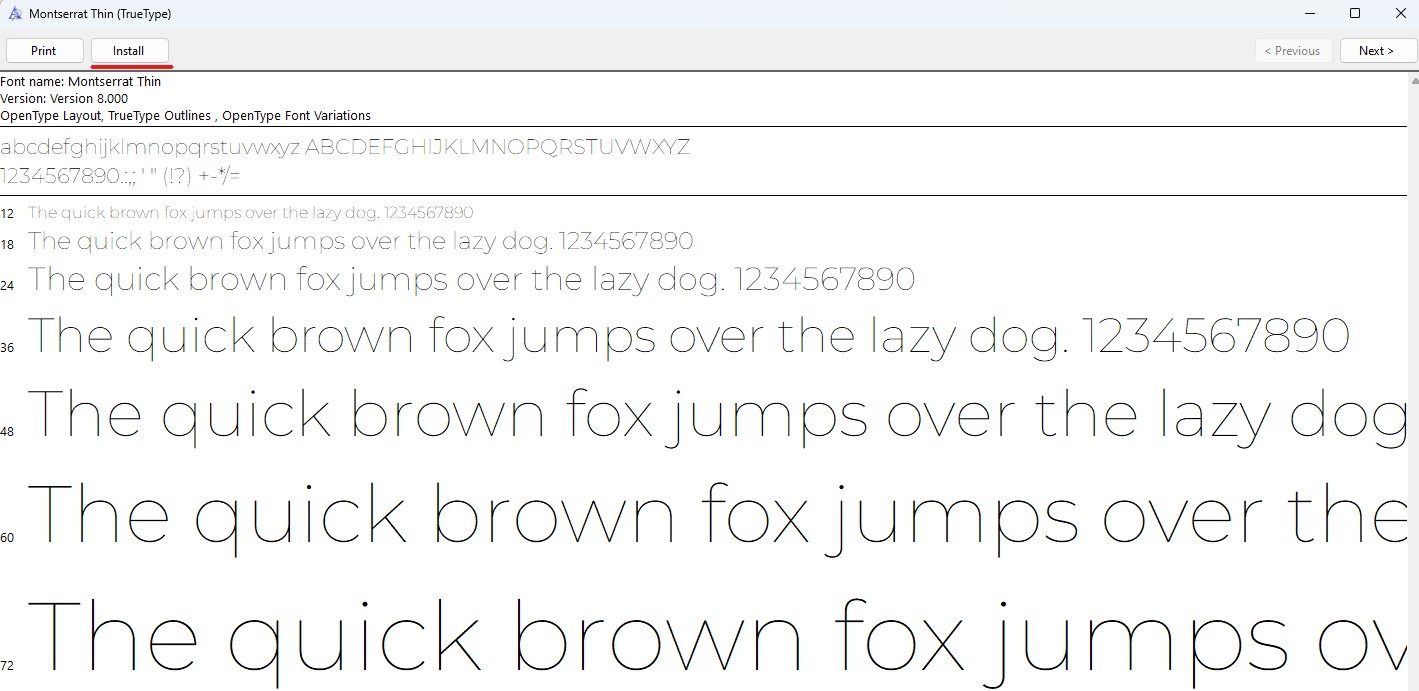
The font will now be added to the list of pre-installed fonts, and you can use it for your projects, without restrictions.
