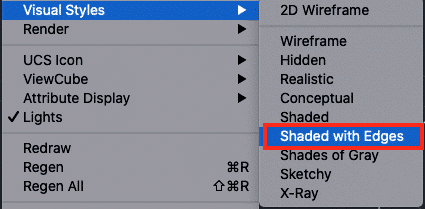
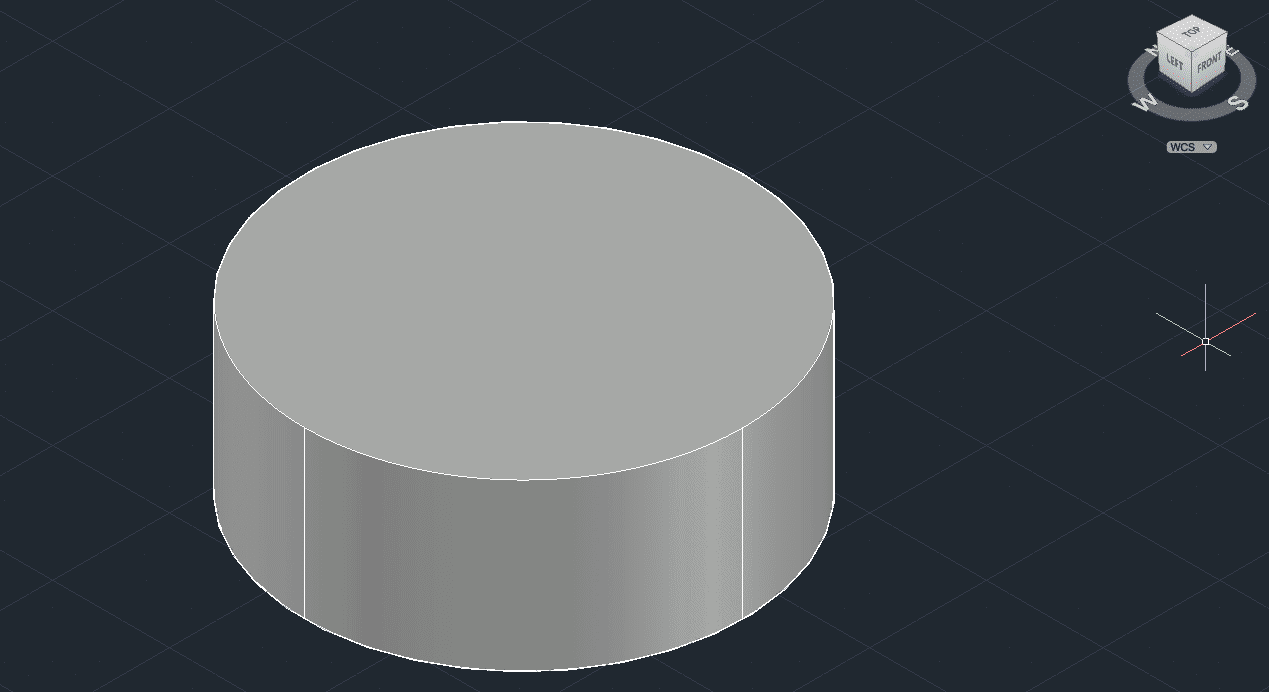
Parth How to 14/05/2020 1 min readHow to Extrude in AutoCAD? Table of Contents ToggleOpen the AutoCAD application on your Desktop/Laptop.Create a new file. You will now see the blank workspace.For this tutorial, let’s create a circle and extrude it.Click on the ‘Circle’ option from the left-hand side toolbar.Left Click on the workspace and drag to create a circle of any dimension.Now, on the Left-hand side toolbar, click on the ‘Modelling’ tab.Before we extrude, head to the view cube and click on the ‘Home’ button to view the 3D view.Now, click on the ‘Extrude’ option from the modeling tab.Left Click to select the circle sketch.With the circle selected, Right Click on the circle and click on the ‘Enter’ option.Drag the circle upwards or downwards to create a 3D extrusion. The resulting body will be a cylinder.The extrusion will be displayed in the ‘Wireframe’ mode.Click on the View button from the top toolbar.From the Dropdown menu, navigate to the ‘Visual Styles’ option.Click on the ‘Shaded with edges’ option.You will now see the 3D body version of the extrusion. You will now see the 3D body version of the extrusion. This is how you can sketch a profile and extrude it on AutoCAD.