

Google Earth allows you to virtually tour the earth right from the comfort of your homes. Along with the 3D features that offer this immersive experience, the app also relies of imagery provided by the partner satellites and on the ground contributors for updated images of the locations. These images are stitched together by the application to offer a realistic street view of various locations around the virtual earth. Today, thanks to the changes in Google’s policies, anyone can sign up to become a contributor and upload their images into the app and the same is then used to update the location in question. The responsibility however, is on the contributor, to upload authentic images of the location as misleading images can lead to problems down the line and can spoil the overall experience.
The question that comes to mind is – How often are these images updated across the application?
The answer is actually simpler than we think.
Google devises a yearly road map where they plan which locations are updated with the latest imagery. The users have no say in this decisions, and if you are one such user who is looking forward to seeing your hometown updated, do not hold out hope as the location will only be updated when it falls into Google’s road map and also when they have enough amount of updated high quality imagery and footage of the location in question.
While on your virtual adventure, if you find a place that has been named wrong or is lacking a proper description, you can actually suggest these edits to Google, who, after verifying the same, may even add it to the application, making it more up-to-date for users down the line.
This is how you can get it done –
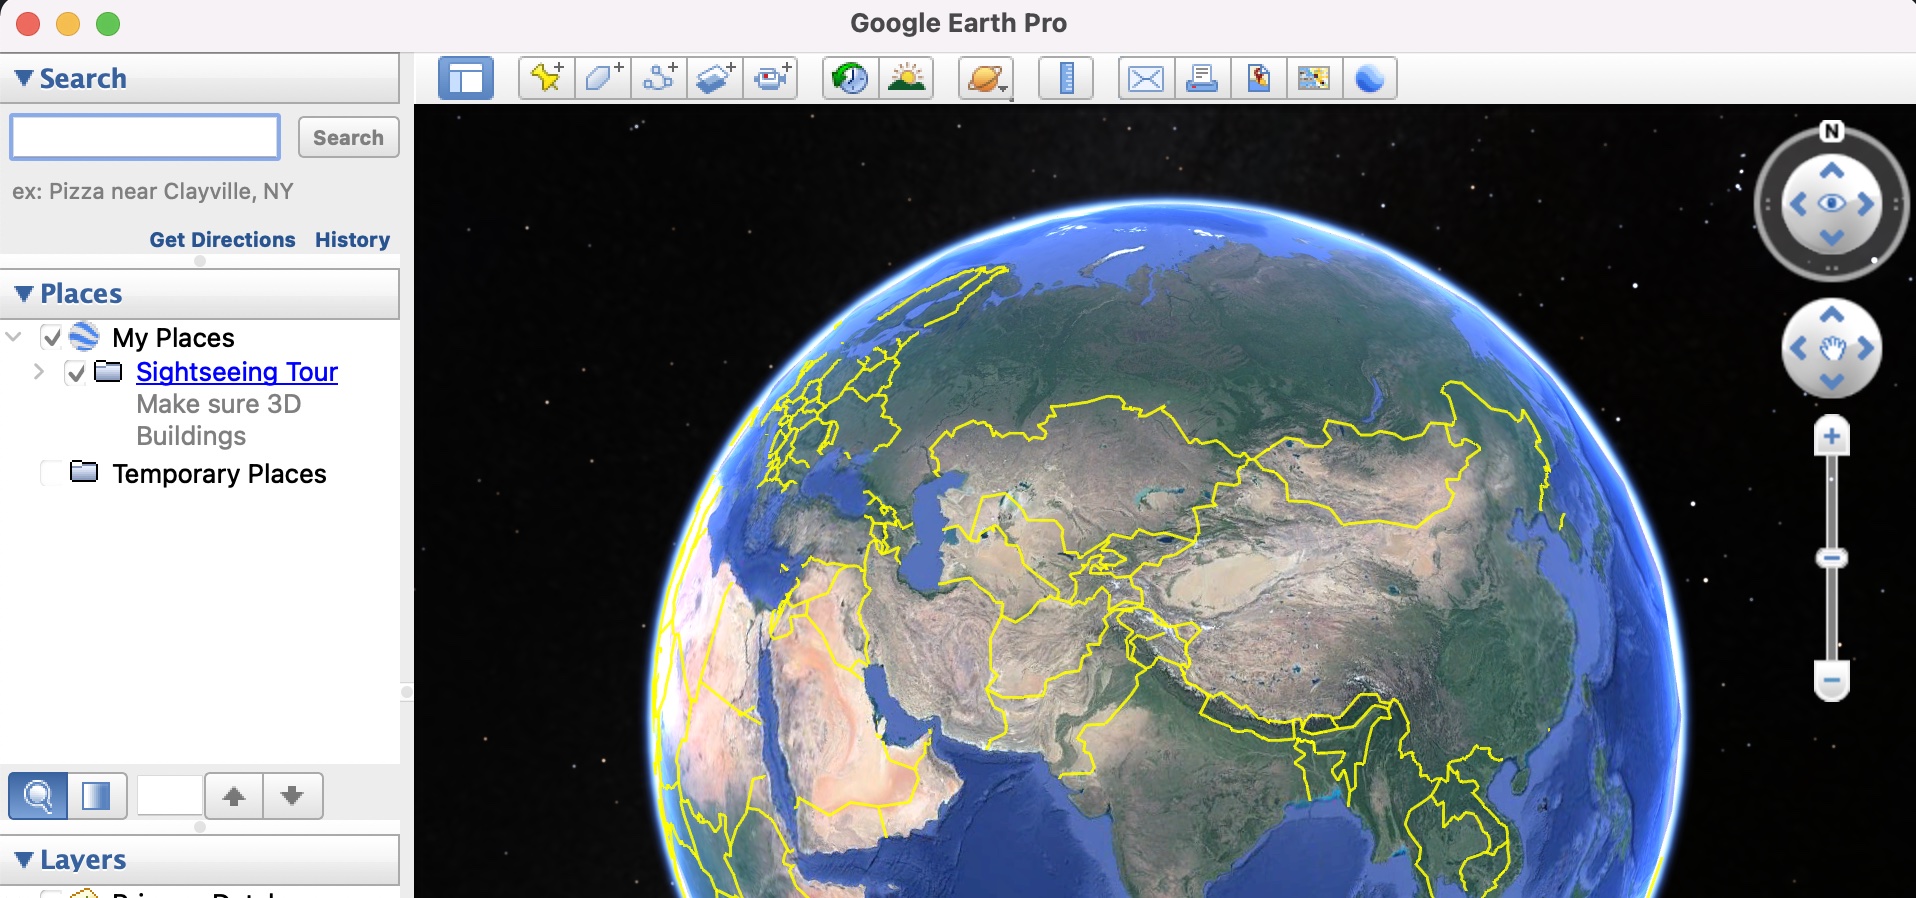
Step 1. Open the Google Earth application on your PC.
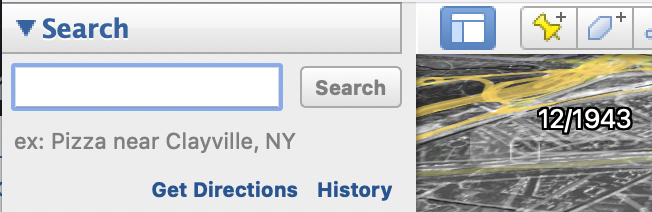
Step 2. In the search bar, type in the name of the place you are looking for.
Step 3. From the search results, click on the location where you want to make the change. The Google Earth application will take you to the location and you can now zoom in and navigate around it to find a spot you want to rename.
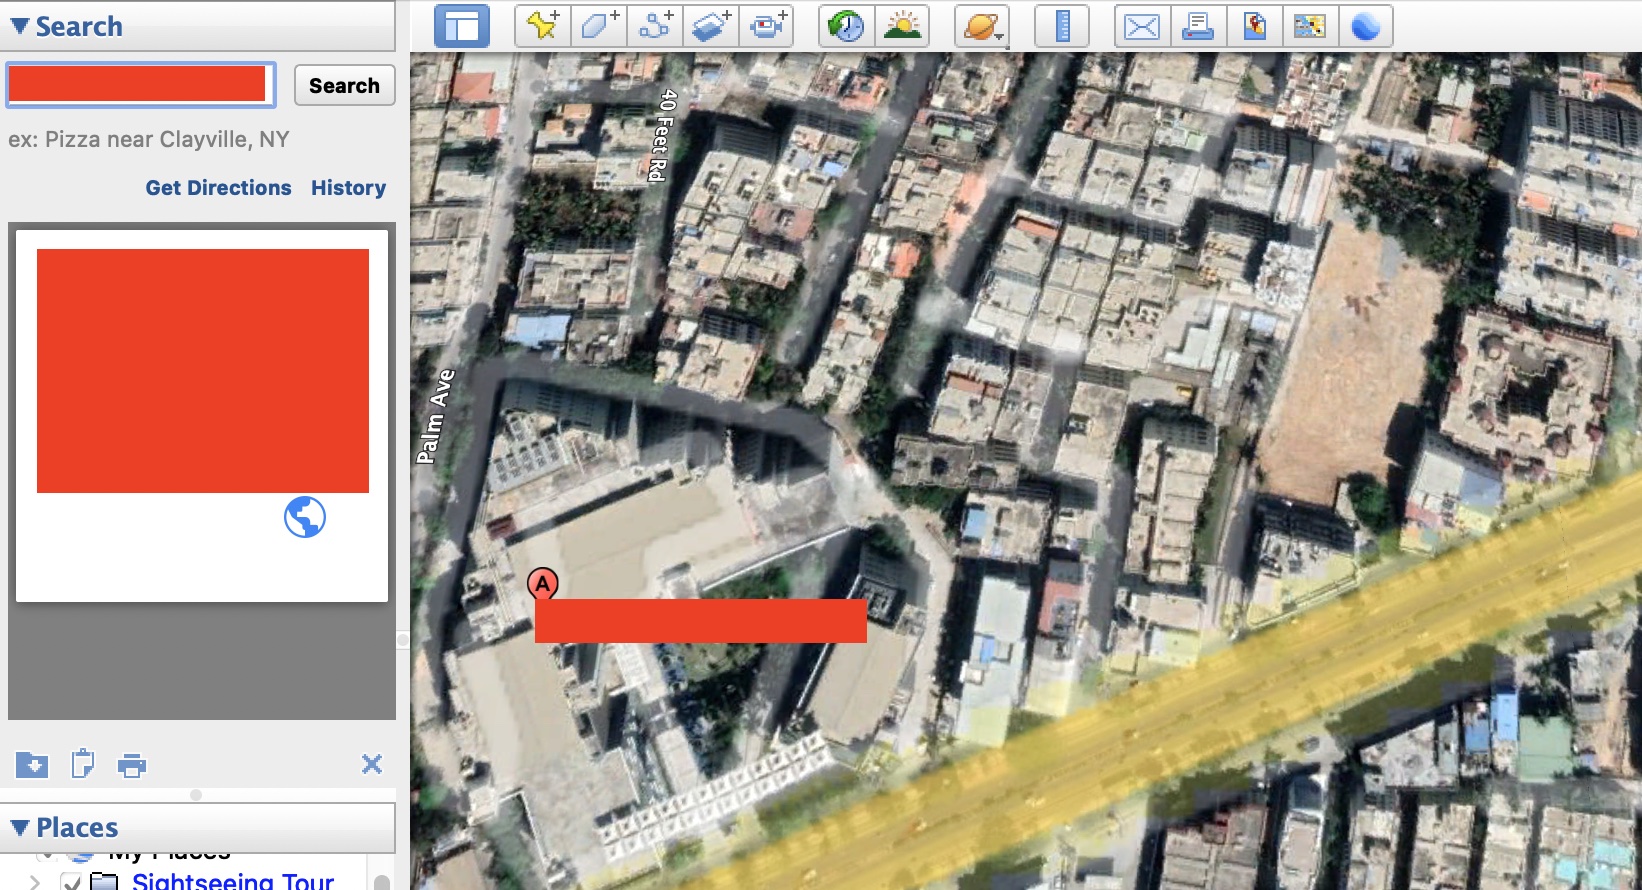
Step 4. From the toolbar, click on the ‘Add Placemark’ button.

Step 5. Locate the place you want to rename and left-click to place the placemark on it.
Step 6. You will now see a data entry window where you can enter the name of the place and upload images you may have of the same. There is a also a description section where you can add in a short or detailed description of the place so that it gets some credibility.
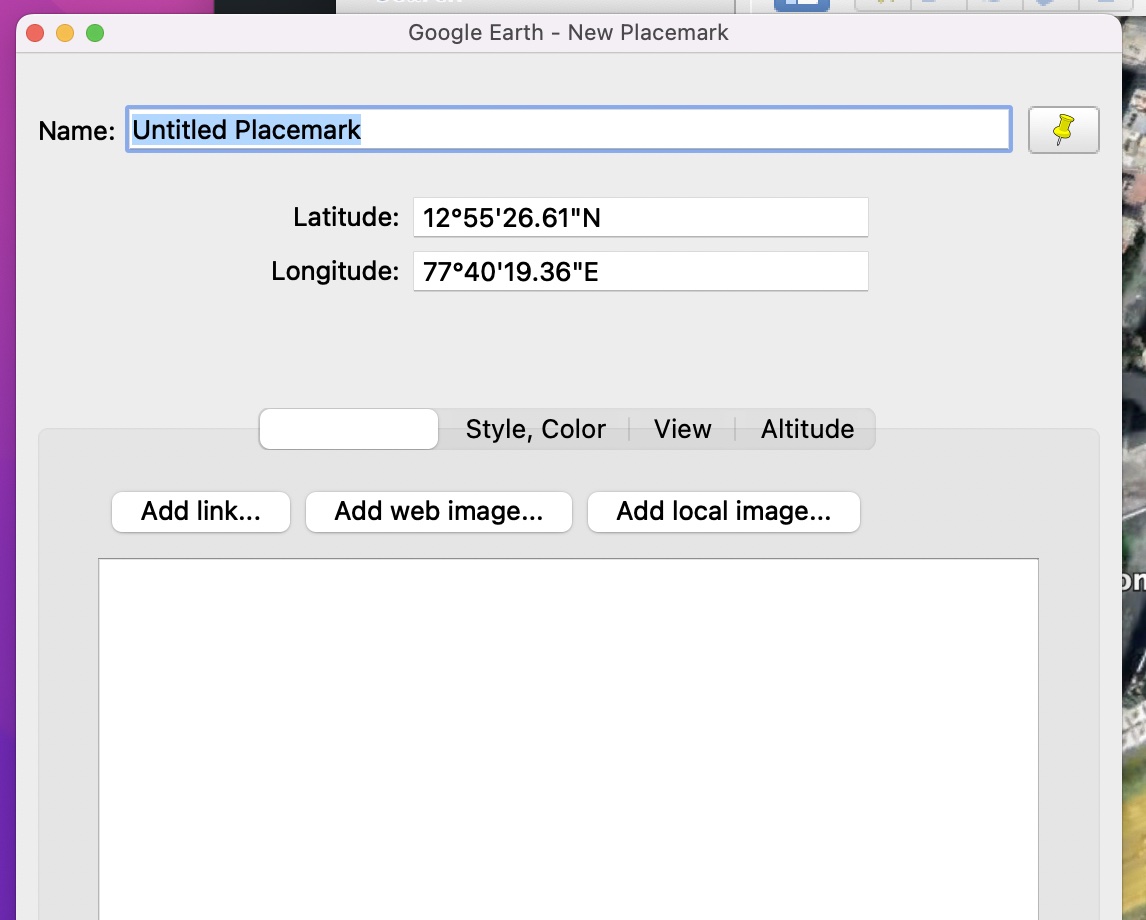
Step 7. Once you are satisfied, you can click on the ‘OK’ button to confirm the entry.

This way you can start marking places that have not been marked previously on Google Earth. Not only will it improve the accuracy of the application, but it will add to the authenticity of the place whenever someone else searches for it. Just make sure that you stay ethical and mark places correctly, and incorrect markups can lead to problems down the line.
