

With the world predominantly working from home due to the present situations, there has been a rapid demand for features such as mass video conferencing, screen sharing, etc. While we do now have professional services that offer high-quality video conferencing, the option to screen sharing is just now picking up.
On the Mac or Macbook, the option to screen share is actually in-built, and in order to exploit this amazing feature, all you need to do is turn it on. Now, obviously, there is no switch that you can toggle to do the task, but the process is really simple, and when we tried it out, it just took us 5 to 6 steps to get it set up.
So, without further ado, let’s take a look at how you can turn on screen sharing on the Mac.
Table of Contents
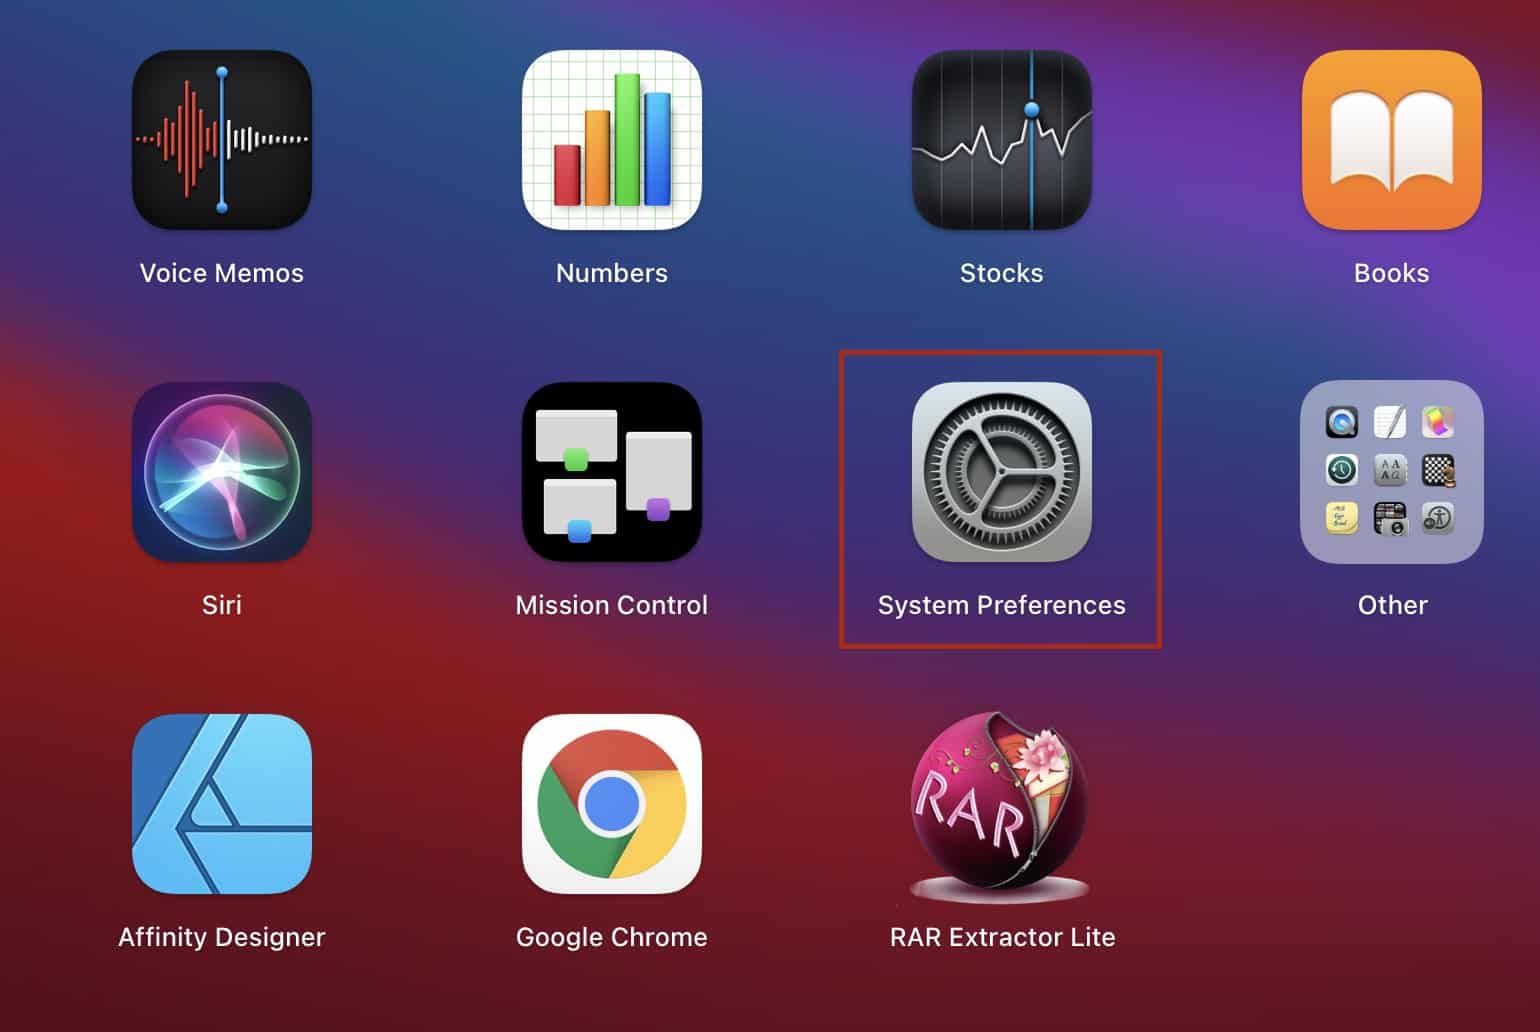
Open the ‘System Preferences’ app on your Mac or Macbook.
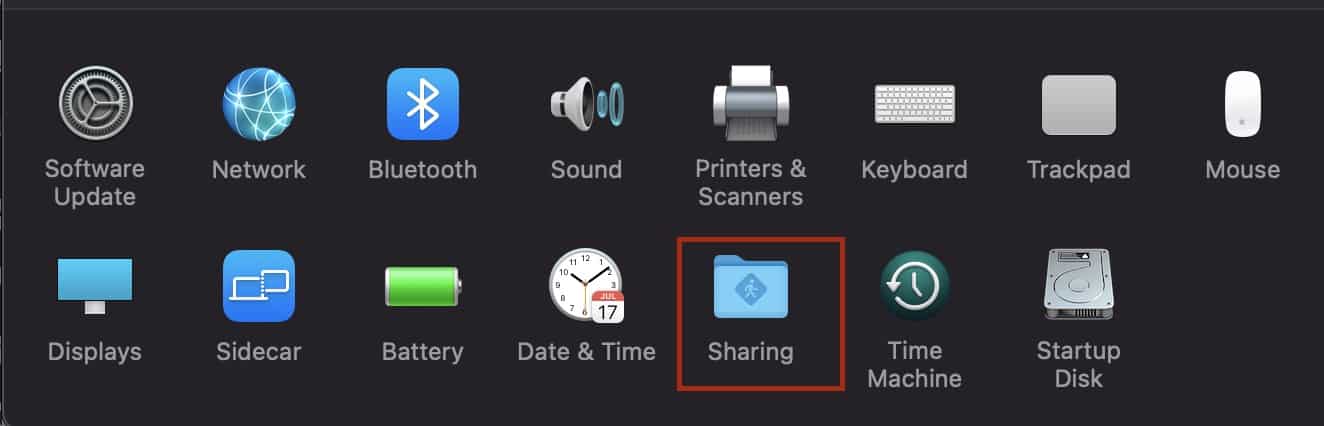
From the System preferences, click on the ‘Sharing’ option.
Now, you will see a list of Sharing options. Check the box next to ‘Screen Sharing’.
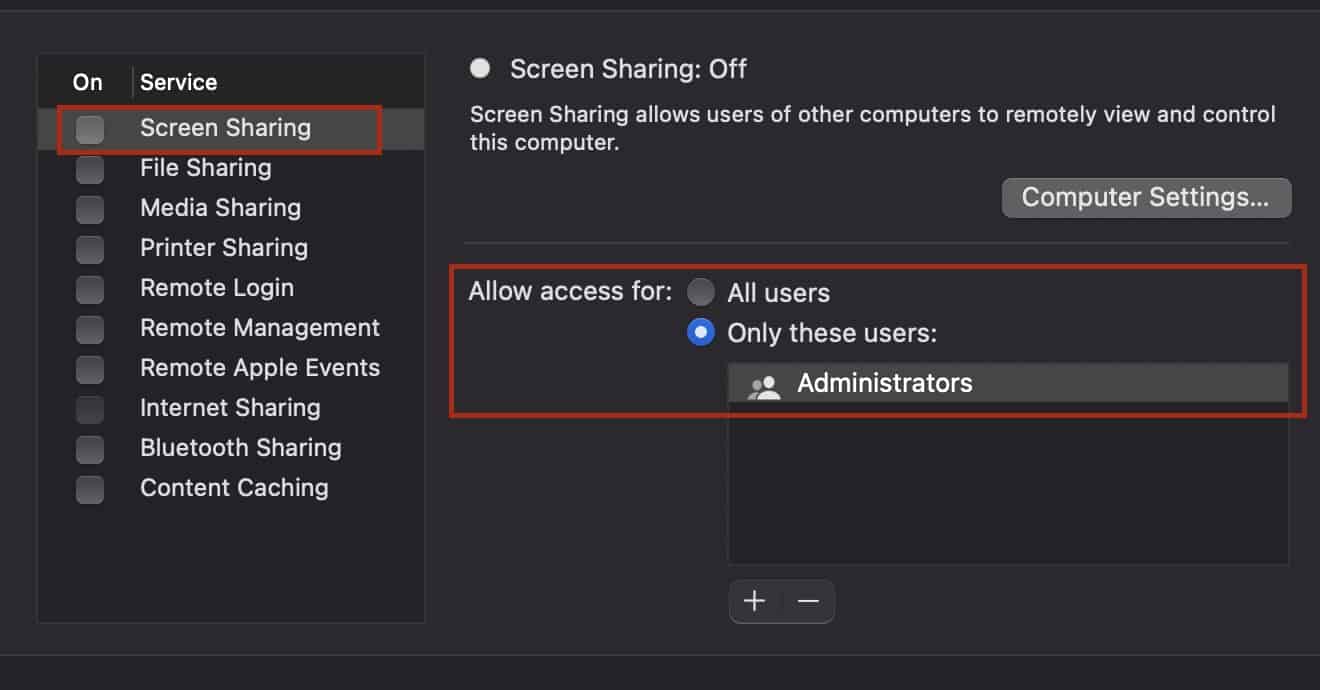
If you want to allow the screen sharing feature to be active for all users, you can check the box next to the ‘All Users’ tab.
Once you enable the screen sharing option, the users can access your screencast through the unique address given in the settings.
Now, if you are looking for a more in-depth screen sharing option, you can also try services like Google Meet, Microsoft Teams or even Zoom. All of these features allow you to share the screen across your team. One word of caution here is that you have to ensure who you share your screen with, and whenever you are engaging in this activity, ensure that you have no confidential information on your desktop, you risk compromising the data in the process.
