

Blender 3D, an open-source design tool, stands out for its versatility and broad compatibility. It’s accessible to users of major PC operating systems like macOS, Windows, and Linux, and the best part is that it’s completely free.
What sets Blender 3D apart is its comprehensive toolkit, catering not only to designers but also to programmers thanks to its support for an Application Programming Interface (API). This means that whether you’re a creative designer or a code-savvy programmer, Blender 3D has something to offer.
One of the common tasks in design is the transformation of 2D reference images into 3D models. Blender 3D excels in this area too, making it easy to breathe life into flat images.
In this tutorial, we’ll take you on a step-by-step journey into the world of converting 2D images into detailed 3D models using Blender 3D. So, prepare to unlock your creativity as we explore this fantastic tool together.
Table of Contents
How to turn a 2D image into 3D using Blender 3D
Step 1.To get started with the tutorial, you’ll need to download the necessary .svg file and save it directly to your desktop.
Step 2. Open Blender 3D on your computer
Let’s get started with Blender 3D. Follow these steps to open the Blender 3D application on your desktop or laptop:
- Ensure that you have Blender 3D installed on your computer. If you haven’t already installed it, you can download the latest version from the official Blender website (https://www.blender.org/download/) and follow the installation instructions.
- Once Blender 3D is installed, locate its icon on your desktop or in your applications folder, depending on your operating system.
- Double-click on the Blender 3D icon to launch the application.
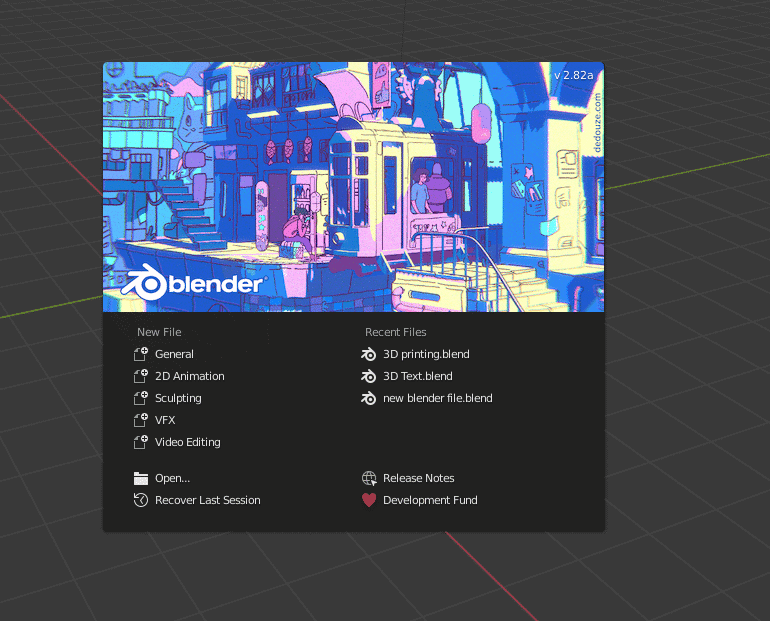
- After a moment, the Blender 3D interface should appear on your screen
Step 3. Create a new Blender file and save it with an appropriate name
Let’s start by creating a new file and giving it a proper name in Blender:
- Open Blender.
- If you have any existing project open, you can close it by going to “File” > “New” > “General.”
- Now, let’s save your new file with a name:
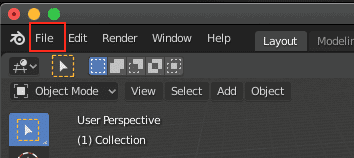
- Click on “File” in the top-left corner.
- Select “Save” or “Save As.”
- Choose your desired directory where you want to save the file.
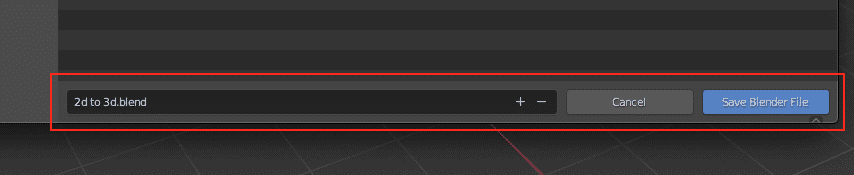
- Enter a meaningful name for your project in the “File Name” field.
- Choose a location and format for your project (Blender files typically use “.blend” as the extension).
- Click the “Save” button.
Your new Blender project is now saved with the appropriate name
Step 4. You will now see the default cube at the center of the work screen, which you must delete.
- Open your Blender project.
- In the 3D viewport, you’ll typically see a default cube at the center of the scene.
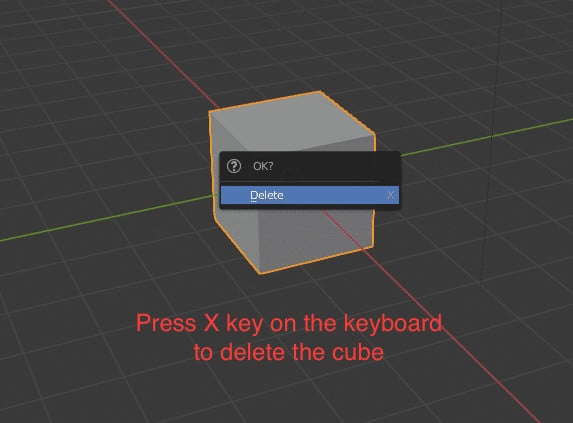
- To select the cube, left-click on it. It should turn orange to indicate it’s selected.
- Now, simply press the ‘X’ key on your keyboard.
- A menu will pop up with different deletion options. To delete the cube, click on “Delete.”
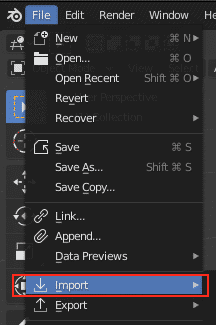
Step 5. Click on the ‘File’ button in the toolbar.
Step 6. Scroll to the ‘import’ button in the drop-down menu.
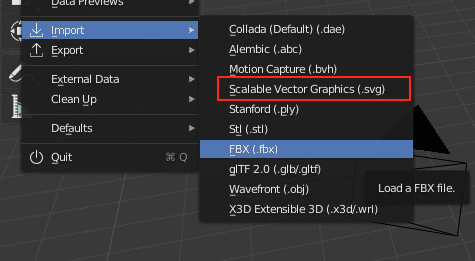
Step 7. Click on the ‘Scalable Vector Graphics (.svg)’ option.
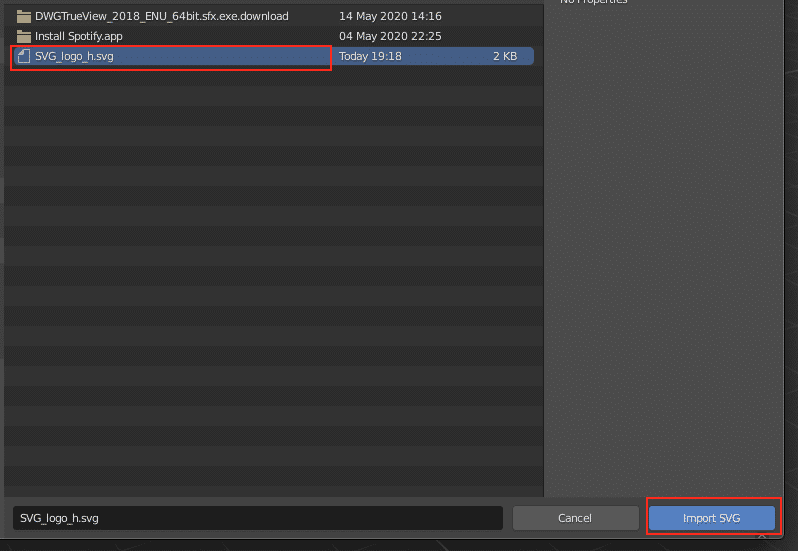
Step 8. Select the .svg file you downloaded earlier and open it.
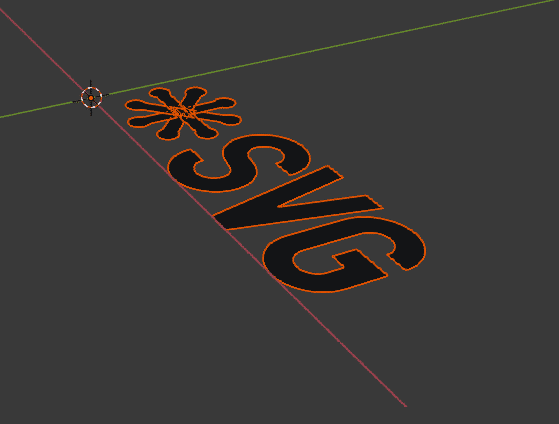
Step 9. Window select the SVG image. Make sure you select the whole image.
Step 10. Right-click on the selection and click on the ‘Extrude Size’ option.
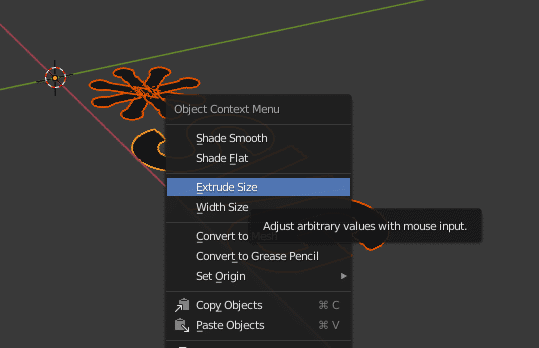
Step 11. Use the mouse to adjust the amount of extrusion.
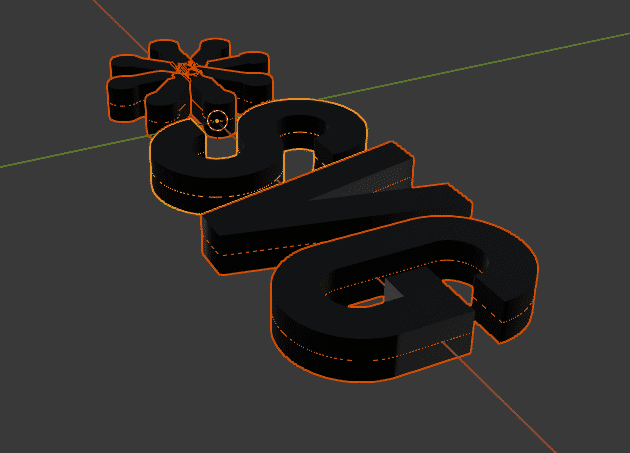
Step 12. Left-click on the workspace to confirm the operation.
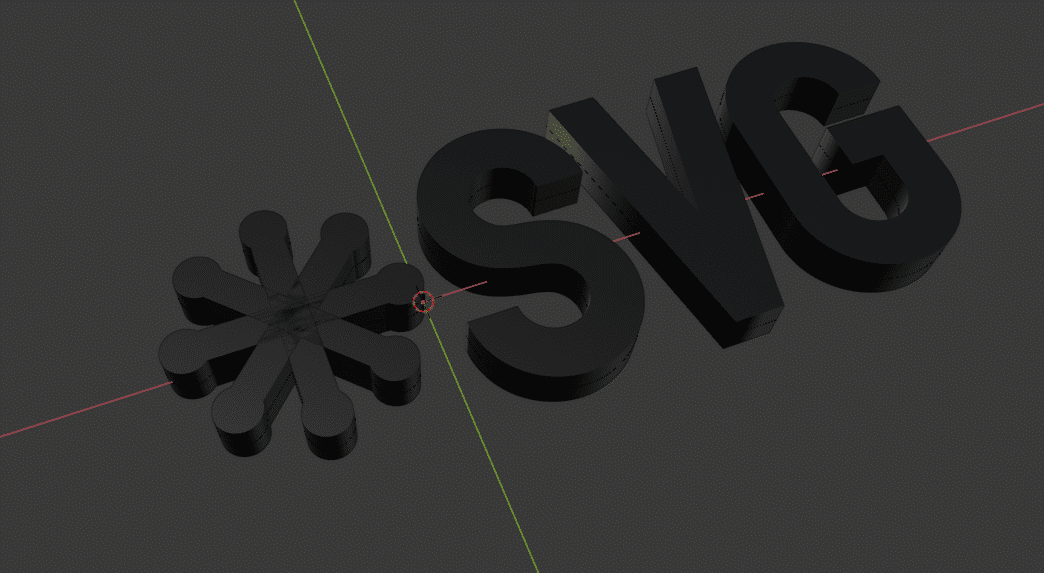
Your 2D image is now a 3D model.
