
When you have a shared folder or drive on your network, and you want to be able to access it without having to look around, Windows 10 allows you to create a customized shortcut for that drive/folder. This shortcut then appears within the ‘This PC’ section in File Explorer. In this article, we will take a look at how you can map a network drive in Windows 10.
Let’s get started –
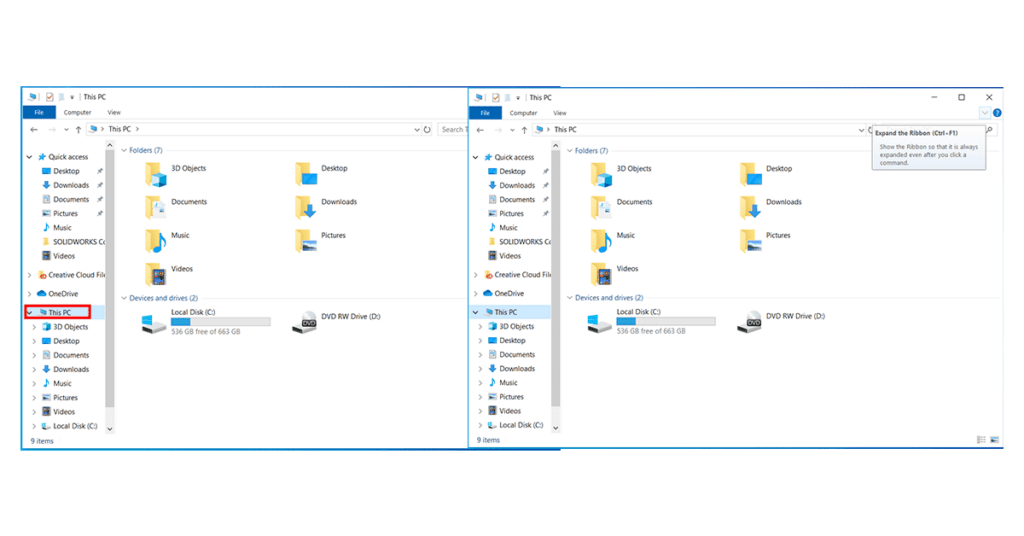
1. Open File Explorer (press the Windows Key and “E”) and select This PC.
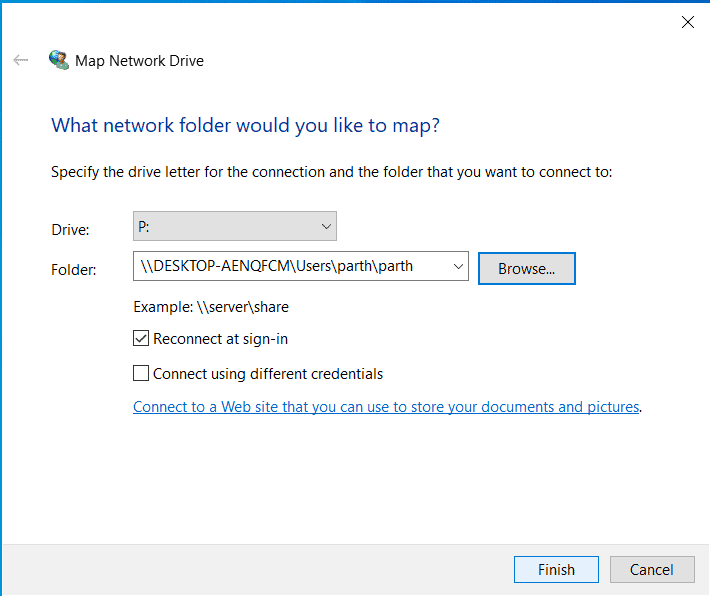
2. Click the Map network drive drop-down in the ribbon menu at the top, then select “Map network drive.” (This is under the Computer tab, which should open automatically when you go to This PC, as above.). Select the drive letter you want to use for the network folder from the drop-down list.
Avoid using C (this is usually the computer’s local storage), while D to F are usually assigned to various removable media such as discs or USB drives.
3. If you receive an error message while browsing the folders, then you’ll need to turn on network discovery. To do so, open the Control Panel, select Network and Sharing Center and choose Change advanced sharing settings from the top-left corner. From there, select Turn on network discovery. Save changes.
4. Once you have set up network sharing, go back to the mapping network drive settings and click on the “Browse” button. After you click the ‘Browse’ button, and you’ll be able to navigate to the drive itself within the network menu that pops up.
If this is your first network drive, you’ll just have the one listed, but you may need to browse through several if you have a few network drives already created.
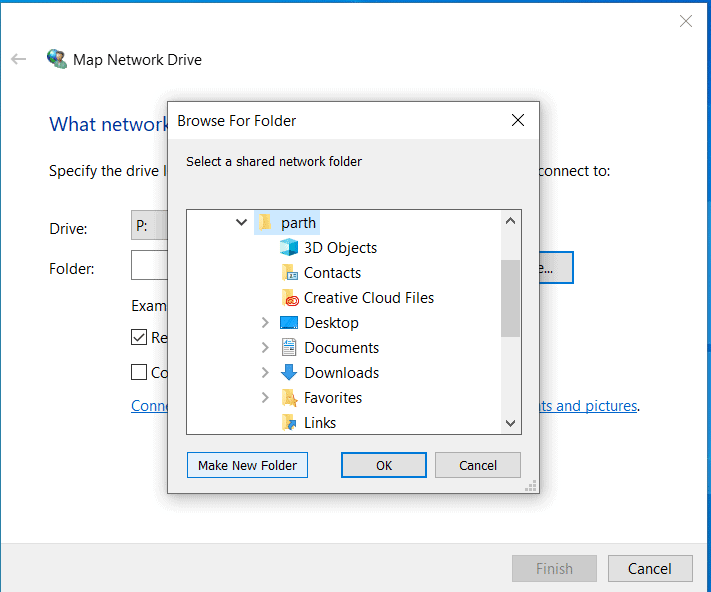
5. Navigate to the folder you want to map and hit OK after selecting it.
6. Confirm your selection and click Finish. You can choose to reconnect to the folder every time you sign in so it’s always available. You can even use a different user account to connect to the folder if needed.
7. When you’re done, you should see the new drive letter under This PC and will be able to access its contents like you would any other folder. If you want to disconnect the network drive, right-click on it and select Disconnect.
This is how you can successfully map a network drive on your Windows 10 PC/Laptop.
