

when it comes to Apple devices, you can clearly see that the company has worked hard to create a unique, robust ecosystem of devices that can communicate flawlessly with each other. Not only that but when you have the entire ecosystem of Apple devices, sharing data or files between devices is an absolute breeze. Now, the most fundamental step to connecting Apple devices to each other is possible through Bluetooth, which means, you can perform the most advanced of data exchange tasks through just this humble Bluetooth connection.
Now, if you have an iPhone and you have just bought a Mac or a Macbook, the first thing you want to do is form that connection between the two devices, and in this tutorial, we will show you how to connect an iPhone to a Mac or Macbook.
Setting things up on the Mac
First, boot up your Mac and do the following –
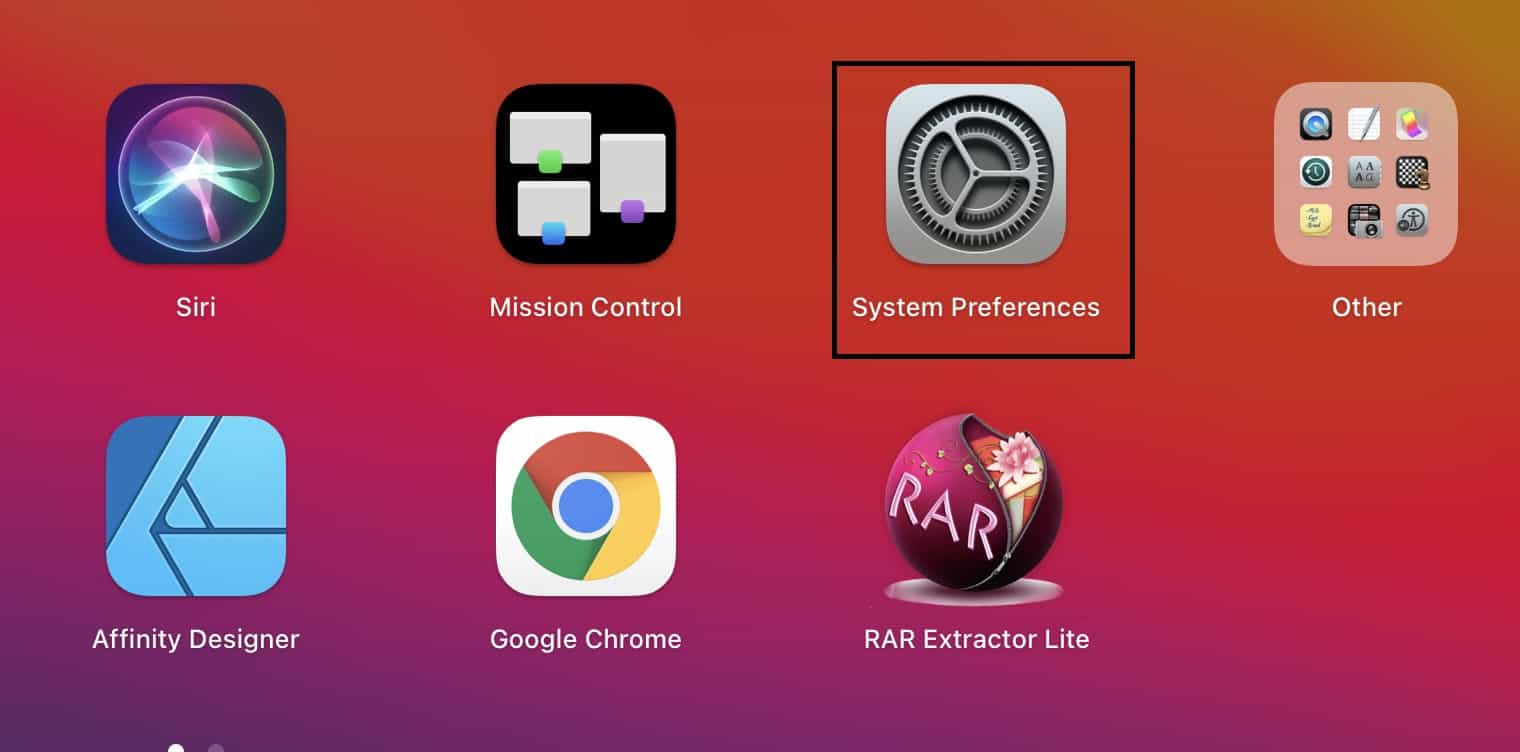
Step 1. Open the ‘System Preferences‘ app on your Mac or Macbook.
Step 2. Click on the ‘Bluetooth‘ folder on your system preferences home page.

Step 3. Click on the ‘Turn Bluetooth On‘ button to turn on the Bluetooth on your Mac.

Your Mac or Macbook will now be discoverable, and you can now start the pairing process with the iPhone.
Setting things up on the iPhone
Now, let’s head to the iPhone –
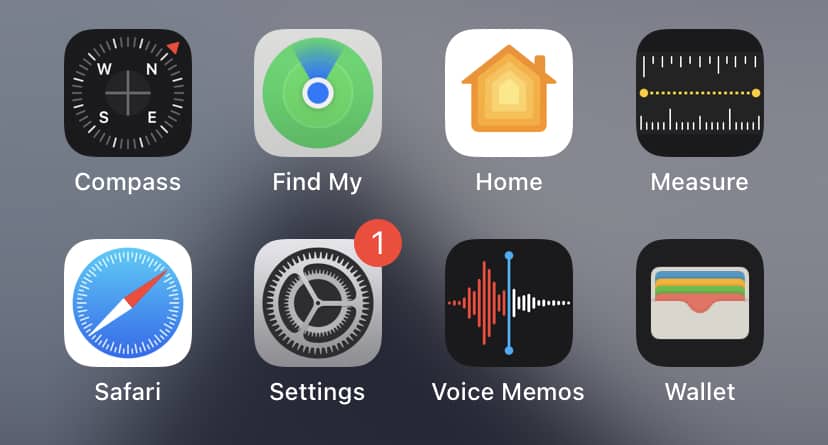
Step 1. Open the ‘Settings‘ app on your iPhone.
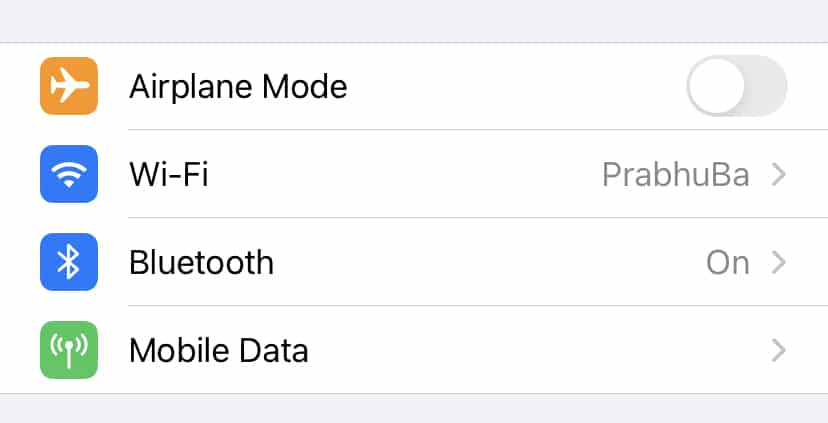
Step 2. In the settings menu and tap on the ‘Bluetooth‘ option.
Step 3. Now, in the Bluetooth settings, you will start seeing a list of Bluetooth-compatible devices.
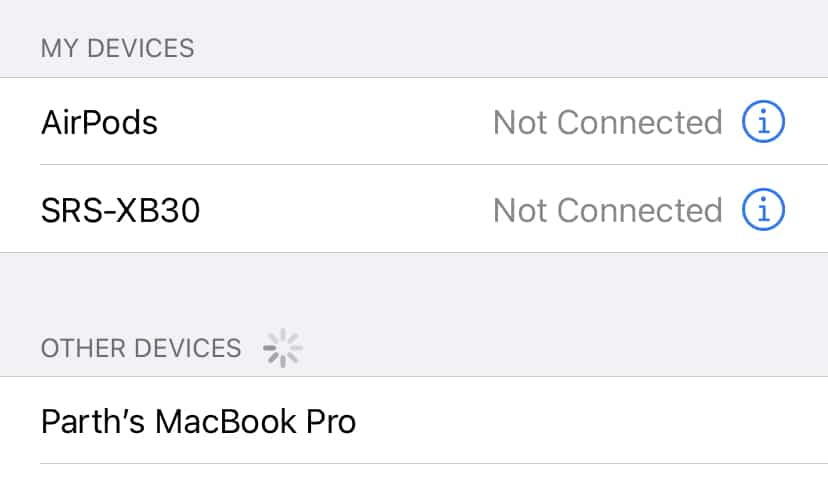
Step 4. Tap on the name of your Mac or Macbook from the list.
The two devices will now be connected to each other via Bluetooth. Once the connection is established, you will be able to share files or data between the two devices. You can even share contacts, images, and even use the AirDrop feature to do some advanced sharing between the devices as well.
