

Checklists are easy ways to keep track of a schedule or instructions that we have to follow to complete a certain task. Earlier, checklists were generally written by hand into a notebook, but the drawback was that these checklists could be misplaced and as such, the task was left incomplete.
Microsoft Word is an amazing tool that can help you make a professional checklist, which you can use for your personal needs, or even share with friends, family, or even colleagues.
In this tutorial, we will show you how to make a checklist using Windows 10.
Table of Contents
Case 1 – Create a Printable Checklist
Step 1. Open the MS Word application on your Windows 10 PC/Laptop.
Step 2. In the new document, type out your entire list of items that will form the checklist.
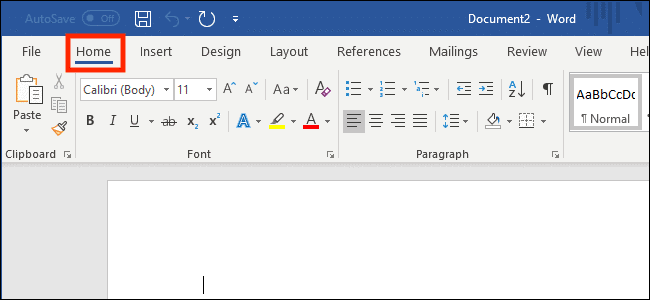
Step 3. Select the Entire list and then click on the Home tab.
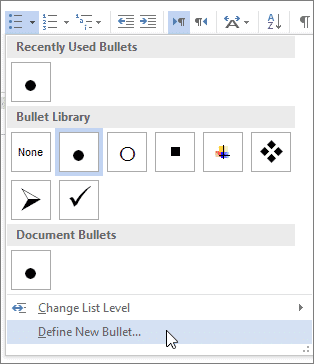
Step 4. Now click on the ‘bullet’ button from the ‘paragraph‘ section.

Step 5. Click on the ‘Define new bullet‘ option and choose the presentation style of the bullets.
Step 6. Print out your checklist for use.
Case 2 – Create an interactive Checklist
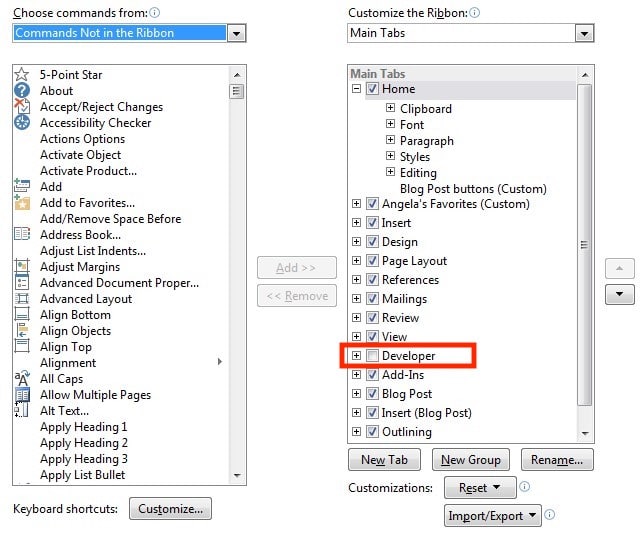
Step 1. Click on File, followed by the ‘Options‘ button.
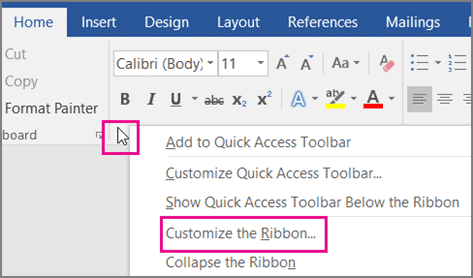
Step 2. Click on the ‘Customize the ribbon‘ option.
Step 3. Click on the ‘Main Tab‘.
Step 4. Select the Developer check box from the list. Click OK.
Step 5. Open a new document and from the Developer tab, click on the ‘CheckBox content control‘ option.
Step 6. Enter the item description for each item on the list. Press Enter.
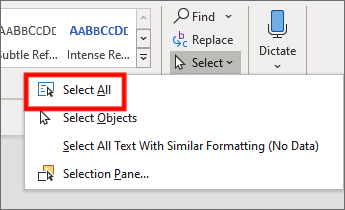
Step 7. Now, in the Editing group, click on Select and then ‘Select All‘.
Step 8. Head back into the ‘Developer‘ tab.
Step 9. Click on the Group option.
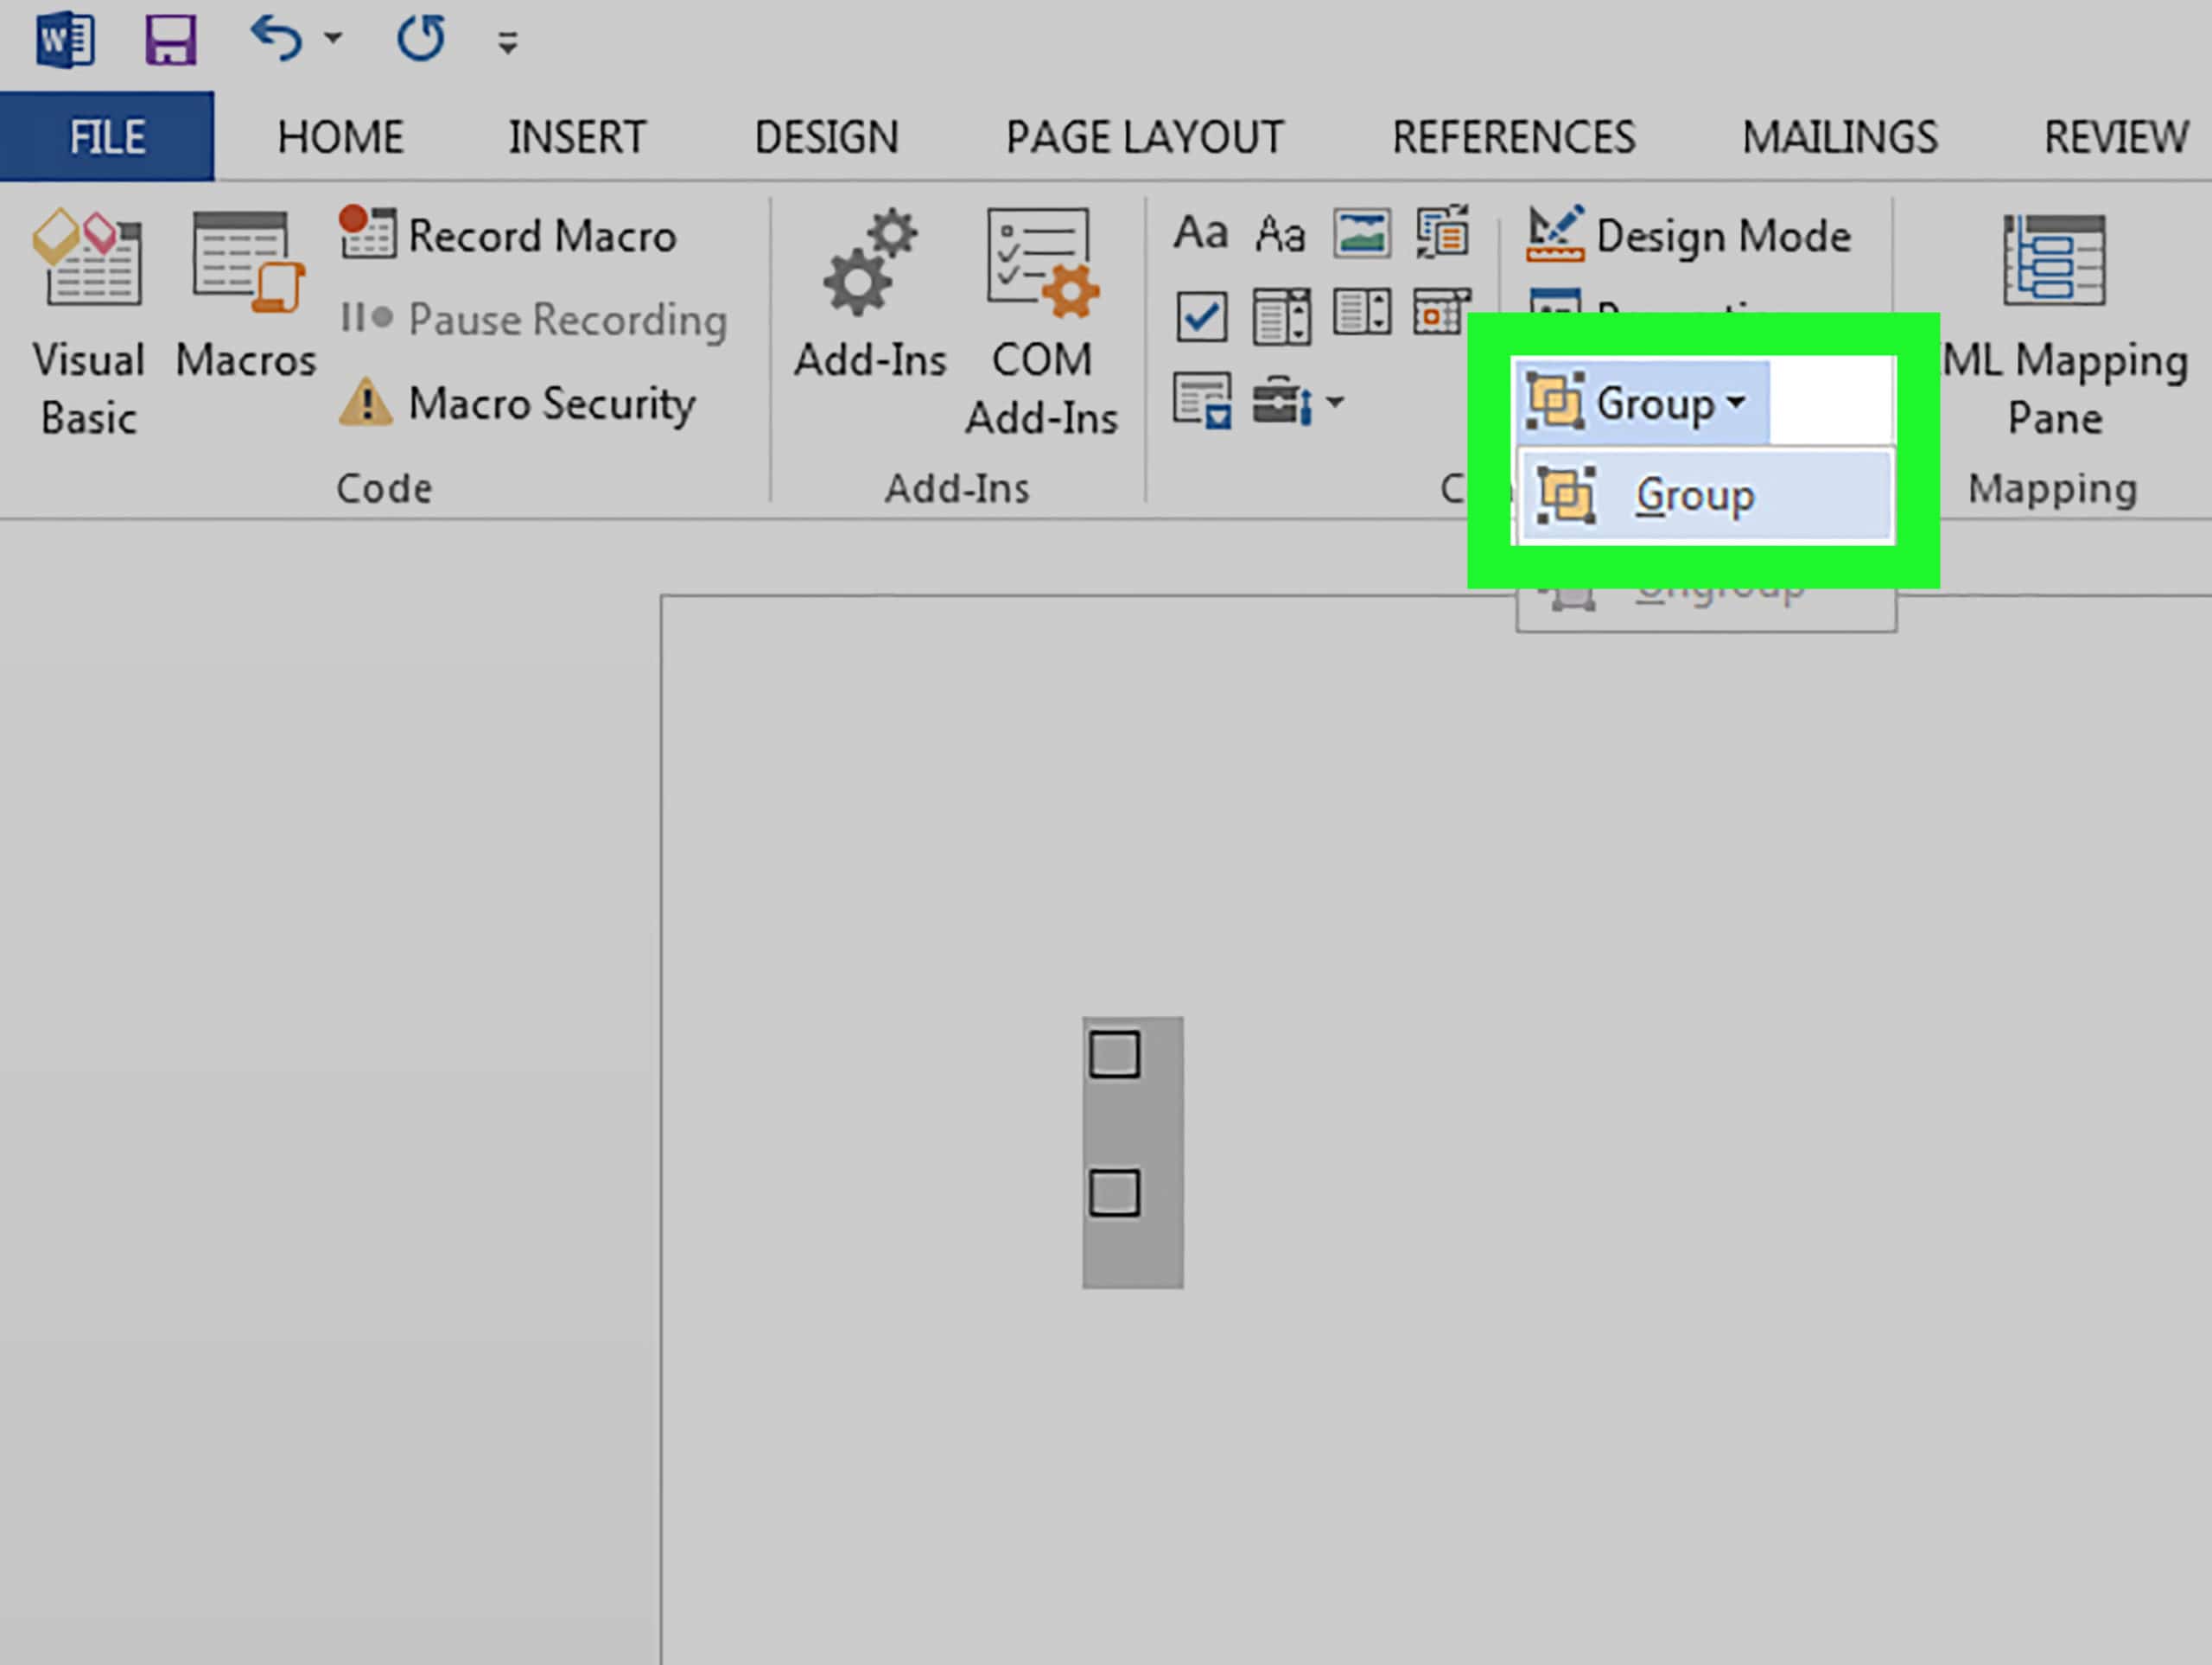
Your interactive checklist is now ready.
