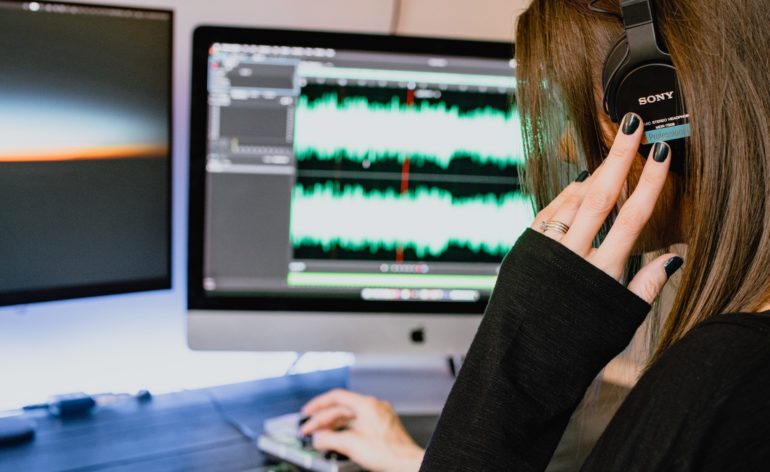

When it comes to recording audio on your Macbook, there are a lot of ways you can get about to achieve it. You can go for some known third-party applications that offer some great features and enhancements, but some of these third-party apps require an investment, something you may or may now want to do. However, the Macbook itself has two built-in applications that allow you to record audio and use the same for whatever purpose you have in mind.
Before you begin recording, ensure that the microphone you’re using is turned on, connected, and operational. The built-in microphones on the MacBook can also record, however an additional microphone may provide superior quality. With that out of the way, let’s get started –
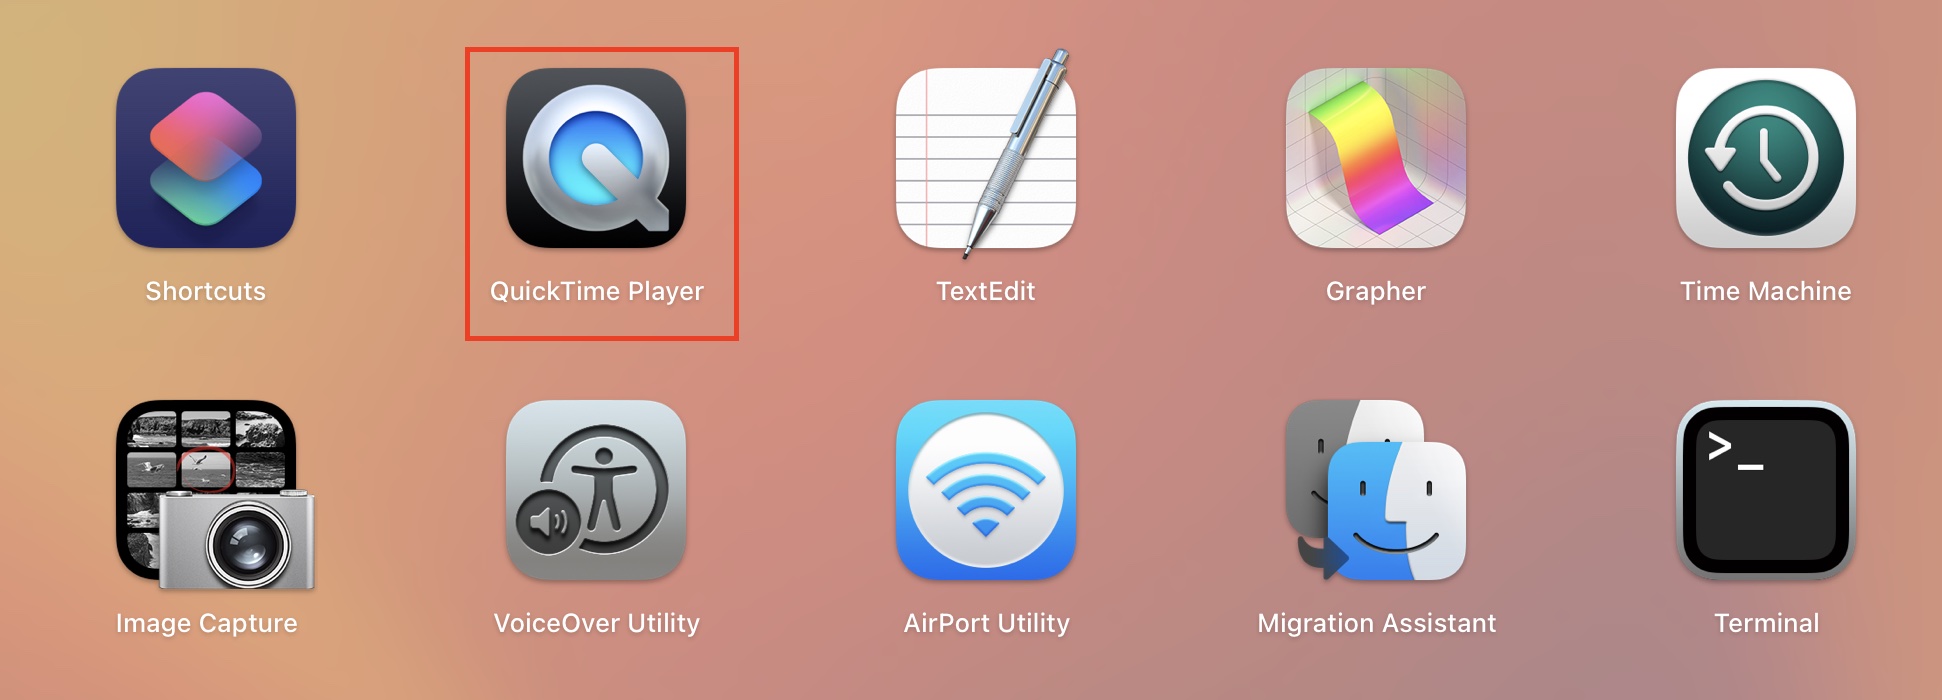
Method 1. Recording Audio using the QuickTime Player
Step 1. Open the QuickTime player on your Macbook. This is the default media player on Mac devices so it should be easy to find.
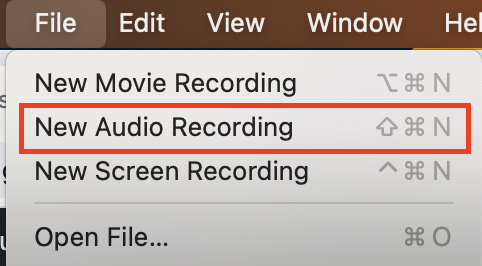
Step 2. From the menu bar, click on the File option.
![]()
Step 3. From the drop-down menu that appears, click on the ‘New Audio Recording’ option.
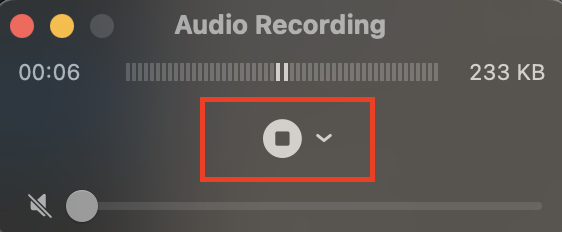
Step 4. You will now see a recording window pop up. Click on the red button to start recording.
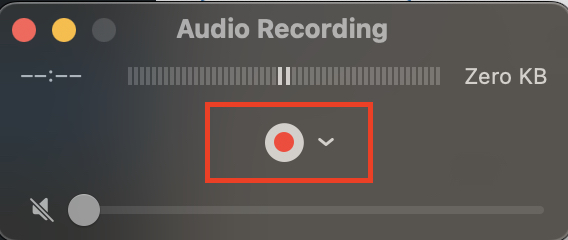
Step 5. Once you are happy with your recording, click on the Stop button to stop recording.
You can now click on the File option from the menu bar and save the recording to the destination of your choice. This voice recording can now be used for your multimedia projects, or you can also share it with your friends via a host of applications.
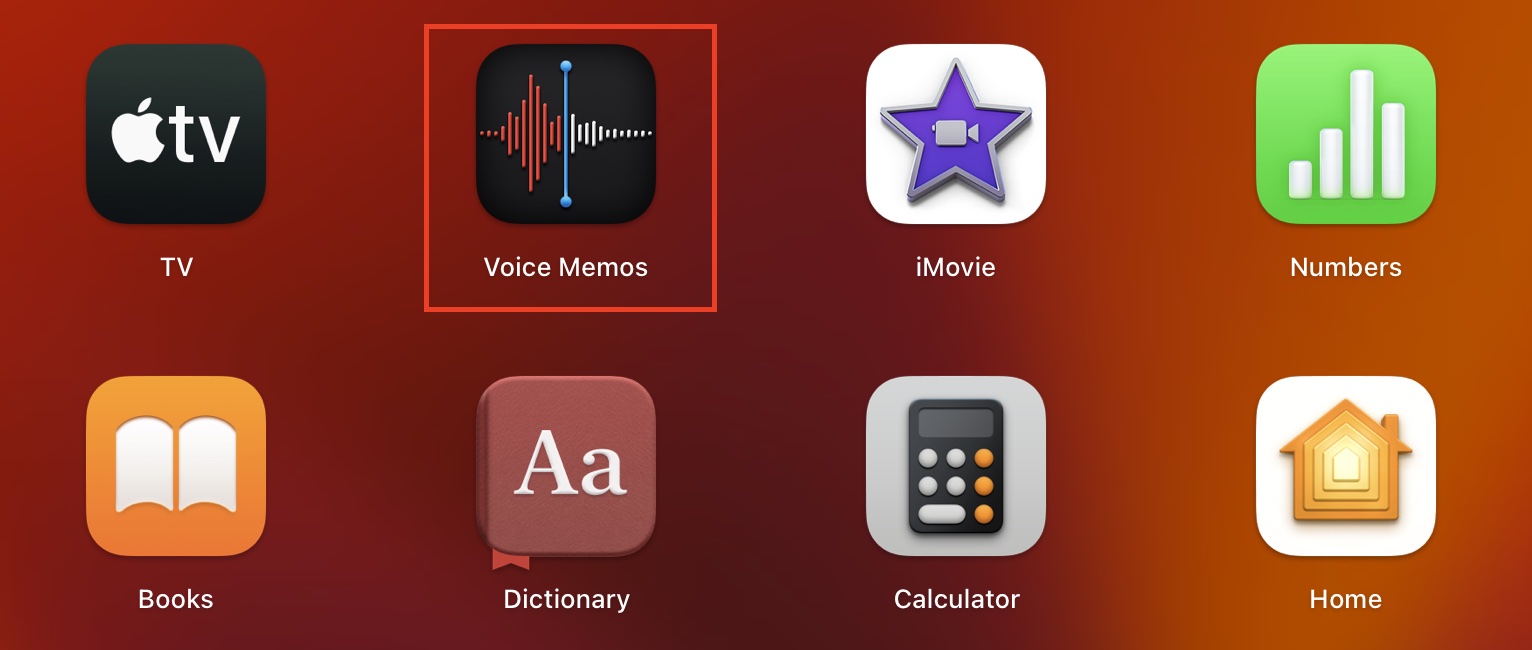
Method 2. Recording Audio using Voice Memos
Step 1. Open the Voice Memos app on your Macbook. This too is a built-in application and is very easy to find.
Step 2. Click on the big red button to start recording your audio.

Step 3. When you are happy with the recording, click on the Done button to stop recording.
The recording will be saved automatically and you will see it appear in a list on the left-hand side pane of the voice memos app.
Now, by default, the audio will be saved with the ‘New Recording’ name, but if you have allowed location sharing, the recording will be saved with the name of the location where the recording was done.
