

Split View is your buddy if you want to work with two programs side by side on a Mac computer. You could, of course, manually resize the two programs. However, enabling Split View will accomplish this for you automatically, saving you time.
Another advantage of Split View is that it temporarily hides all of your other windows. That means you won’t mistakenly close your windows, causing other items to appear to cover them up. If you need to go to anything else, just quit Split View.
Split View requires the usage of two programs that support Split View on macOS. Many of them will be Apple-developed applications, such as Maps and Photos. The more you utilize the functionality, the clearer it becomes about what is and isn’t compatible.
Let’s take a look at how you can use the split view feature on your Mac and enhance your productivity.
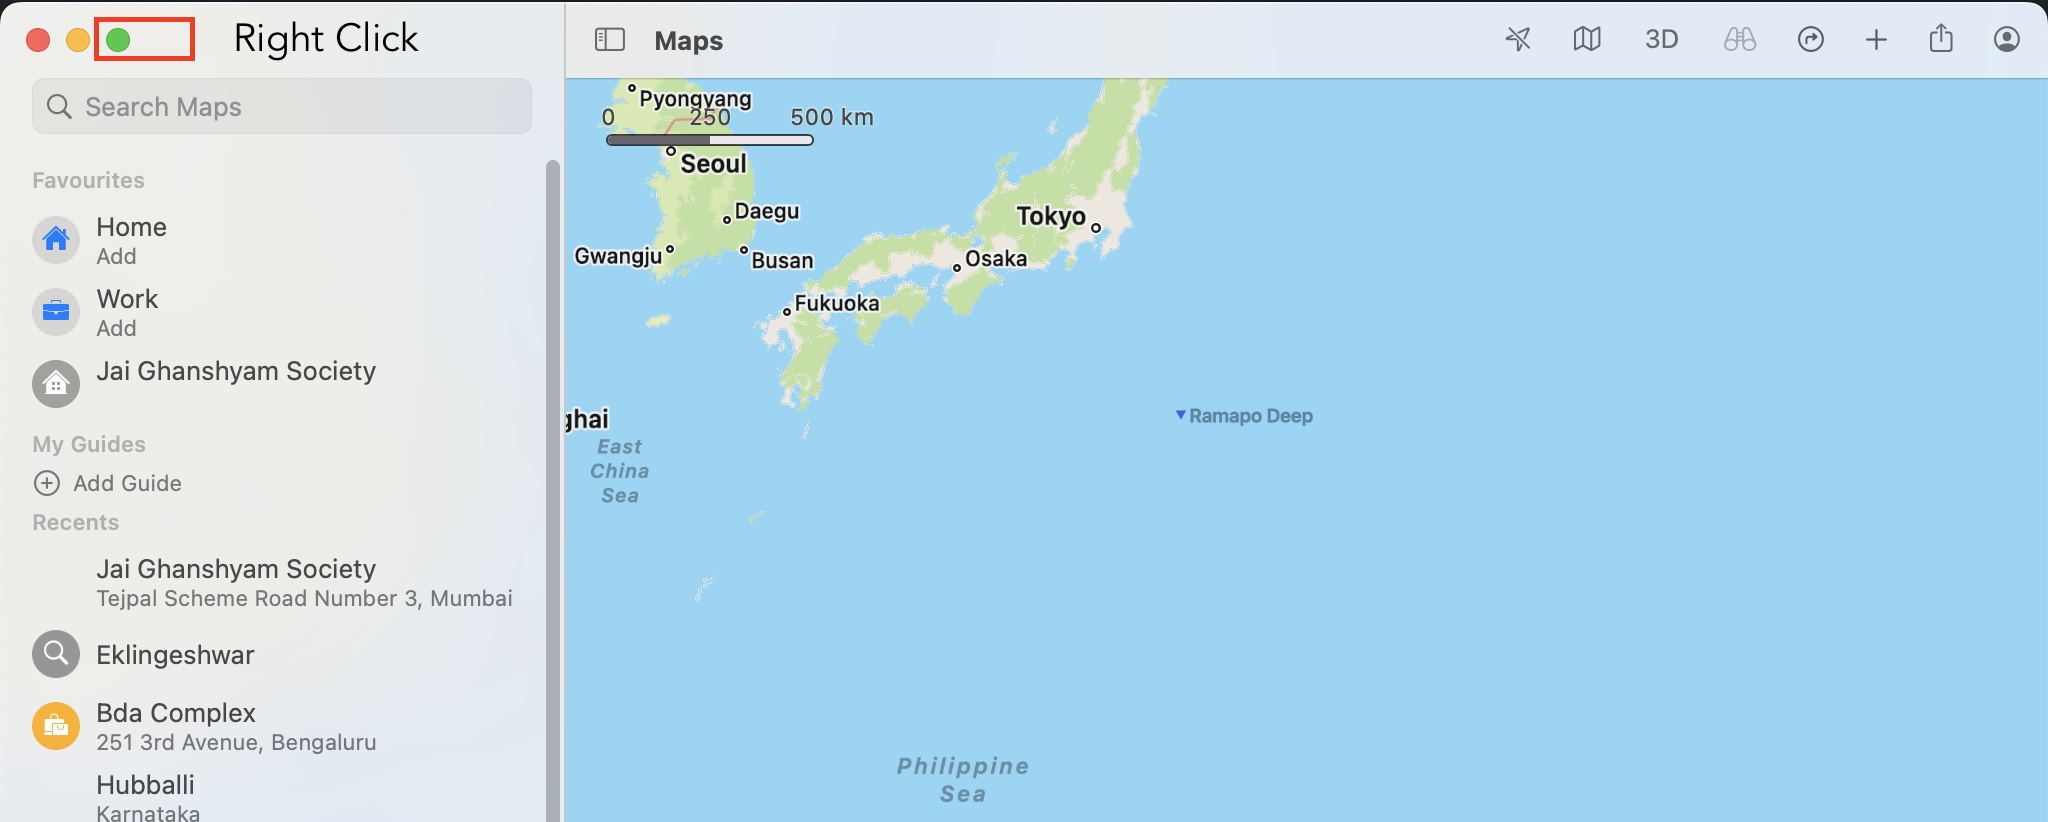
Step 1. Open an application you want to use with a split view and right-click on the green maximize button on the top left-hand side of the application window (for this tutorial, we are starting things off with Apple Maps).
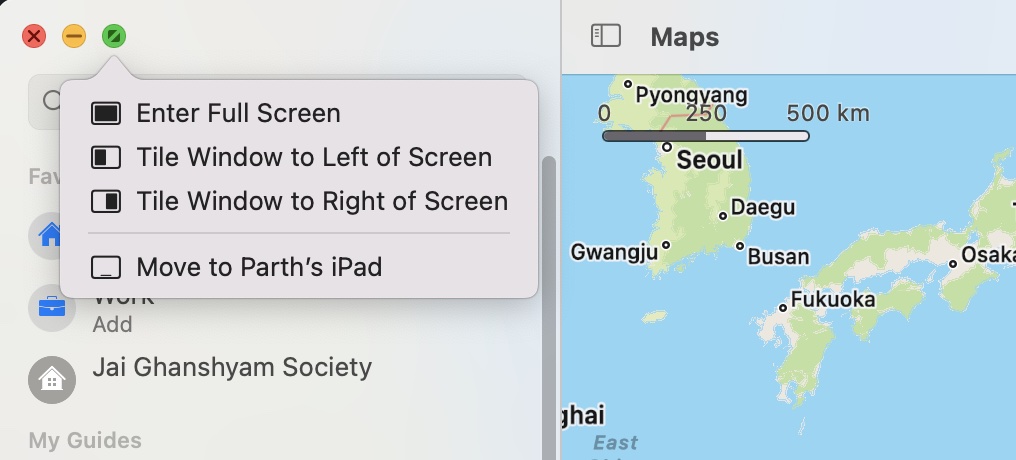
Step 2. If the application is compatible with split view, you will see the option to move the window to the left side of the screen or move the window to the right side of the screen. Choose the one you want, and the application window will get resized to fit half the screen depending on your choice.
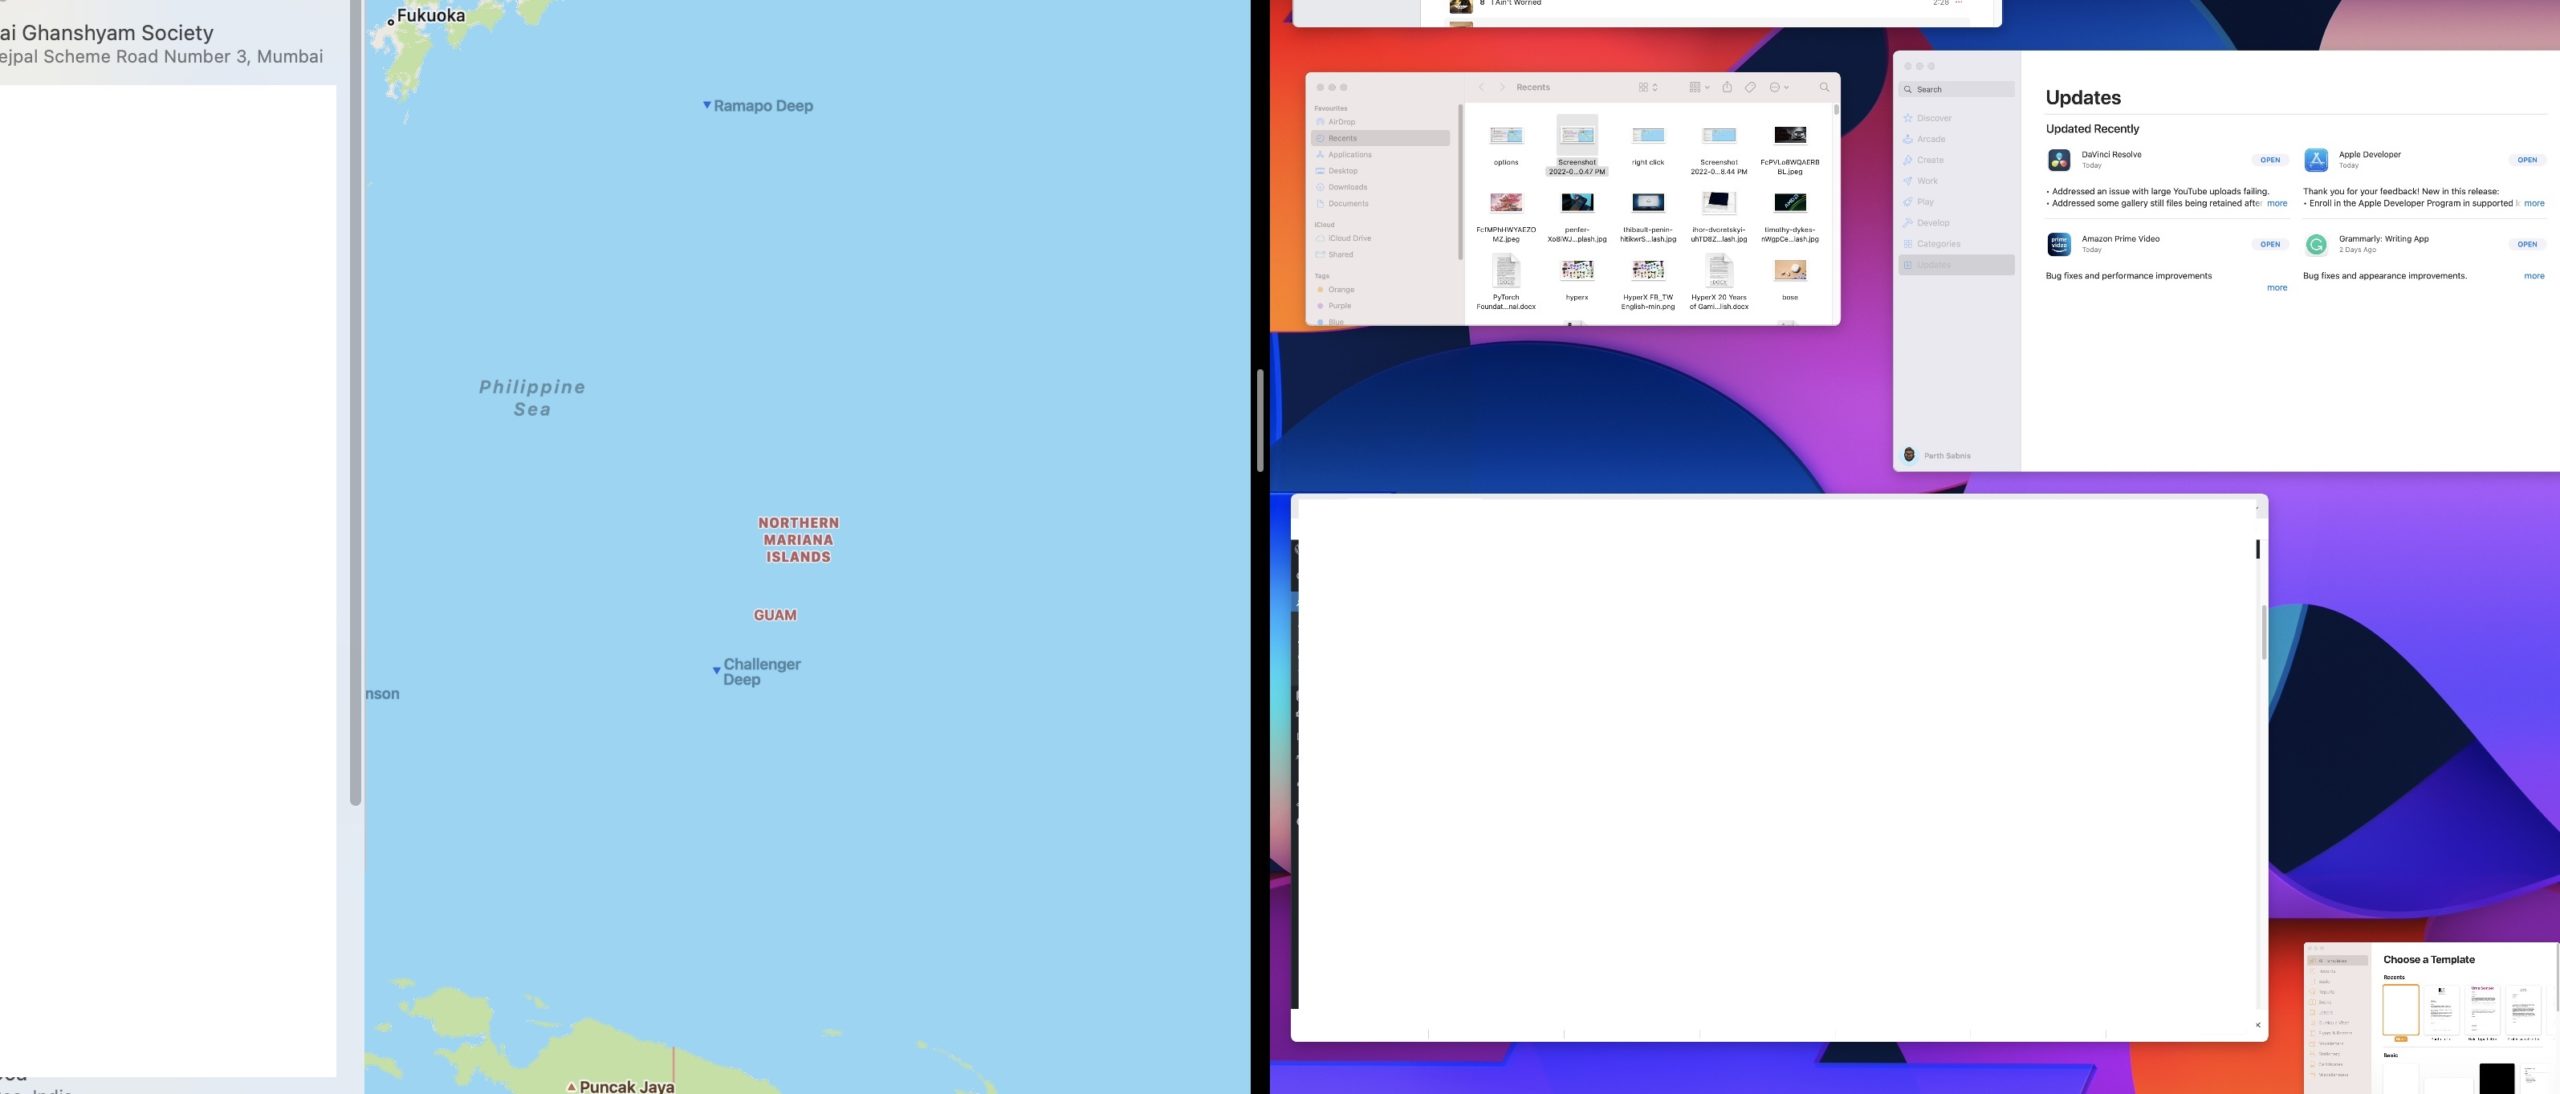
Step 3. On the remaining half of the screen, you will be able to choose another application and the way Apple does it is that if the app is compatible with split view, you will be able to select it. If not, you will get a pop-up on that app window telling you that it is not compatible with split view.
When you’re in desktop mode, you may change the sides of your windows by clicking and dragging. You may also slide the bar between the two panes to make the sides larger or narrower.
Now, if you want to exit the Split view mode, this is how you can do it –
Place your pointer at the top of any open programme and right-click the green button. This will make the window fullscreen and close Split View.
