
While Google’s Chromebooks are all about online services, there are times when a good old-fashioned printout is required to accompany your digital adventures.
Printing from a Chromebook has become much easier in recent years, but it isn’t always clear how to get started or which paths to take. If you follow this guide, you should be able to print paper from your cloud-based computer in no time.
If you have a recent printer that can connect to the internet, you should be able to add it directly to your Chromebook without the need for additional services.
To begin, ensure that your printer is turned on and connected to the same Wi-Fi network as your computer. The process for connecting a printer to Wi-Fi varies by model, but there should be a “Wi-Fi” or “internet” option somewhere on the printer’s display, either as an icon on the main screen or as an option in the settings menu. This should guide you through the procedure.
Once the printer is ready, follow these steps –
Step 1. Click the clock in the lower-right corner of the screen on your Chromebook. Then, to access its settings, click the gear-shaped icon.
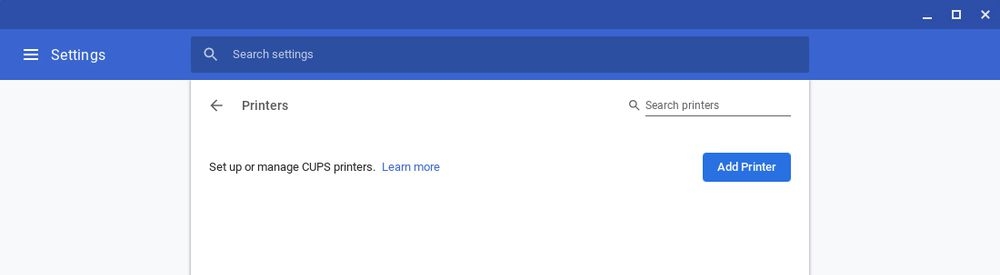
Step 2. Enter print into the settings panel’s search box, then select Add printer from the drop-down menu.
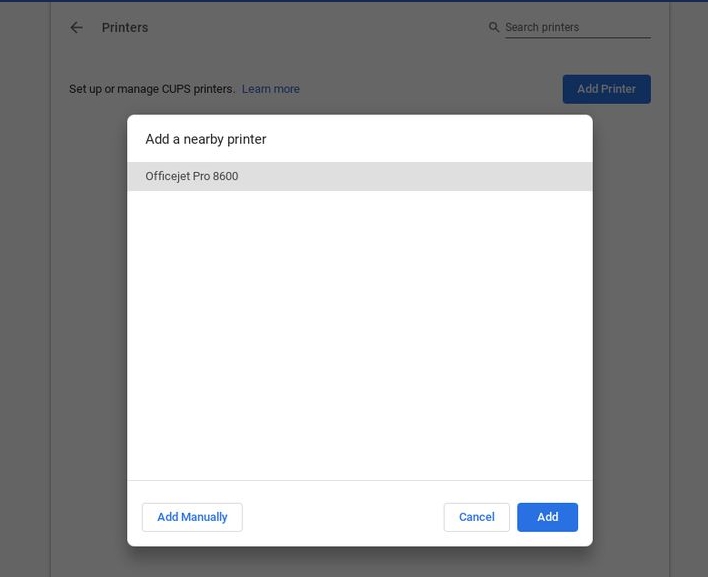
Step 3. To complete the pairing, click the Set up button next to your printer’s name in the list that appears.
Step 4. It is possible that an older printer will appear in the list but will not automatically configure. In the pop-up box that appears, enter the manufacturer and model.
Step 5. If your printer does not appear in the list, you must add it by clicking the Add printer button.
Step 6. Assign a name to the printer. This is completely up to you.
Step 7. In the Address box, enter its IP address. (The IP address is usually located somewhere in the printer’s display menu.)
Step 8. Leave the other two fields alone and press the blue Add button. Enter the manufacturer (e.g., “HP”) and model (e.g., “Officejet Pro 8600”) of your printer, and then select the appropriate options as they appear.
Step 9. When you’re finished, click the blue Add button.
That’s all! Simply press Ctrl-P from any browser tab or search for the Print command in any app. Then get ready to print until your heart’s content.
