
When compared to its predecessor, the Microsoft Store on Windows 11 has undergone significant changes, including some new upgrades, optimizations, and new applications. These applications do an excellent job of increasing the efficiency of your Windows PC or laptop while also making the whole experience far more enjoyable. Applications, in general, require developers to ensure that they are kept up to date while also adding new features and bug fixes with each iteration of the software. As is customary when an app developer releases an update for their app, it is entirely up to the user to decide whether or not to accept the update. However, it is highly recommended for everyone to keep their apps up to date, and one of the most convenient ways to do so is to enable the auto-update feature on the Microsoft App Store, in this tutorial, we will show you how to get this done.
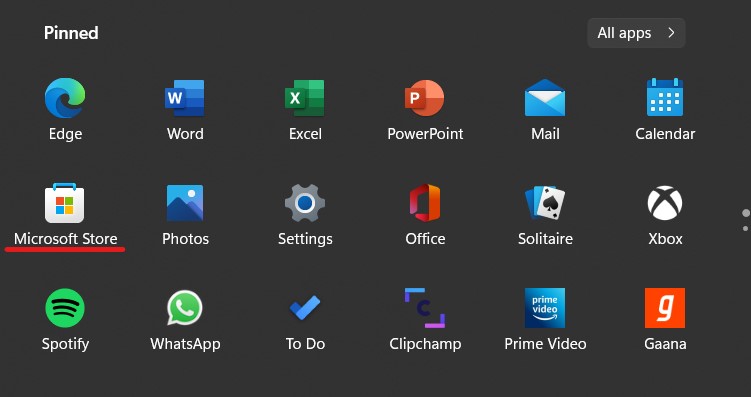
Step 1. Open the Microsoft Store application on your Windows 11 PC or Laptop.
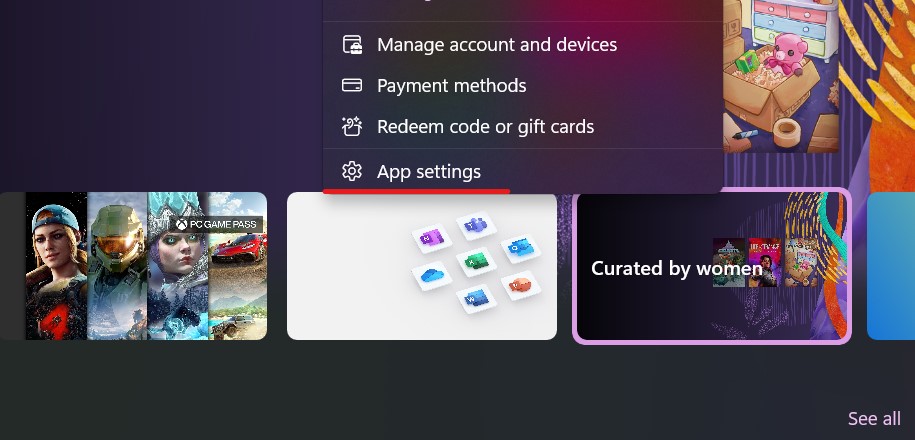
Step 2. Click on the ‘Profile’ icon at the top right-hand side of the home screen, to reveal a drop-down menu.
![]()
Step 3. In the drop-down menu, click on the ‘App Settings’ option. This will take you to the app settings window.
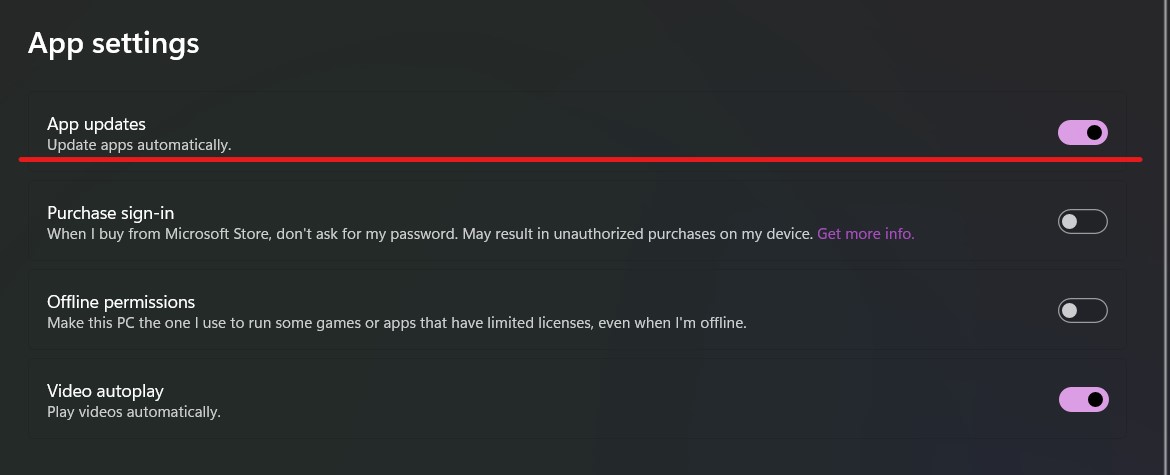
Step 4. On the app settings window, toggle ON the ‘App Updates’ option. This will enable the auto-update feature for the apps that you have downloaded and installed on your system.
Now, whenever you are 0connected to Wi-Fi and an app update is made available, it will happen instantaneously without you having to manually check for app updates. Now, if you notice that the apps are not getting updated even after turning on this feature, then you can manually check for updates using the steps given below.
Step 1. Open the Microsoft Store application on your Windows 11 PC or Laptop.
Step 2. On the left hand side pane, click on the ‘Library’ option.
Step 3. On the next screen, click on the ‘Get Updates’ button and wait for a few seconds.
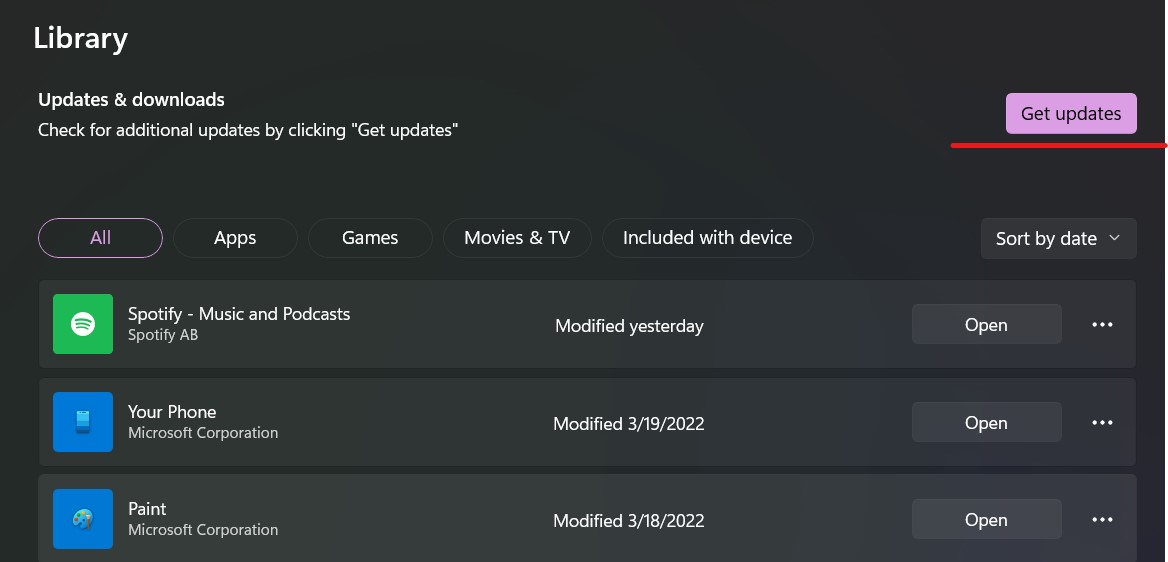
Doing this will manually check for any available app updates and the operation will start once you confirm the apps that you wish to update immediately.
Microsoft is also working on bringing in Android apps on Windows 11 and the way it happens currently is via the Amazon Android app store. Whether Microsoft adds in a native Play Store on Windows 11 remains to be seen.
