

When we convert a concept sketch of a component to a CAD drawing, the difference is dimensions. COncept drawings are usually made without specific dimensions. Care is taken, however, to keep up with the proportions, but there is no compulsion on drawing the component to scale.
When the same sketch has to be drafted on the CAD software, which in this case, is AutoCAD, it is important that we include explicit dimensions to every part of the draft of the component.
In this tutorial, we will show you how to add dimensions to a drawing in AutoCAD.
Open the AutoCAD application on your PC.
Create a new file.
For this tutorial, we will create a basic rectangle and add dimensions to it.
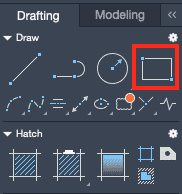
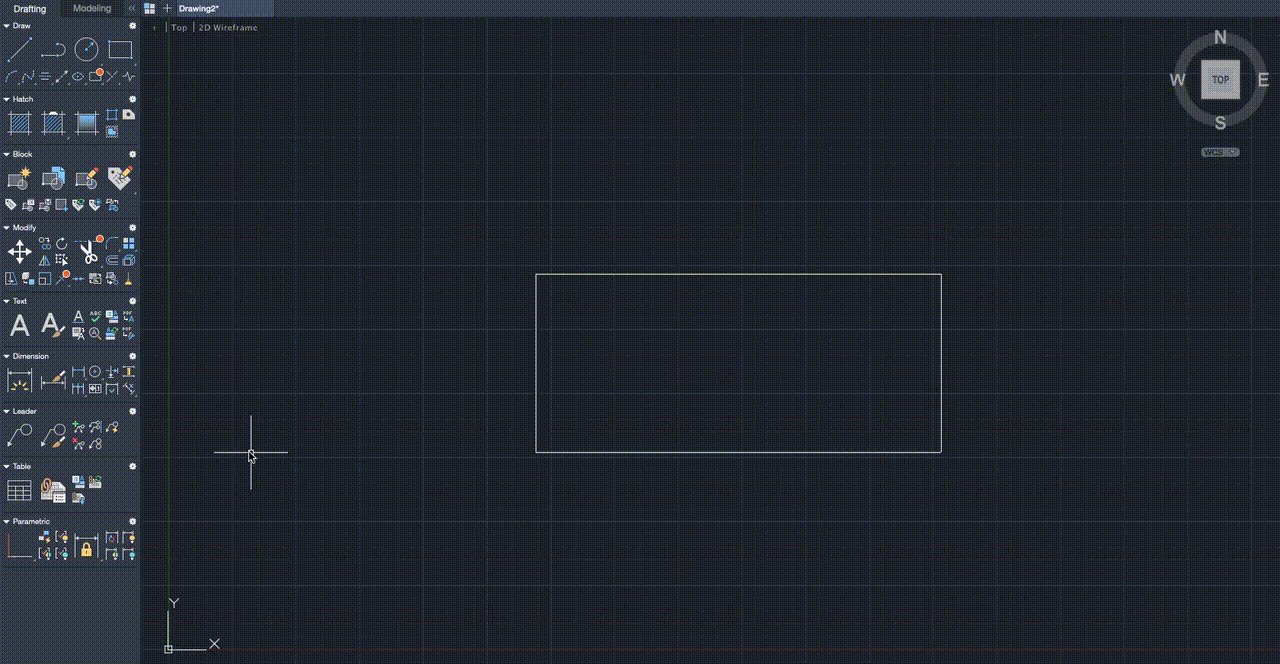
Click on the ‘Rectangle’ button from the left-hand side toolbar.
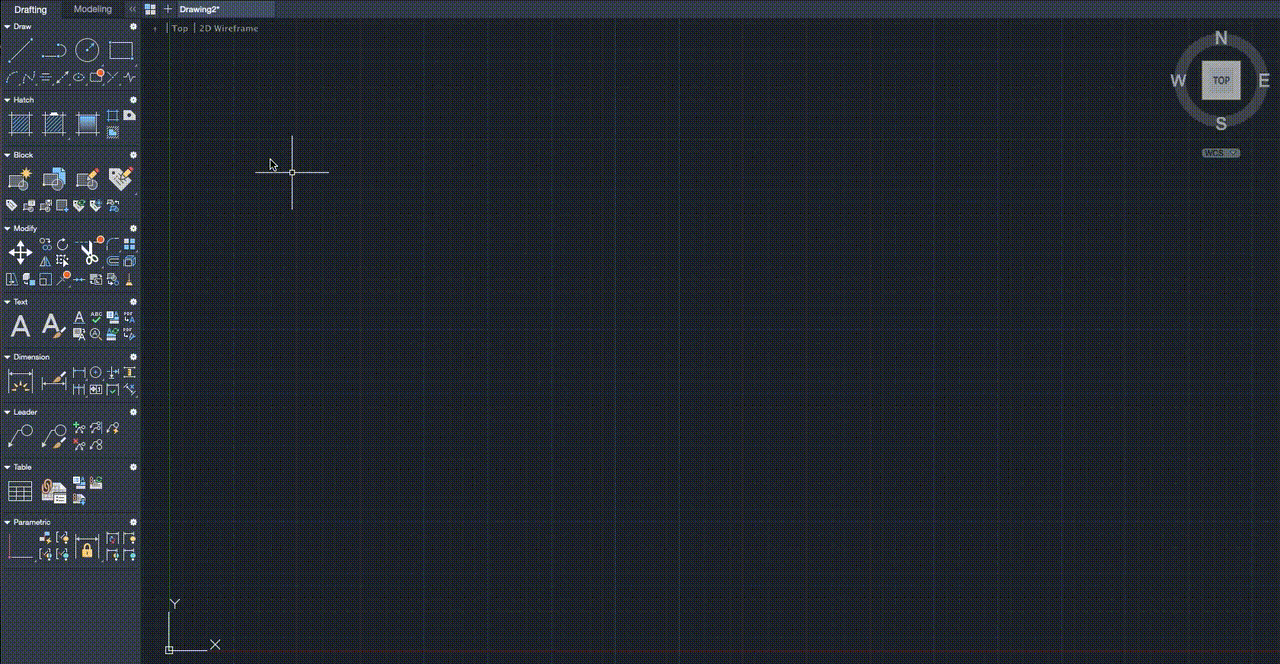
Left Click on the workspace and drag to create a rectangle of arbitrary dimensions.
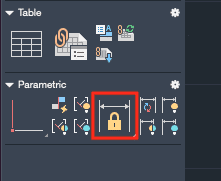
Now, click on the ‘Dimension Constraints’ button from the left-hand toolbar.
Choose the two endpoints of the line and then click and drag the pointer upwards.
Click on the pre-existing dimension value and change it to the value you want to set.
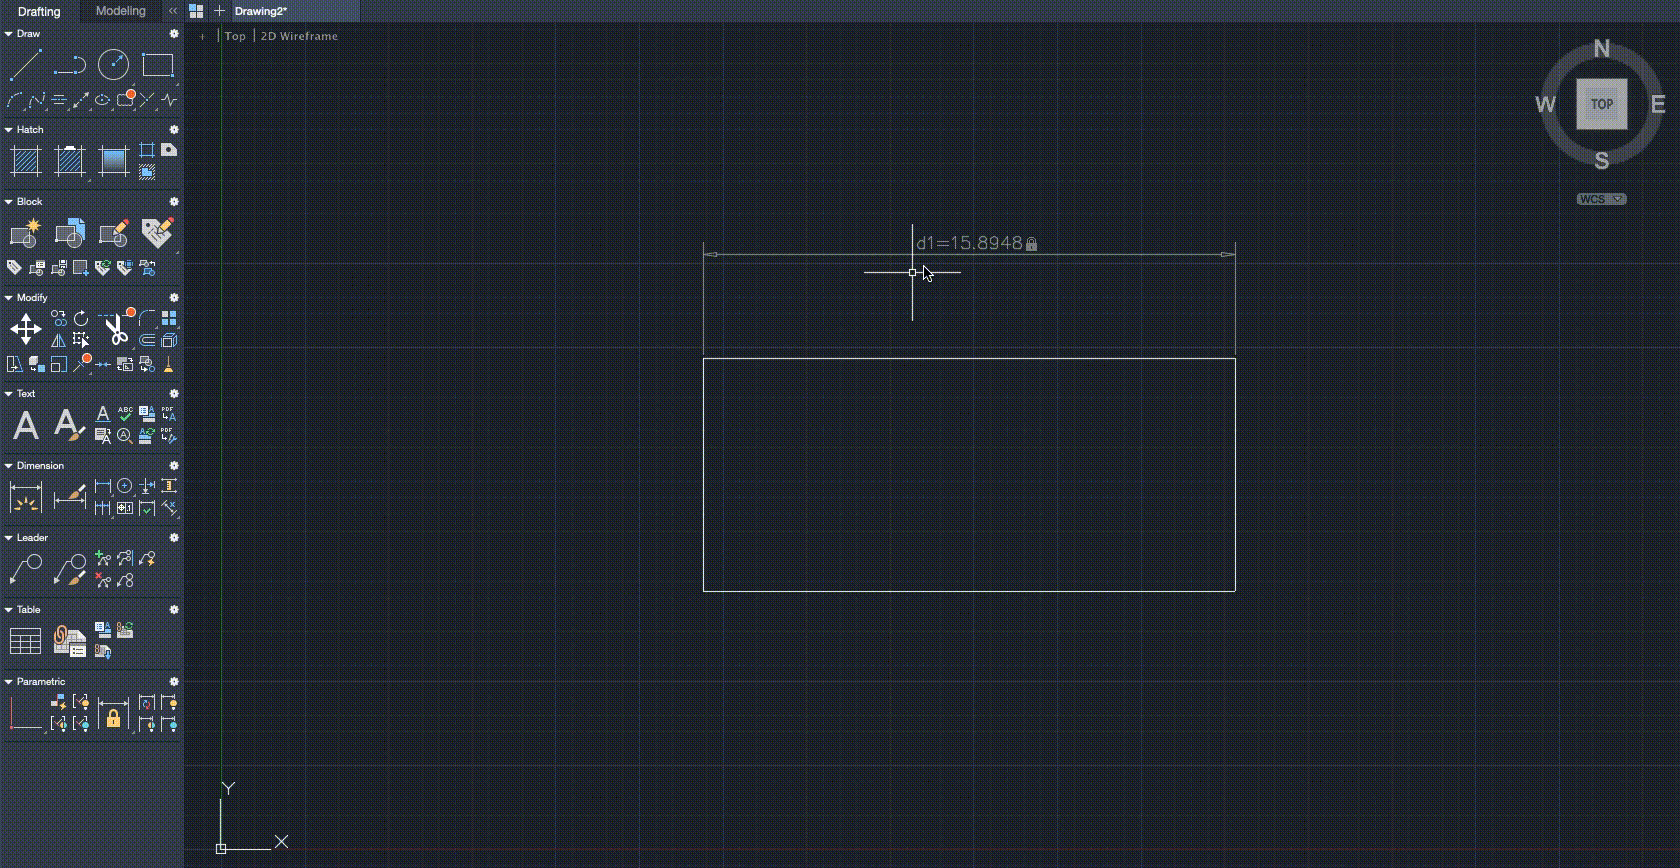
The dimension constraint will now be set. You can change these values at any time by double-clicking on the exiting value and updating them with the new ones.
