

Viewports are essentially the backbone of the AutoCAD software. For those who are new to this tool, viewports are essentially windows that display specific views of the particular object or sketch.
For example, when you sketch out a cube, or 3d model a body, it is not possible to see the all the angles and all the views of the object in just one go. This is where viewports come into play. You can choose a particular view and you will now see the corresponding viewport (Front view, Back View, Side View, Top View, etc).
How to create a viewport in AutoCAD
Additionally, AutoCAD allows users to create and save their own custom viewports. This is very useful when you want to view your design file from a particular angle aside from the defaults.
In this tutorial, we will show you how to create and save your own Viewport on AutoCAD.
Startup the AutoCAD application on your PC.
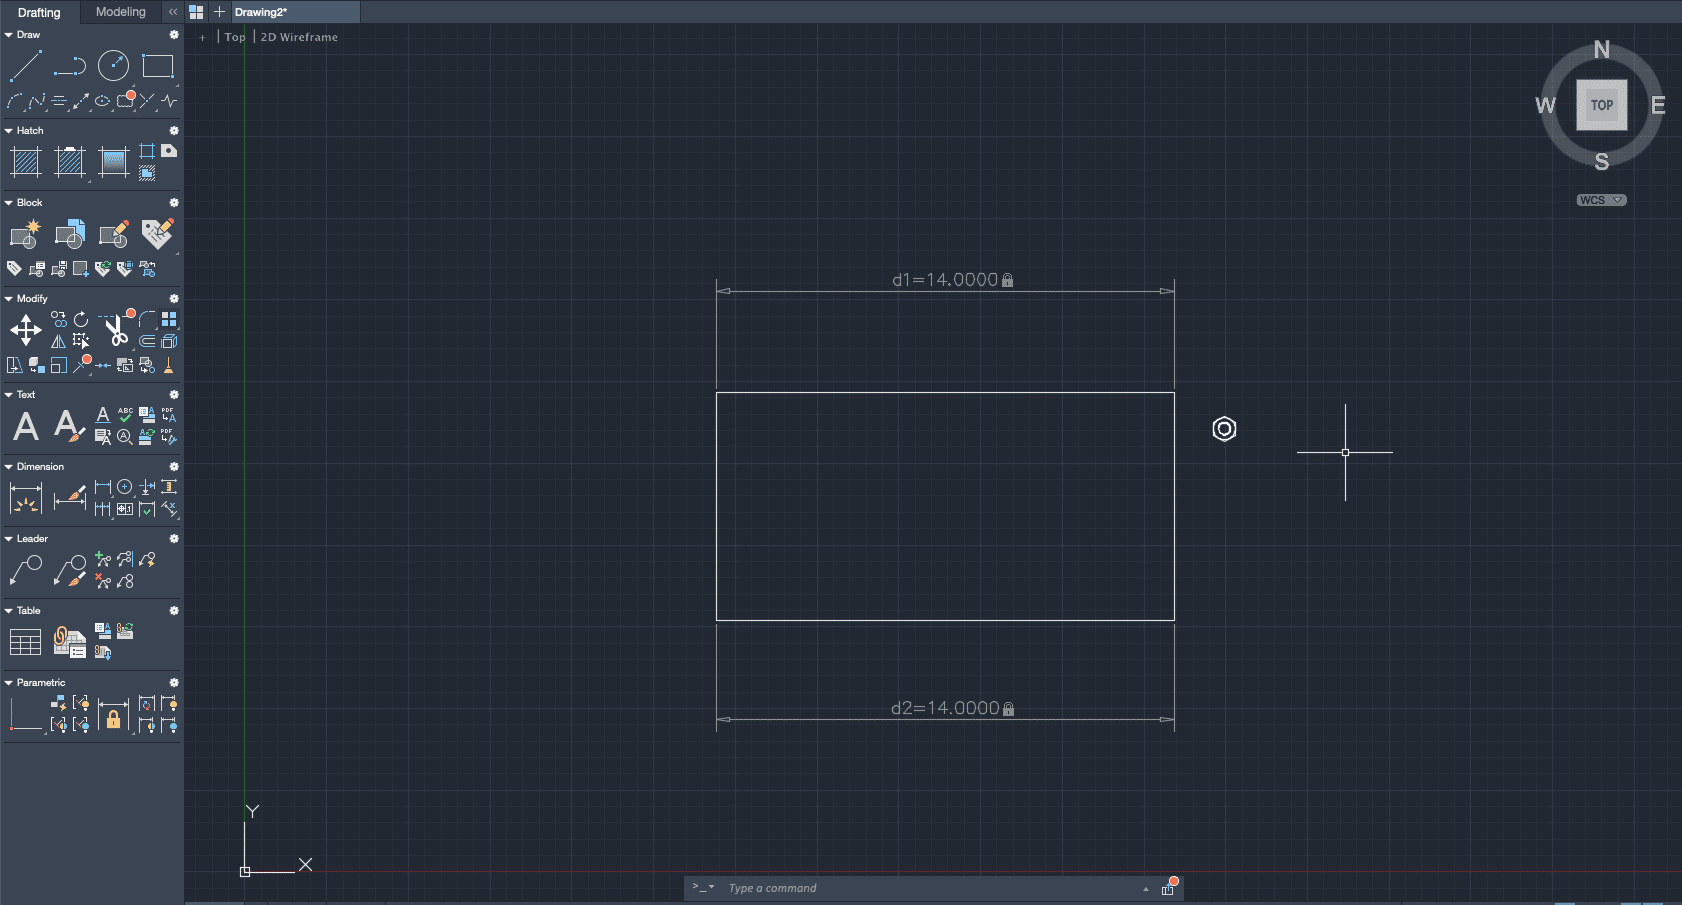
Open a New File and create your draft.
Head to the view cube and click on the ‘Home’ button.
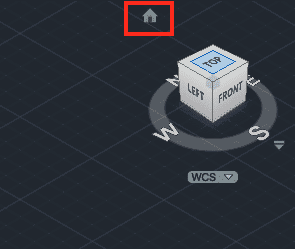
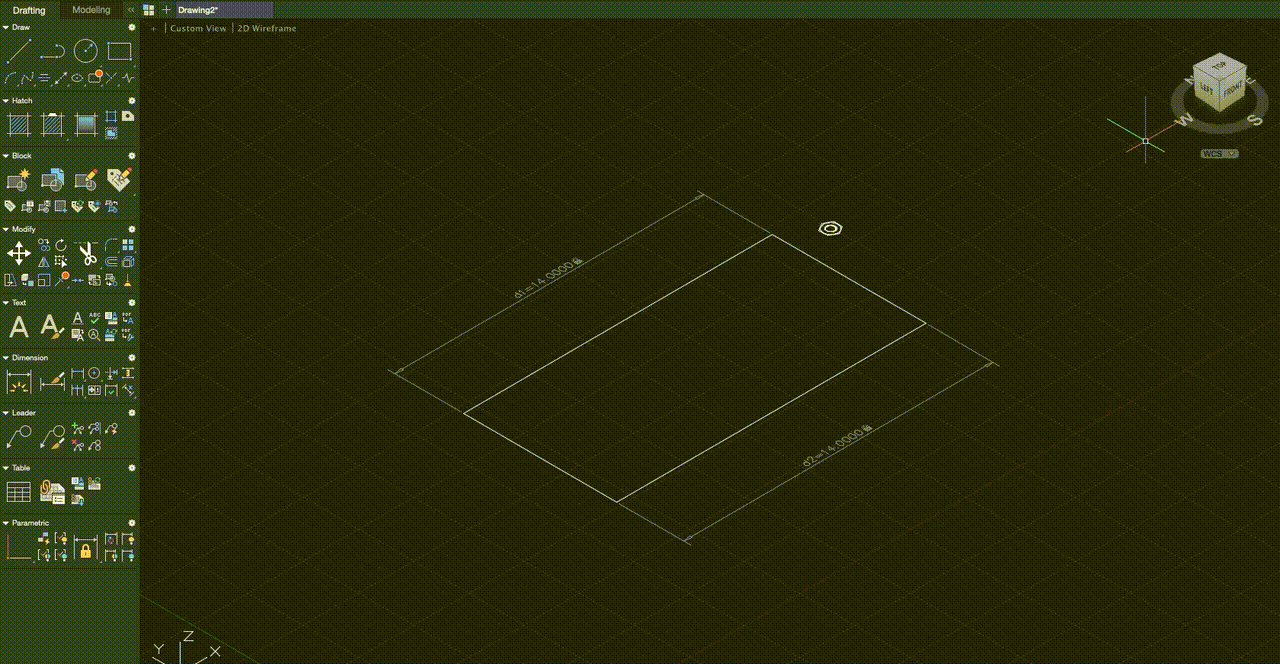
Now, left-click on the view cube and align your design file as per requirement.
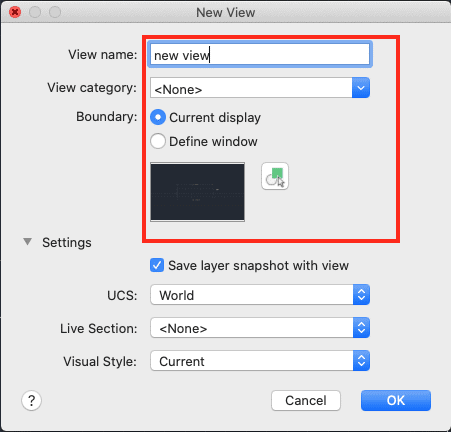
Click on the ‘New View’ button from the top toolbar.

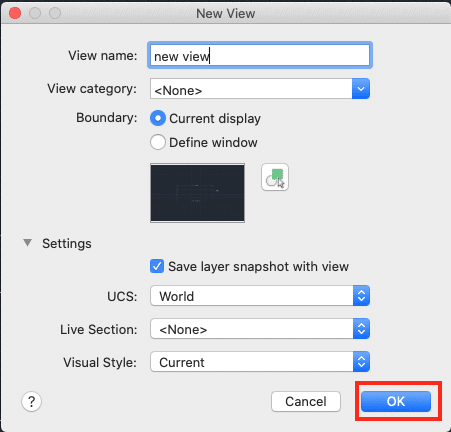
Assign a name to the new view and set the boundaries if required.
Click on OK to confirm the changes.
Your new viewport is created.
