

One of the most defining features of the Mac and Macbook devices is the ability to share files and folders with other people on the same network. Also, thanks to the security protocols in place on the macOS platform, you can even choose between sharing the files with all the users on the network, or with a select few.
In this tutorial, we will show you how to set up file sharing on the Mac and Macbook.
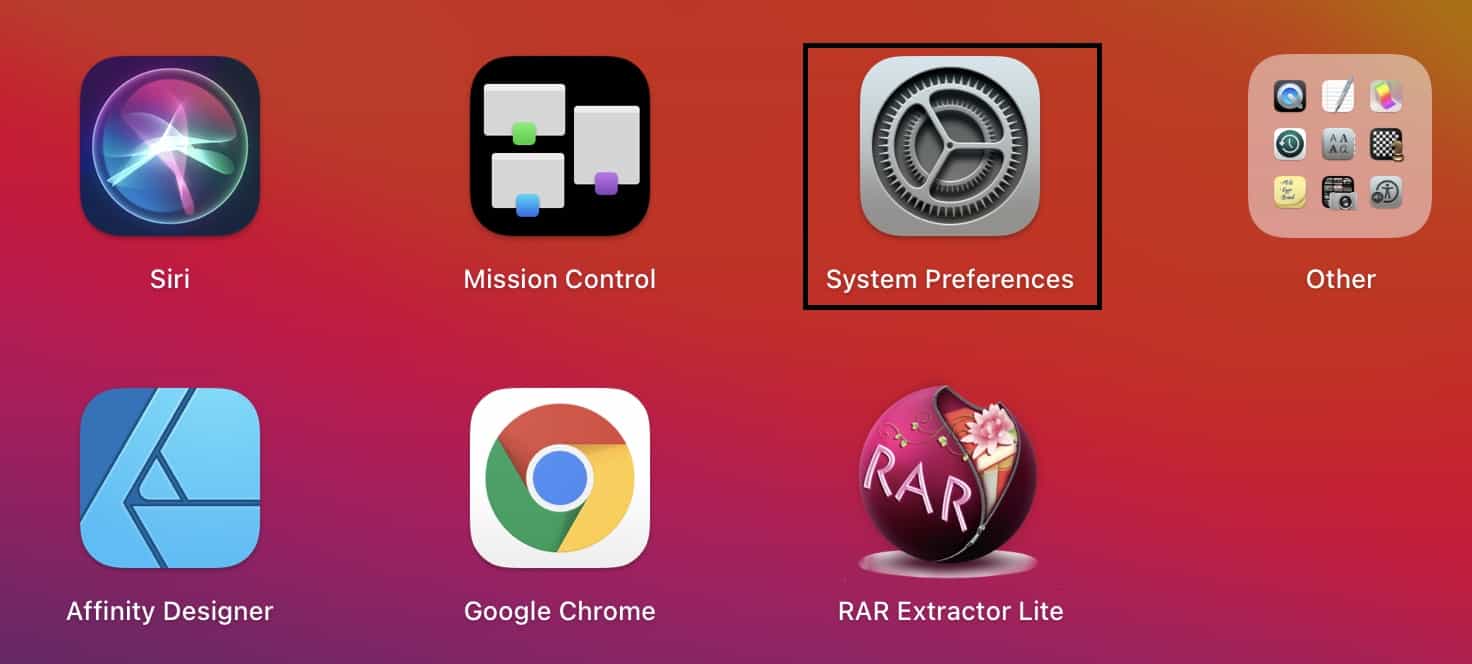
Open the ‘System Preferences’ app on your Mac or Macbook.
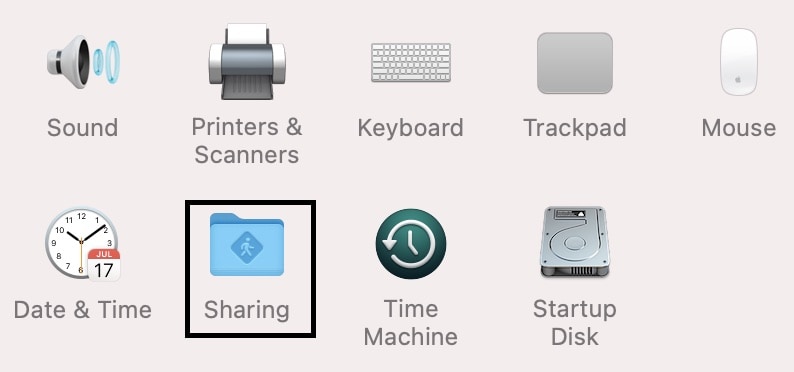
On the System preferences home screen, click on the ‘Sharing’ button.
To share a specific folder on your Mac, click on the ‘+’ button, and then navigate to the folder and add it to the list.
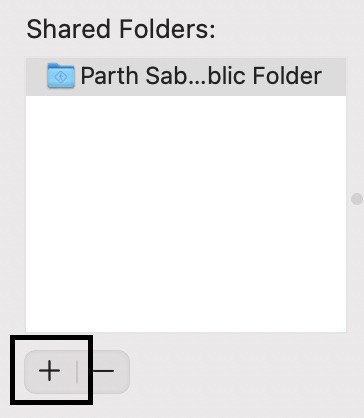
Keep in mind that the public folders of all users on your Mac are shared by default.
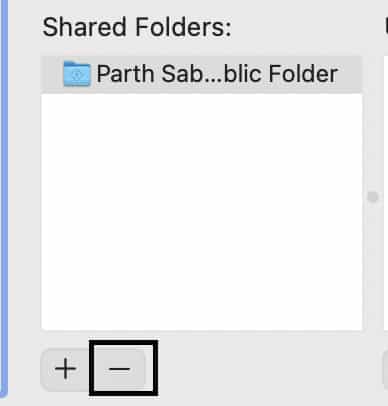
If you want to remove a folder from the sharing list, select it in the Shared Folders list and click the Remove button.
When it comes to giving access to the various users on your Mac, there are certain things you need to understand. By default, users on your Mac will be able to access only the public folders on the network. However, if there is a user with administrative access, he/she will be able to access all the contents on your profile.
If you want to give access to just a few users, or even a specific user, click the Add button (‘+’) at the bottom of the Users list, then do one of the following:
- Add users or groups from all users of your Mac: Select Users & Groups in the list on the left, select one or more names in the list on the right, then click Select.
- Add users or groups from everyone on your network: Select Network Users or Network Groups in the list on the left, select one or more names in the list on the right, then click Select.
- Add someone from your contacts and create a sharing-only account for them: Select Contacts in the list on the left, select a name in the list on the right, click Select, create a password, then click Create Account.
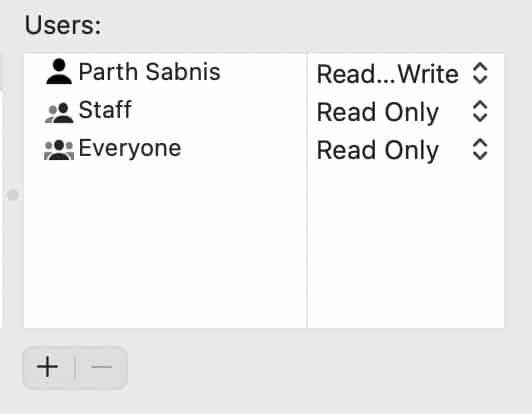
Once you have decided what to share, and who to share with, the final process is to decide what the users can do with the content. When you click on the individual usernames of the users on the network, you can select one of the following access types for them –
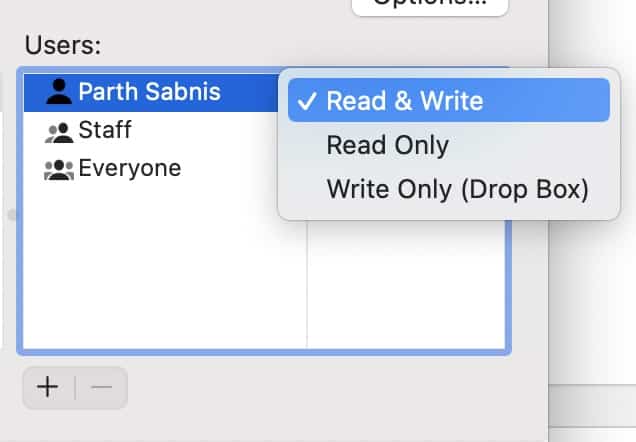
- Read & Write: The user can see and copy files to and from the folder.
- Read Only: The user can view the contents of the folder but can’t copy files to it.
- Write Only (DropBox): The user can copy files to the folder but can’t view its contents.
This is how you can successfully set up file sharing on your Mac or Macbook device. The settings and procedure remain the same irrespective of either of the two.
