

When you download a software, it is actually the latest iteration of the particular tool. Over time, the developers release updates and enhancements for the software. These updates bring in new features, crush any bugs or glitches, and fix any residual issues that have been reported by users or detected by the developers themselves.
AutoCAD also is such a software. Every month, Autodesk tends to release bug fix updates or new features to the AutoCAD platform, and as such, it has become imperative for AutoCAD users to keep their copy updated. This ensures that the tool works better, and more than anything, remains compatible with your systems without any unforeseen errors.
In this tutorial, we will show you how to update the AutoCAD application.
Method 1. Using the Desktop app.
Step 1. Open the AutoCAD application on your PC.
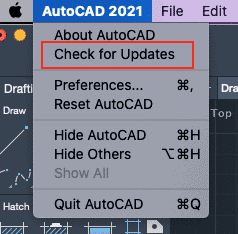
Step 2. Click on the AutoCAD button on the toolbar.

Step 3. Click on ‘Check for Updates‘ from the drop-down menu.
Step 4. If there is an update available, you can now directly download and install the same.
Method 2. Using the Autodesk Website.
Step 1. Open the browser on your Desktop/Laptop.
Step 2. In the URL bar, type in manage.autodesk.com.
![]()
Step 3. Sign in to your Autodesk Account.

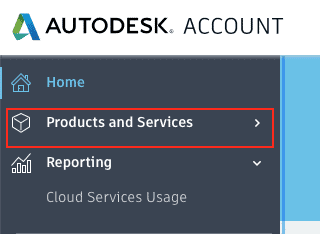
Step 4. Click on the ‘Products and Services‘ tab on the left pane.
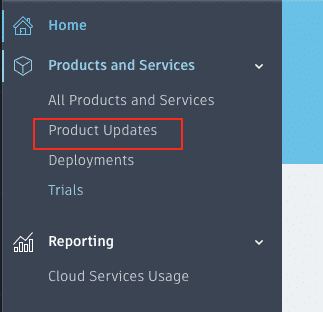
Step 5. Click on the ‘Product Updates‘ from the drop-down menu.
Step 6. Locate the updates for the AutoCAD application.
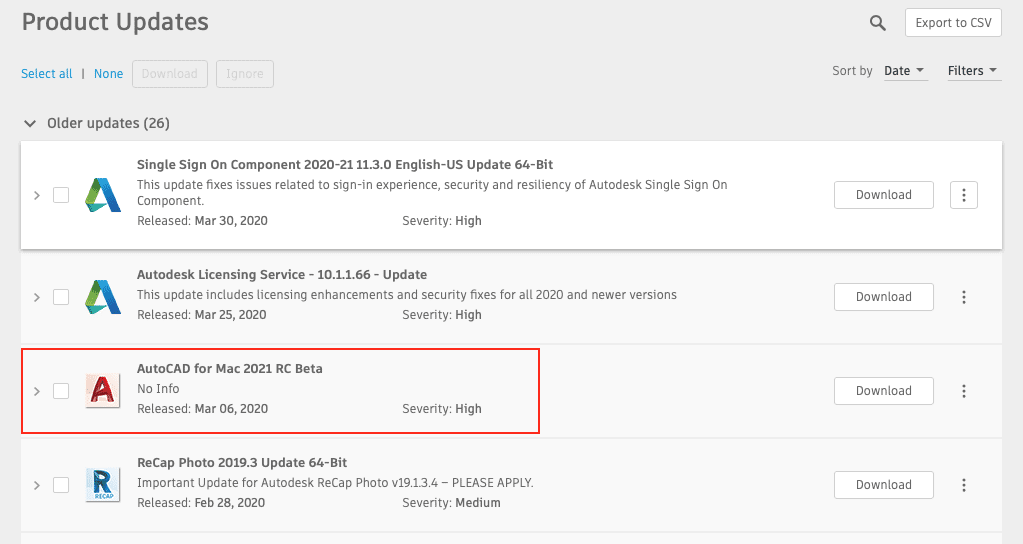
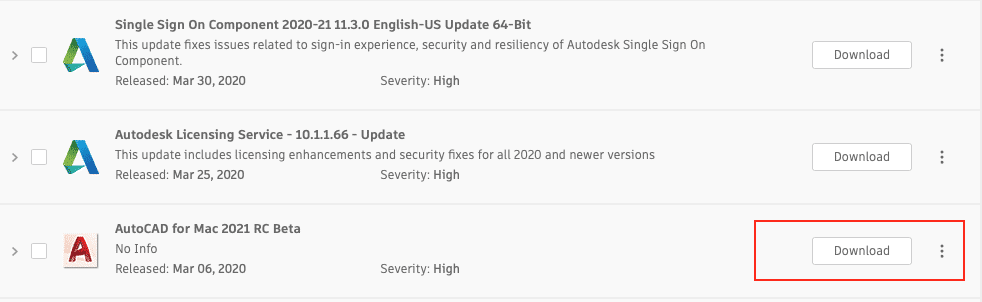
Step 7. Click on download to download and install the update.
Your AutoCAD app will now be updated to the latest build.
