

The iPhone family runs on Apple’s proprietary iOS platform, and every year, we see the company release a major upgrade to the OS. These major upgrades bring visual overhauls, polished features, and some new easter eggs here and there, that together, make the whole iPhone experience, wholesome.
By default, iPhones update the OS version on their own, without disturbing you, but this can be a little annoying, especially when you are working on something important, and your iPhone reboots to update itself. Apple understands this and as a result, they have given us the option to take the control of upgrading the iPhone, into our own hands.
In this tutorial, we will show you how to turn off auto-update on iPhone.
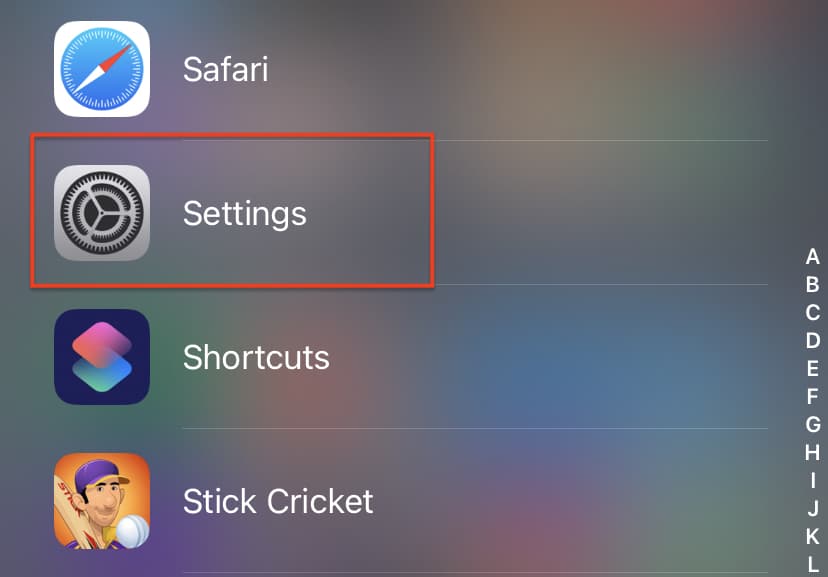
Open the ‘Settings’ app on your iPhone.
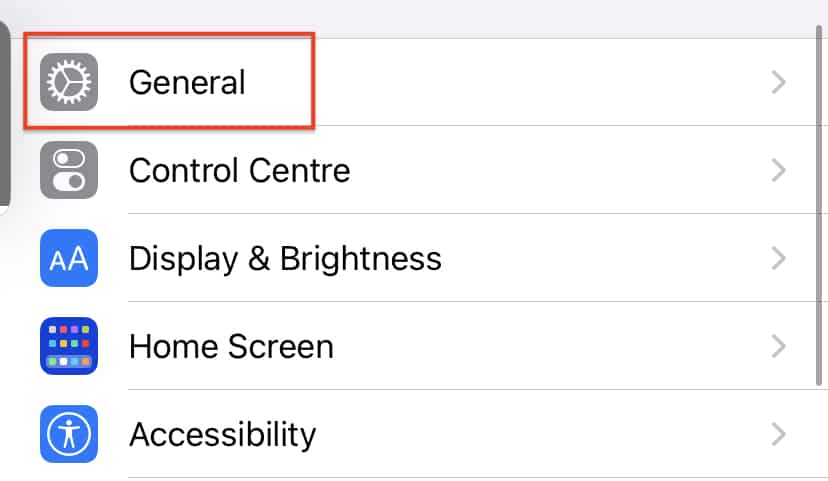
In the settings menu, tap on the ‘General’ option.
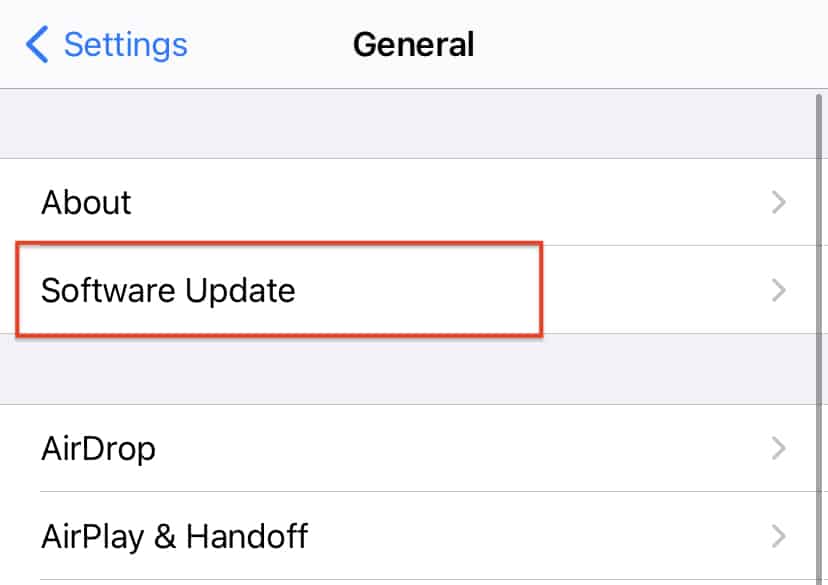
Next, tap on the ‘Software Update’ option from the general settings.
In the Software Update window, tap on the ‘Automatic Updates’ option.
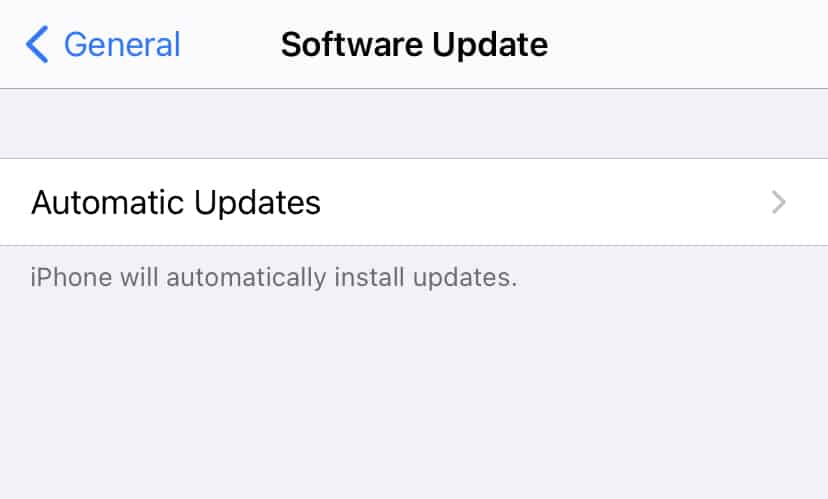
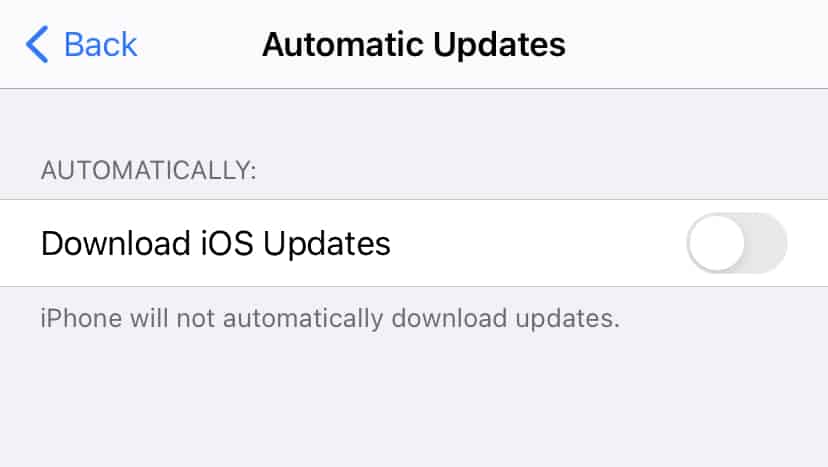
Toggle off both the options you see in the automatic update settings.
This will now turn off automatic updates on your iPhone. Keep in mind, that without the auto-update enabled, you will now have to check for software updates periodically. Apple does give out official notifications when they release a new upgrade, and you will need this information, a lot more, when you have turned off the auto-update feature on your iPhone.
