

The act of taking a screenshot has been gaining popularity over the years. The ability to quickly take a snapshot of some content, mark it up with your own custom notes or messages, and sharing it immediately with your friends or colleagues, has been something that Mac/MacBook users have been enjoying for years. Yes, in today’s world, the screenshot feature is available on all smart devices in the market, but every brand, has its own way of doing screenshots on their devices, and today, we are going to focus on the Mac devices.
In this tutorial, we will show you how to take a screenshot on your Mac or MacBook.
Table of Contents
Screenshot the selected area
Step 1. Unlock your Mac or MacBook to reveal the Home Screen.
Step 2. Browse to the content that you want to screenshot.
Step 3. Now, press the ‘CMD+SHIFT+4‘ keys simultaneously.
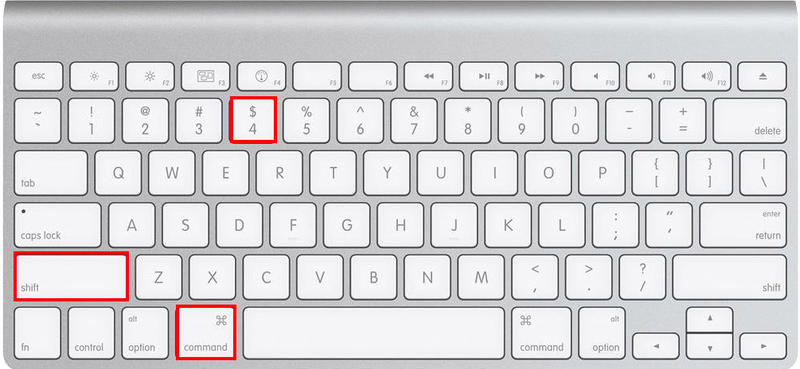
Step 4. Drag around the area on the screen that you want to screenshot.
The screenshot will now be taken and saved on your desktop where you can edit, markup and share it with your friends via iMessage.
Now, if you want to quickly screenshot the entire screen, this is how you can do it.
Taking a screenshot of the entire screen
Step 1. Unlock your Mac or MacBook to reveal the Home Screen.
Step 2. If you want to open certain apps that you want to include in the screenshot, you can open them if you wish.
Step 3. Now, press the ‘CMD+SHIFT+3‘ kets simultaneously.
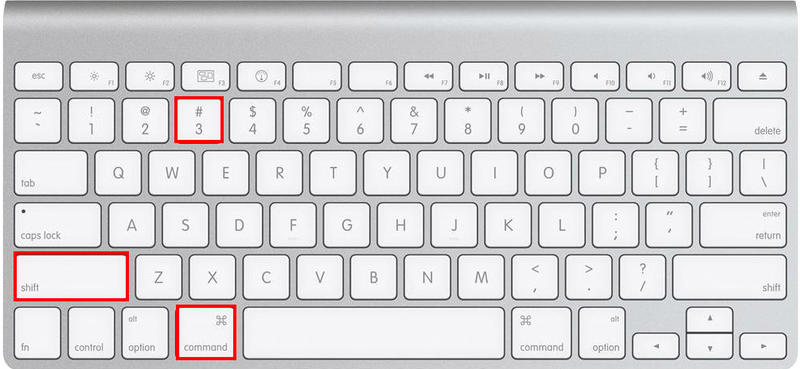
The screenshot of the whole screen will now be taken and saved on the desktop, and you can now open it, edit it, and even share it with your contacts.
One word of caution though is that you must ensure not to include any sensitive information in your screenshot, as the recipient can misuse the information for their gains. Please be very careful while taking screenshots, and if you spot some information that you don’t want the recipient to see, either crop it out or edit it out using the editing tools available in the preview window itself.
