

One of the most popular ways of expressing yourself or exchanging ideas is through communication. In this growing world of technology, we have been gifted with multiple ways of communication, some of which, include –
- Text Messaging (SMS or MMS)
- Social Media Messengers (Whatsapp, Messenger, etc)
- Emails
Out of the three, probably the oldest and most reliable is option 3 – Emails. Sending an email started off as the first means of communication between a lot of people and OEMs have respected that sentiment, and rather than offloading this humble means of communication, they have taken it to higher levels. The Mac and Macbook family comes with a holistic email app, that allows you to include multiple email ids in one place, allowing you complete control over your email communications.
Using this email app is very easy, and in this tutorial, we are going to show you how to set up the email on your Mac.
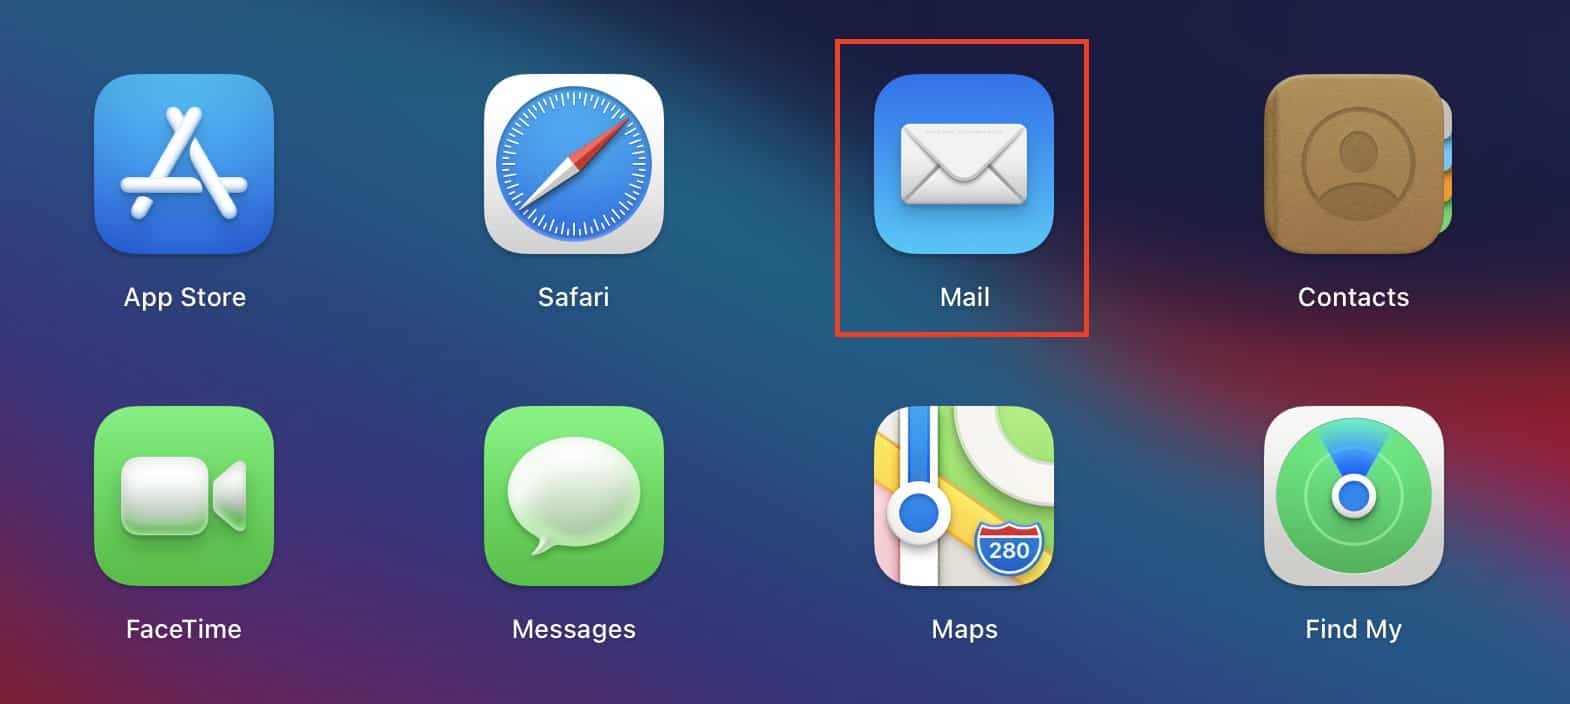
Open the ‘Mail’ app on your Mac.
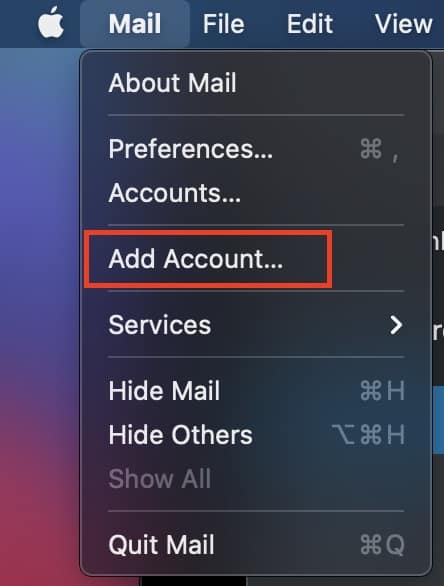
Click on the ‘Mail’ option from the menu bar on the top of the screen.
![]()
Click on the ‘Add Account’ option from the drop-down menu.
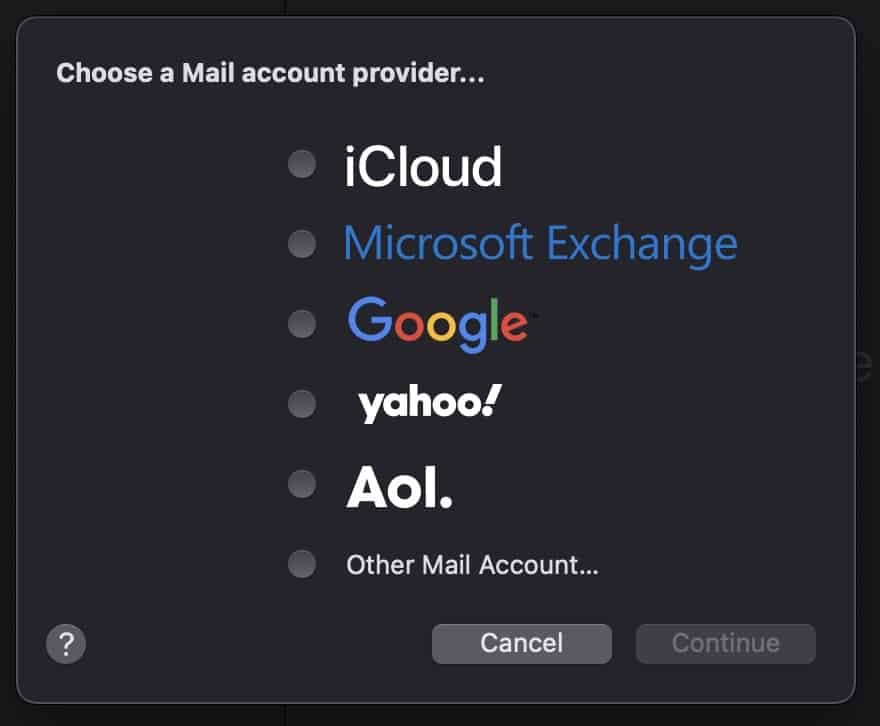
Now, choose the Mail Account provider of your email ID. For the sake of this tutorial, we will go with Gmail.
Now, you will see the familiar login screen that you find on Gmail.
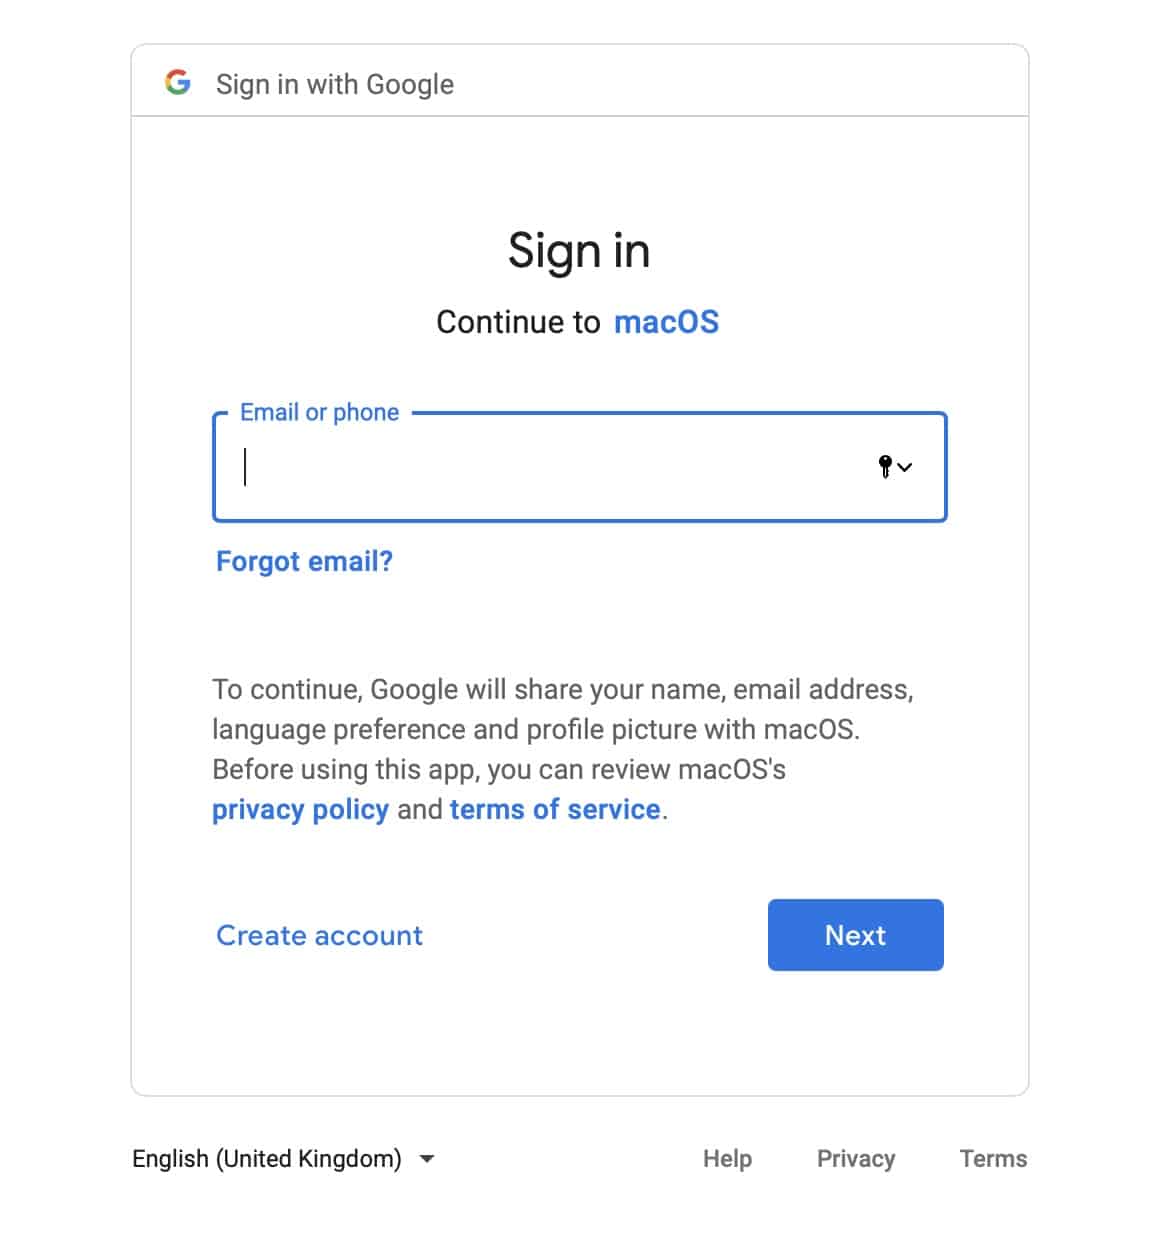
Enter your credentials and perform the login procedure.
You will now see the mailboxes that you have on your Gmail account, getting populated within the ‘Mail’ app. You can similarly add other email clients within the app if you are in the habit of using multiple email IDs for your work and personal use.
The Mail app comes pre-installed on Mac and Macbook, as well as iOS and iPadOS devices, which means you can get started right after you boot and set up your devices.
