

One of the most important apsects in the growing world of technology is data security. People exchange a lot of information with each other on a daily basis, some of which can be confidential in nature. However, with recent data breaches and the overall tricky nature of privacy on the internet, the demand for for data encryption is at an all time high.
Initially, encryption was limited to the government or corporate applications, but now, thanks to increasing demand from general users, OEMs around the world have started incorporating encryption features into their products, including dedicated Mail applications.
The Mail application on the Mac and Macbooks allow you to send encrypted mails to your recipients and in this tutorial, we are going to show you how to send such encrypted emails using the Mail app.
Open the ‘Mail’ app on your Mac or Macbook device.

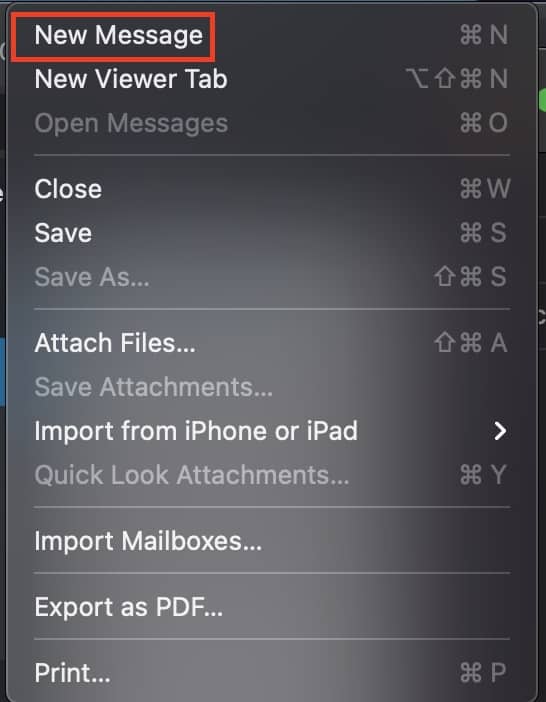
Click on the File option and then click on the ‘New Message’ option from the drop-down menu.
In the From section, select the email ID that you have a certificate for.
Now, start typing in the email addresses of the recipients. If you have a certificate for these addresses, you will see a lock icon that indicates that the email is encrypted.
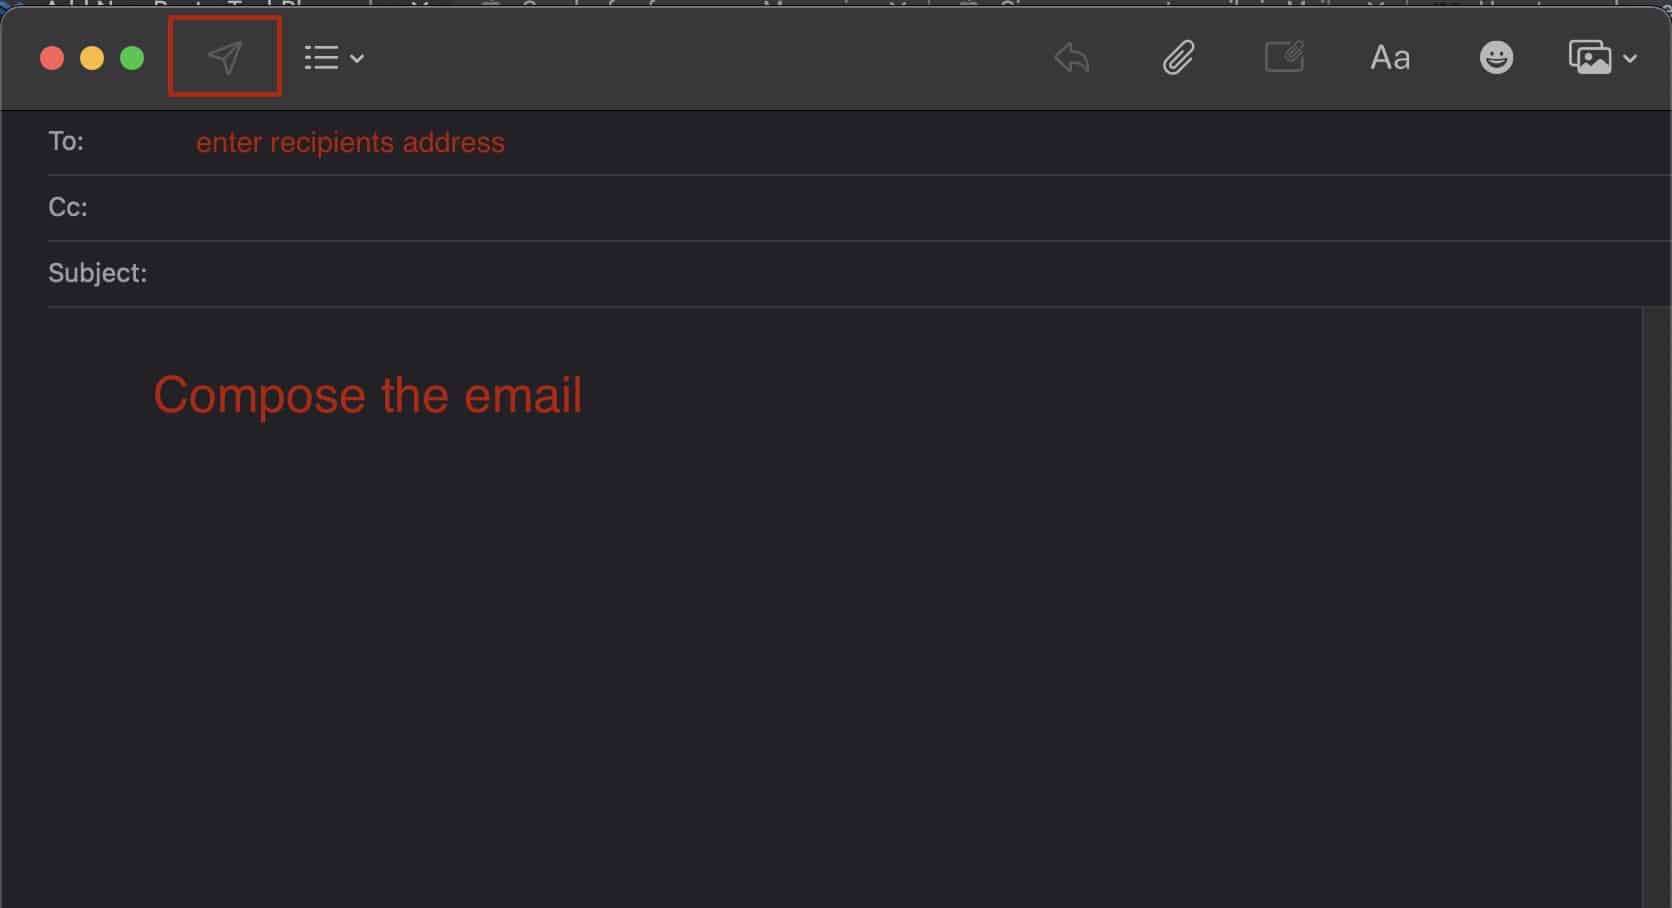
Compose the email and click on the ‘Send’ button to complete the process.
Now, do keep in mind that if you do now have certificates for the recipient’s email addresses, you cannot send encrypted emails to them. This is the rule and cannot be worked around. Encrypted emails ensure that your content cannot be intercepted by notorious parties and only the recipient in question can view the contents of the email.
Even if someone was to get a copy of the email illegally, they will still not be able to view the contents. This adds a much-needed extra layer of protection to all your emails.
