

No matter where you are, there must have been a time or there must be some aspirations right now, to travel the world. A few years ago, this process involved planning, booking tickets, and going on an adventure. But now, with the world fighting a pandemic, traveling has become a little more tricky and in some cases, a bigger hassle than anything else. Wouldn’t it be nice if there was some way to actually travel to your favorite place in the world, without really getting off your bed?
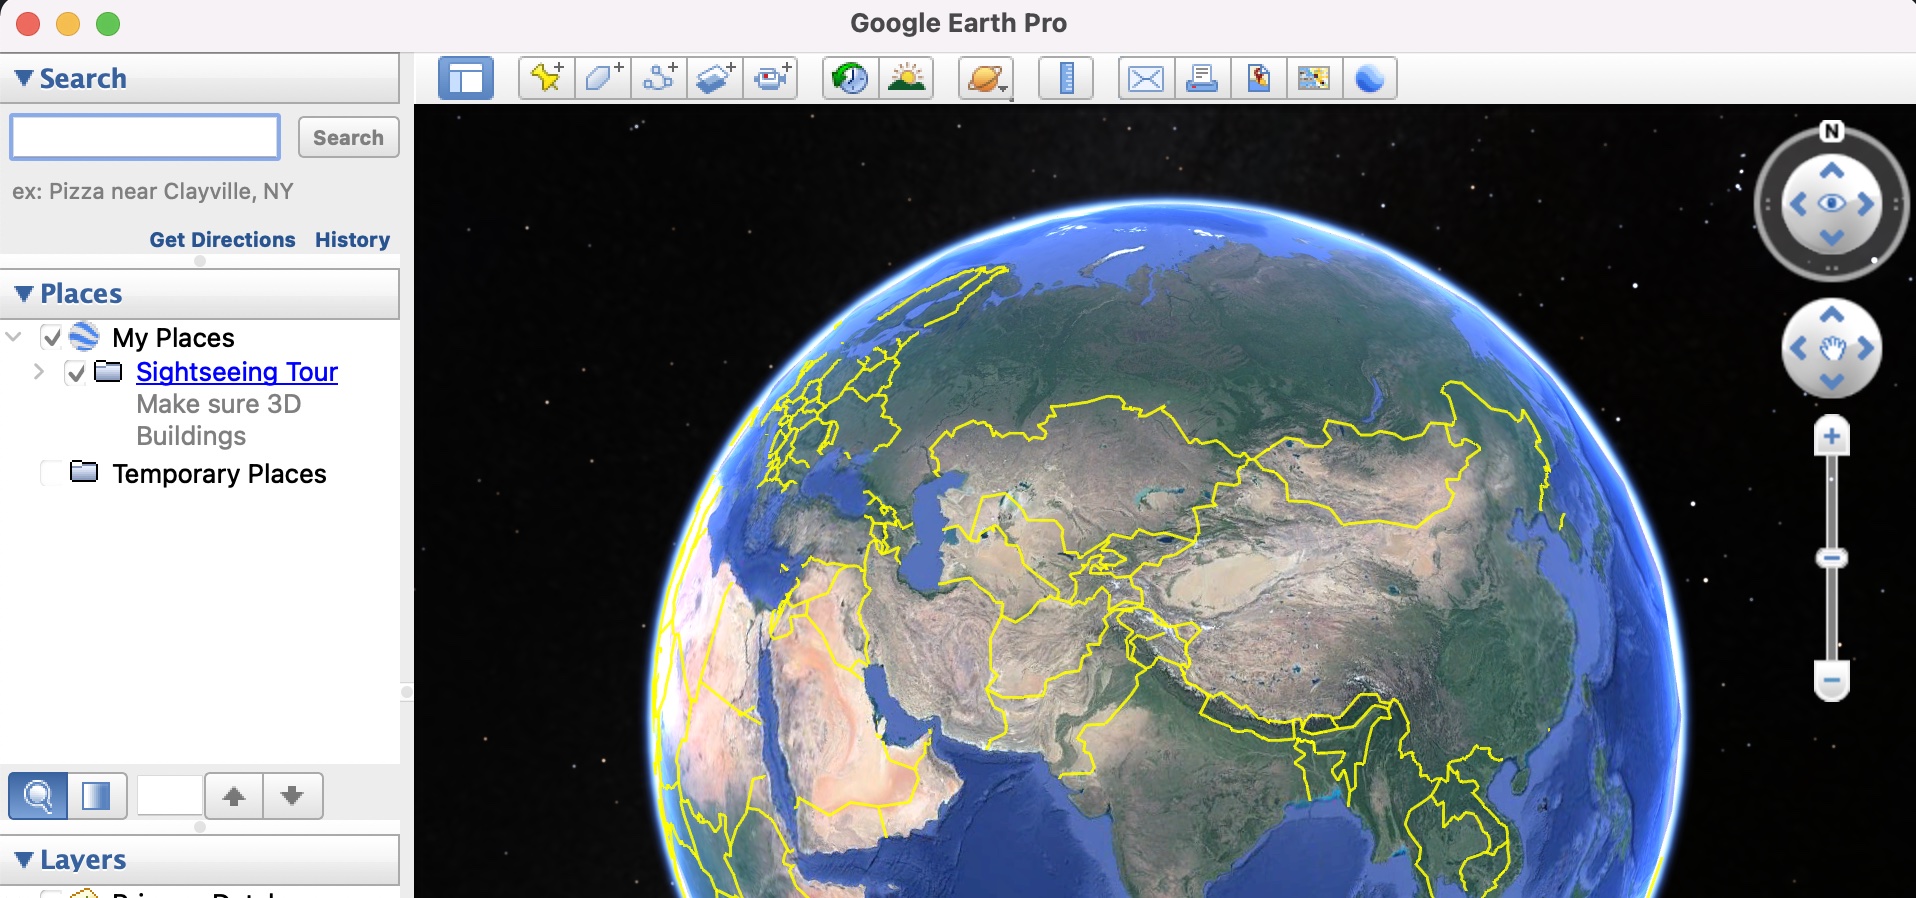
Google Earth, for those of you who don’t know, is the three-dimensional planetary browser that shows our entire planet (albeit a few top-secret military bases) in satellite imagery and aerial photos.
This has been in the works for a while now, and people have absolutely put this software on a different level, as it allows them to literally explore a virtual 3D earth, and all the places it contains, anytime and anywhere you want.
Now, if you have found an interesting place on the virtual globe, you may be tempted to record your virtual tour for future reference or for sharing with friends and family. Fortunately, Google Earth allows you to record your session and save it, straight from within the application.
Let’s take a look at how you can record your activity on Google Earth
Step 1. Open the Google Earth pro application on your PC.
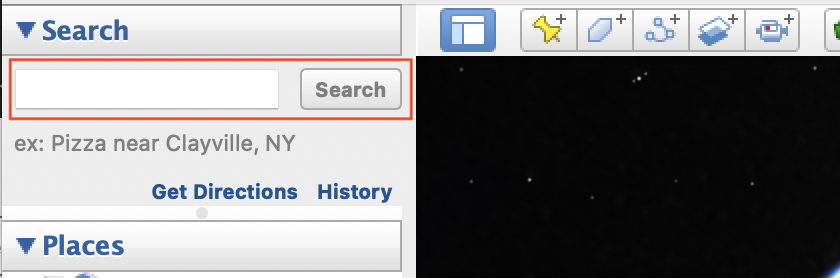
Step 2. Using the search bar, look for the place you want to visit virtually.
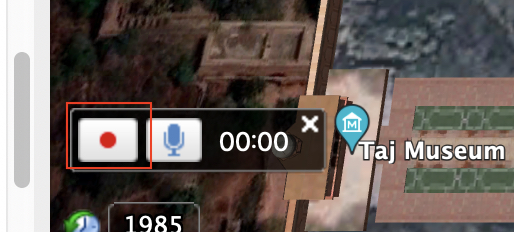
Step 3. Ok, now before you start virtually touring or browsing through the location, you may want to start recording the session. To do that, click on the ‘Record’ button on the toolbar.

Step 4. Click on the red button to start recording the session. Now, continue your virtual tour or manual browsing session.
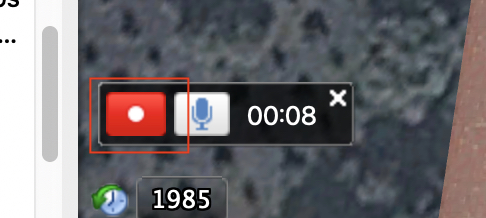
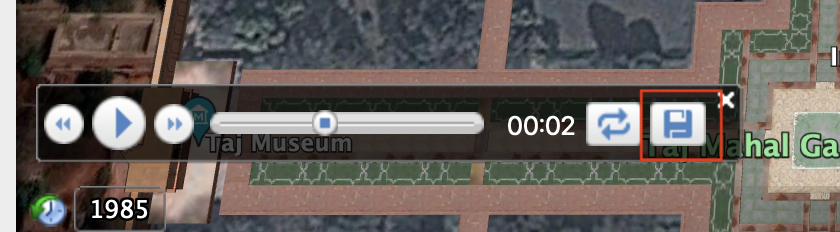
Step 5. When you are done with the session, click on the red button again to stop recording the session.
Step 6. Now, if you want to save the recording, simply click on the ‘Save’ button.
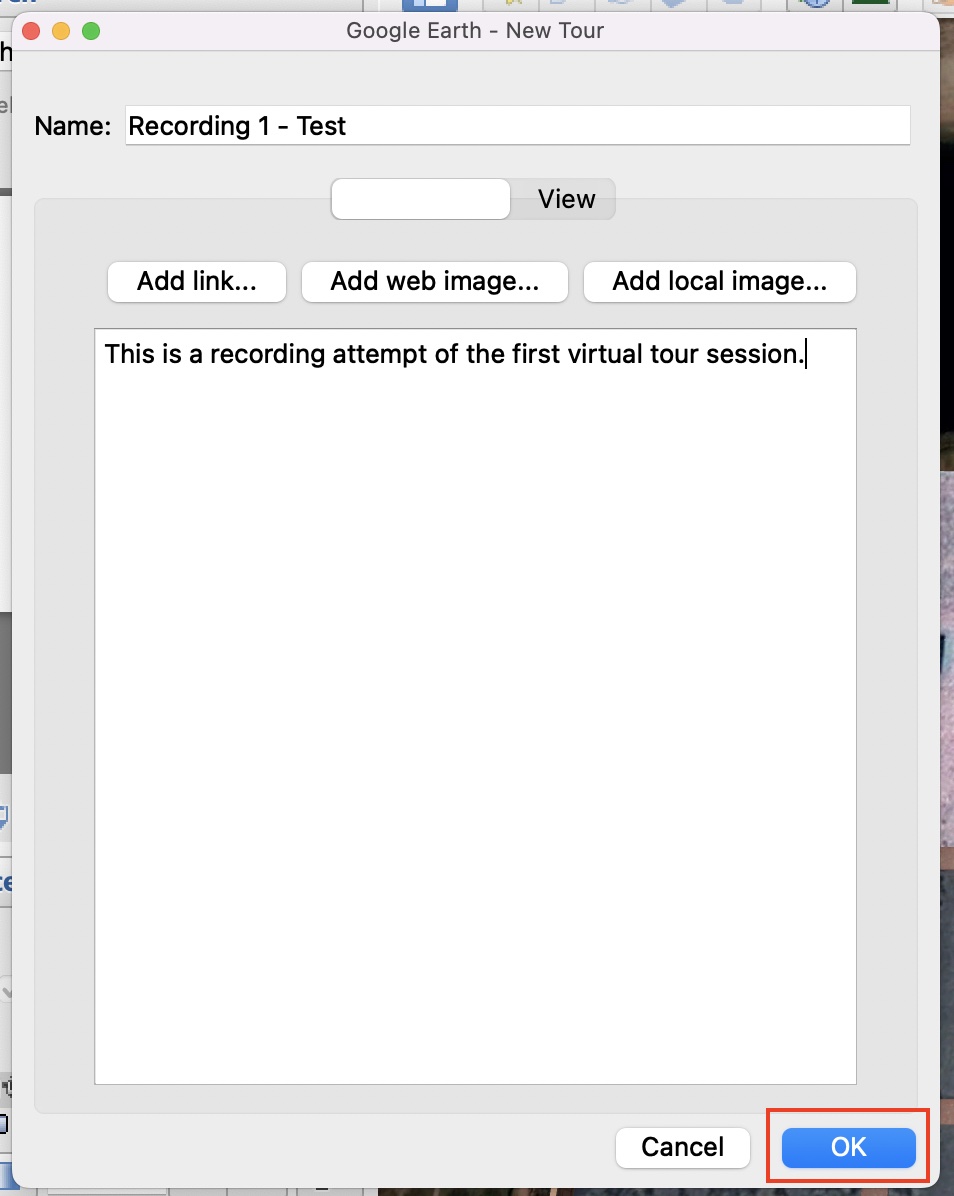
Step 7. Enter the name and a description for the recording. The recording session will now be saved within the application and you will see it turn up under the places tab.
You can now replay this recording whenever you want. If you want to share this with someone, you can right-click on the name of the recording and click on the email option. This way you can send a link to the recording to your contacts, who can view this recording on their devices.
