

When it comes to graphic deisgn software, the Creative Cloud Suite of apps by Adobe is is by far the most comprehencive and popular. However, the biggest complaint about this package is that it is very expensive making it a worthy purchase for enterprises and really rich individuals.
Designers who are just starting out on their own may not have this kind of budget, and will be looking for something that is cheaper or even free.
GIMP is a completely free graphic design software, that has been found comparable to even the Photoshop app. It can also be used to perform photo editing, especially, converting an image to a ‘background free’ asset.
In this tutorial, we will show you how to give a transparent background to an image using GIMP.
Open the GIMP application on your computer.
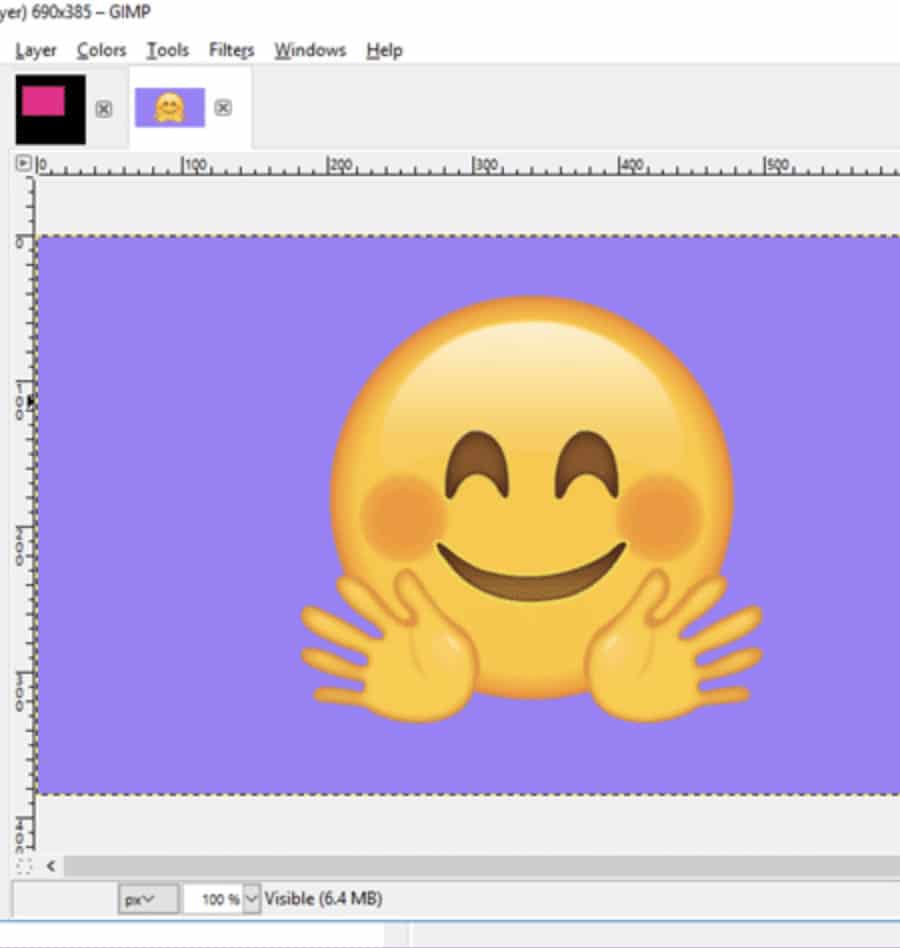
Click on File and the Open. Navigate to the image you want to remove the background of and open it in GIMP.
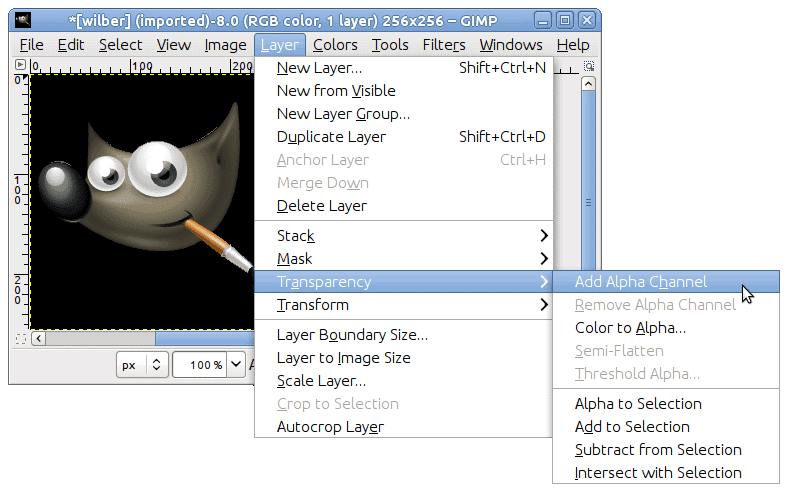
Right Click on the image layer from the Layer tab and then click on the ‘Add Alpha Channel’ option.
You can also click on ‘Layer’ — ‘Transparency’ and then select the ‘Add Alpha Channel’ option.
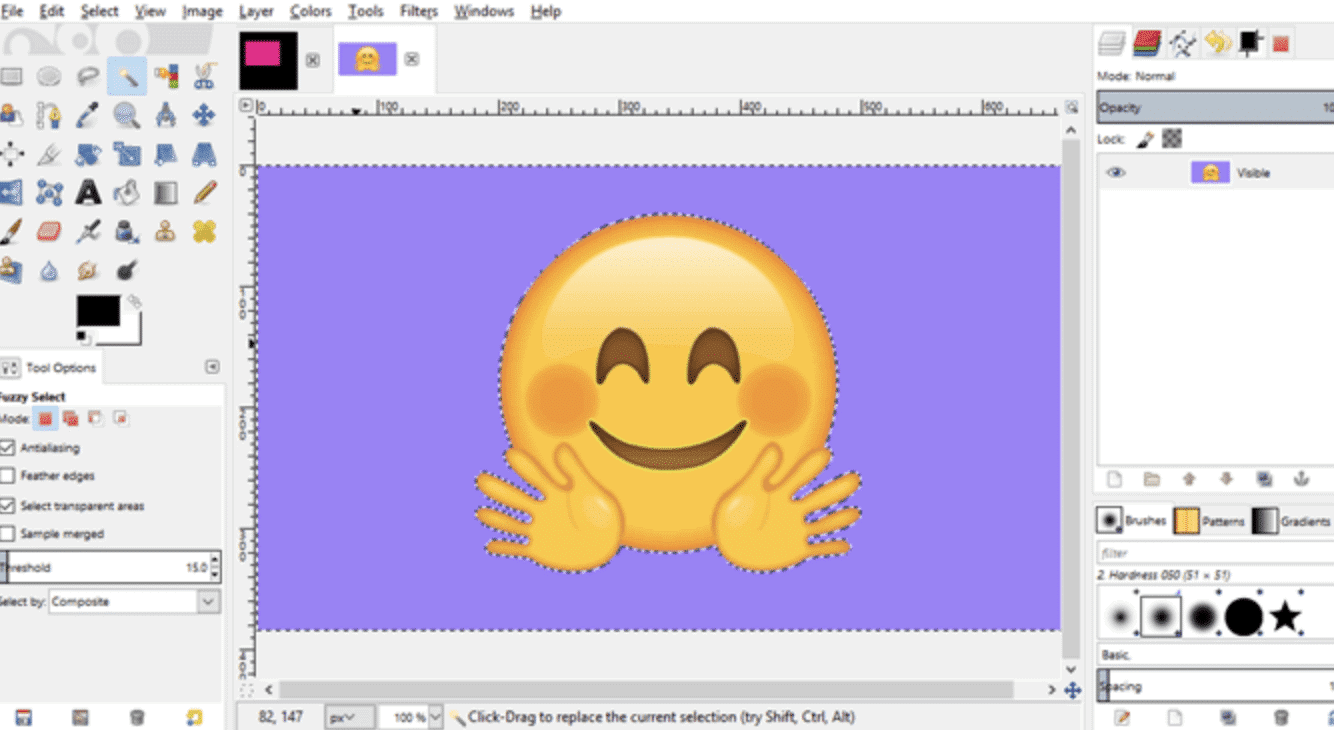
Click on the Fuzzy select tool from the left-hand toolbar and use it to select the background of the image.
Once the background layer is selected, hit the ‘Delete’ key on your keyboard to delete the background.
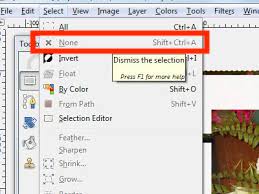
Click on the Select Option from the top tool bar and click on the ‘None’ option. This will deselect everything in the working area.
Lastly, save the image in the .png format.
This is how to make the background transparent on an image using GIMP.
