
Got a school project coming up that involves designing something fun? Well, look no further than crafting your very own cardboard robot! These recyclable robots are simple to make, fully customizable and will impress both your teachers and friends after school.
So let’s get straight into constructing an awesome robotic buddy from cardboard that can even come alive with some basic coding. Power on and get ready to unleash those creative juices!
Design Phase

First, whip out your favorite pencil and sketchbook to map out how you envision your cardboard masterpiece bot.
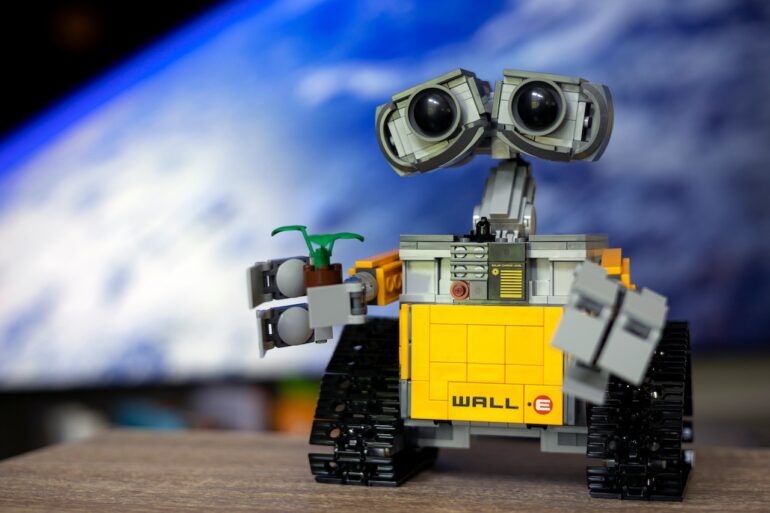
- Draw inspiration from popular fictional robots like Wall-E, C-3PO, Optimus Prime or keep it totally original!
- Focus on key robot elements like the head, eyes, torso, arms, joints and base.
- Ensure the design remains simple enough to execute with just cardboard, markers and glue.
Once you have a basic sketch ready, it’s time to visualize it in 3D!
- Cut out smaller cardboard pieces for each individual robot component.
- Arrange the pieces together based on your sketch to map out the measurements and angles accurately.
- Make any essential design tweaks before locking in the template.
With the guiding blueprint in hand, we are now ready for the best part – bringing the robot alive out of cardboard!
Material Gathering
Robots are notoriously handy at gathering all the prerequisite materials for their own creation, but let’s take charge of that responsibility ourselves this time!
Here’s what you would need handy for assembling your crafty cardboard robot:
| Material | Description |
|---|---|
| Cardboard boxes | Main construction material! Gather clean boxes of different sizes |
| Scissors/cutters | For shaping cardboard pieces per template |
| Glue stick/tape | To firmly bind cardboard pieces together |
| Acrylic paint | For coloring main robot body |
| Markers | To draw finer details like eyes, controls |
| Miscellaneous extras | Styrofoam, beads, foil for decorations |
Make sure to cover your working area properly before whip out the painting gear!
Constructing the Body
With design & materials secured, it’s now time for the physical construction phase:
- Follow your cardboard template closely to cut shapes for the head, torso, limbs etc using scissors/cutters. Leave connectors intact.
- Use glue/tape to firmly stick body pieces together into the full robot structure per the sketch. Reinforce joints.
- Leave main features like eyes, mouth open to add finer details later with markers/paints.
Take your time to assemble a sturdy standing model which can balance on its own legs or base support.
Adding Personality

Once the structural foundation is ready, shift focus to visible elements that will give your imaginative robot its charm and personality.
- Paint the robot body a bright, vibrant shade using acrylics and stay within the lines!
- Use black/colored markers to draw intricate details like facial features, control panels, power switches etc.
- Embellish with craft embellishments like googly eyes, sequins, beads to spruce up certain areas!
- Attach any clothing or structural decorations prepared separately to personalize further.
Let those creative juices flow freely here – wacky hair, funky antennae, cool gadgets or trademark symbols. Customize your cardboard robot in a way that makes it feel like your quirky mechanical BFF!
Animating Your Masterpiece
Want to take your robot friend from static to dynamic? Basic coding can work magic here!
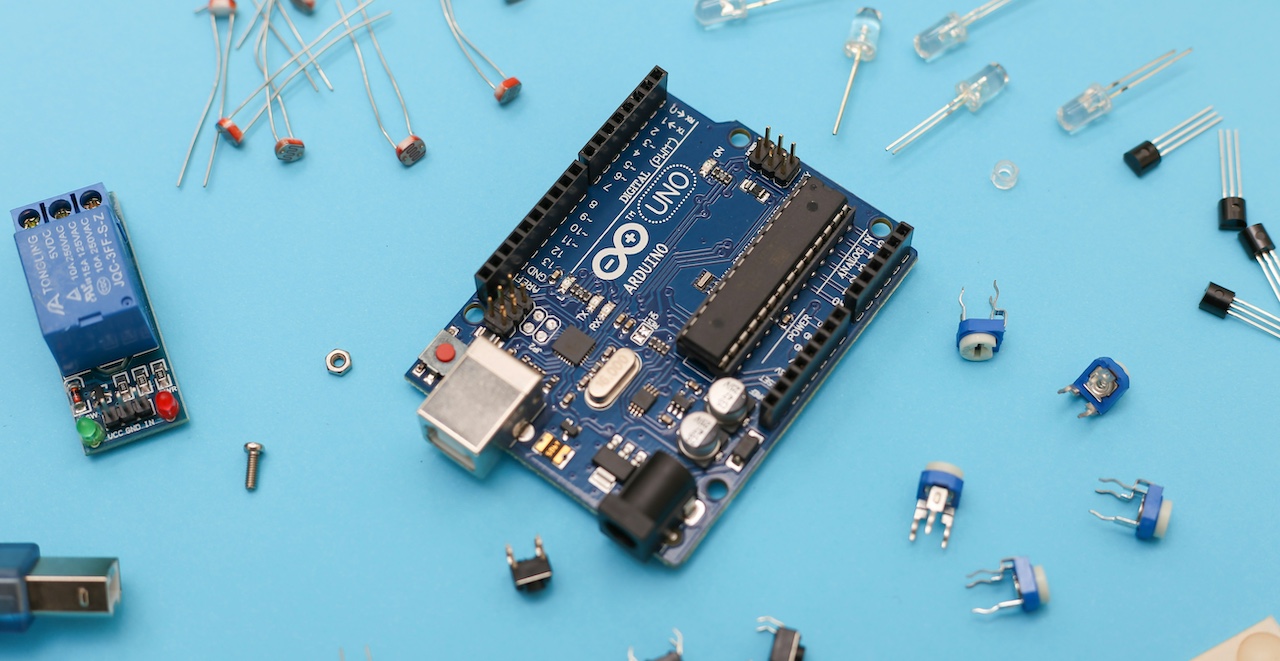
- Use pre-made robotics kits like Arduino to add movement capabilities and voice interactions relatively simply.
- Program and attach servo motors to animate robot arms or wheels on the base for mobility.
- Integrate a voice playback/recording module to enable conversations.
With DIY electronics, you can truly blur the line between imagination and reality. So try taking that extra step to energize your cardboard creation!
Presenting Your Genius
It’s finally time to flaunt your cardboard engineering genius and custom robot companion with the world!
- Take some glamour shots together with funky poses for maximum impact!
- Create a quick video showcasing key robot capabilities and behind-the-scenes build highlights.
- Draft scripted dialogue or introduce special skills to role play an interactive presentation.
- Don’t forget to highlight the technical craftwork involved through diagrams or images at key assembly stages.
Let your quirky robot speak for itself initially before diving into the production details. A stunning entrance builds curiosity organically before the big reveal. Dazzle them with a dramatic showcase that’s both memorable and informative!
