
Storage space is a critical component of any computer, and while memory and storage technology has advanced significantly, they might still fall short for some users, particularly those who work with gigabytes of data and require it all on the device for instant access. One way to alleviate computer storage issues is to periodically erase the temporary files that accumulate over time. These are normally little files that are created whenever you run a program or visit a website, and while they are innocuous in and of themselves, a large number of them can consume a considerable portion of your total storage space. Microsoft’s new Windows 11 operating system makes it simple to delete temporary files, and we’ll walk you through the procedure in this article.
Types of Temporary Files
The various kinds of temporary files that may accumulate on your Windows 11 device, may be classified as follows –
Windows Update Cleanup files – These files result after every update to the Windows OS. These files are retained on the system in order to help the user to revert back to the older version of Windows in case there is a problem with the current update. These may be deleted if the user is totally satisfied with the updated version of the Windows OS.
Windows Upgrade Log Files – These log files are created when you upgrade Windows. These may also be deleted if the current version of Windows works perfectly fine and as per expectations.
Windows ESD Installation Files – These files are used to reset the Windows. They may take up a lot of storage space, but it’s recommended that you don’t delete these.
Temporary Files: These are the files created by apps while executing a task.
Temporary Internet Files: These are the cache files for the websites you visit on Edge or the default browser.
Thumbnails: These files help Windows quickly load the thumbnails for the various pictures, videos, and documents stored on your computer.
How to delete the temporary files on Windows 11
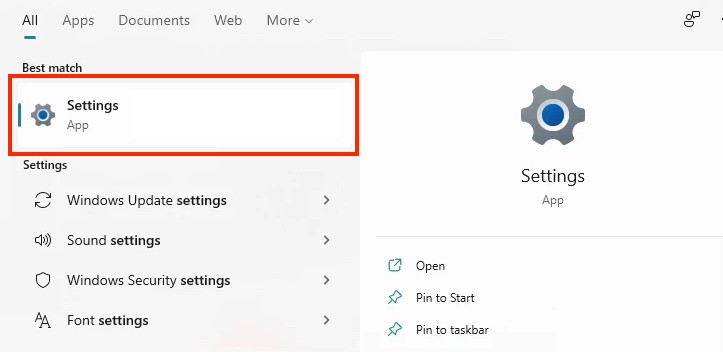
Step 1. Open the ‘Settings‘ application on your Windows 11 PC or Laptop.
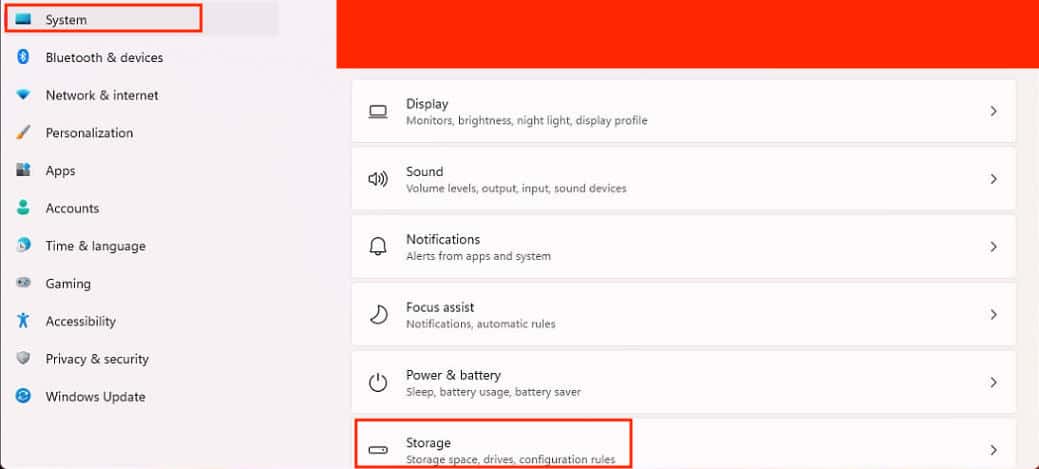
Step 2. In the ‘System’ tab, click on the ‘Storage‘ button on the right-hand side window.
Step 3. Once Windows calculates the storage space, click on the ‘Temporary Files‘ option.
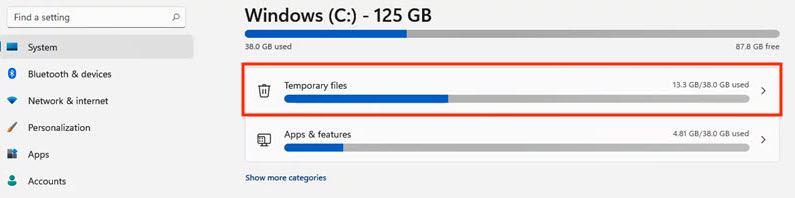
Step 4. Select the files you want to delete and click on the ‘Remove Files‘ option to confirm the operation.
Depending on the number of files you are deleting, it may take a few seconds to complete the whole operation, and once done, you can see how much storage space you have cleared up on your Windows 11 PC.
This is the easiest way to delete the temporary files stored on your Windows 11 device, and you don’t need to use any third-party application to accomplish this task.
One word of caution before we end this tutorial – Make sure you examine the type of files you are deleting. We have given you a list of temporary files above and we highly recommend that you retain the windows update files as they may come in handy at a later date.
