

When you connect to the internet using an Android smartphone, your device is assigned a unique ID that allows service providers to keep track of your activities online. You can use this IP address to locate your device and track it as well. This ID is called an IP address and every device is assigned a unique number to keep the activity discrete.
However, there are many people out there who try and hack into your device using your IP address and it can lead to a host of problems and even loss of sensitive data from your device.
Luckily, there is a way for you to change the IP Address of your Android Smartphone and that is what we are going to look into in this tutorial.
Step 1. Tap on the ‘Settings‘ app on your Android smartphone.
![]()
Step 2. Next, tap on the ‘Wifi‘ option from the Settings menu.
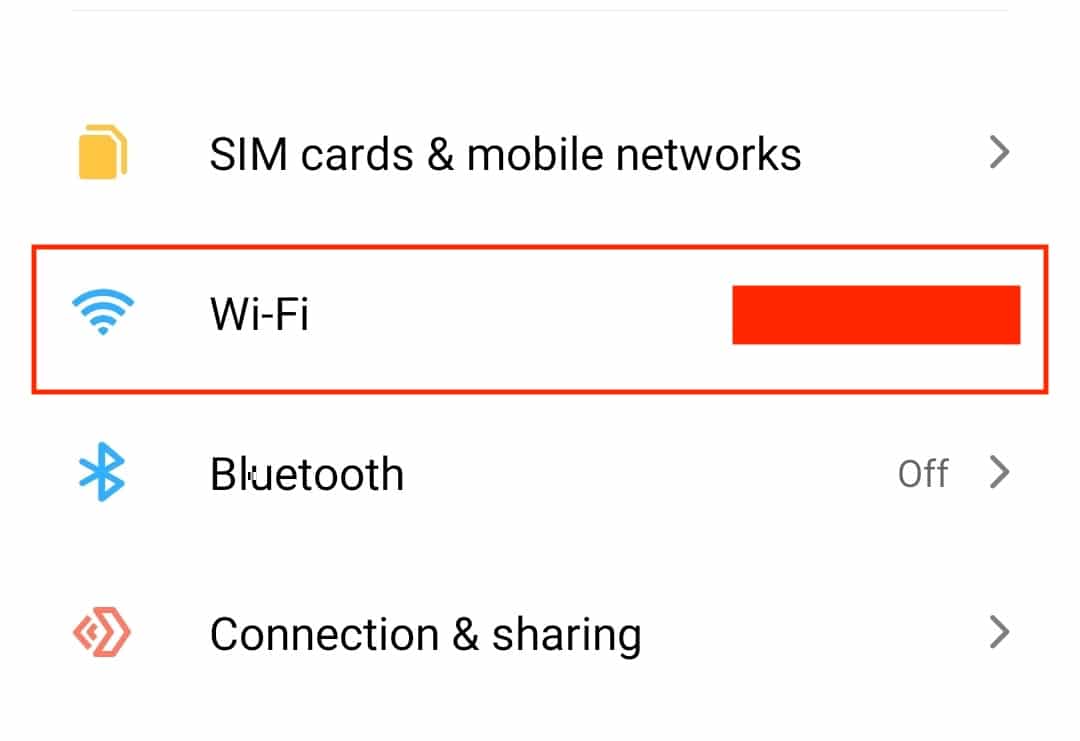
Step 3. Tap on the ‘Arrow‘ icon next to the Wifi Network whose IP address you want to change.
![]()
Step 4. Tap on the ‘IP Settings‘ option.

Step 5. Finally, tap on the ‘Static‘ option.
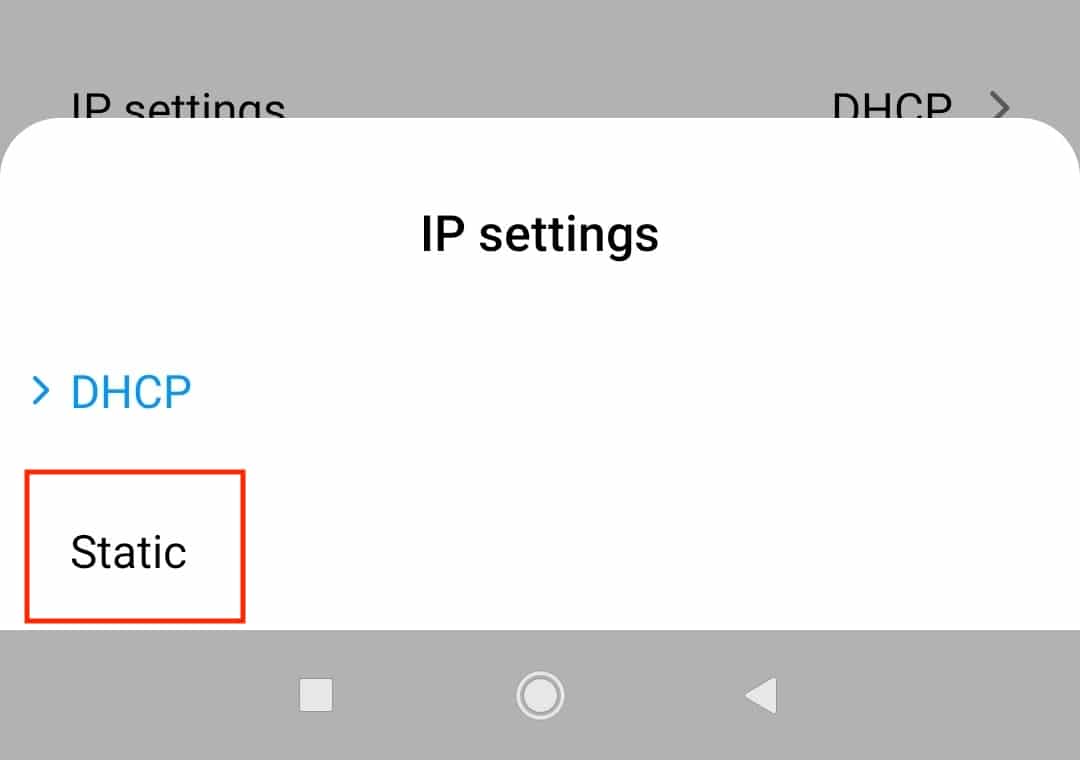
This will now change the IP address of the network and you can resume browsing securely once again. Hacking and data breaches are picking up and we urge you to stay vigilant when you are online because changing IP addresses is just one step. What you do online also determines your safety on the internet.
