

The Android operating system allows users to perform a slew of customizations like changing the theme, wallpaper, size of the font, colours, and in some cases, the font style as well. Many OEMs, that have their own custom UI built over Android, provide built-in font styles for users to choose from. Choosing different fonts gives users a truly unique smartphone experience, but that said, the procedure is not so straightforward for smartphones running the Stock Android UI.
If you own a smartphone that features stock Android, then in order to change the font style, you have to rely on third-party applications to get the job done. By third-party applications, we mean custom launchers, which are basically skins that apply themselves over Stock Android in order to change the overall experience.
In this tutorial, we will show you how to change the font on Android.
Download and Install the Apex launcher on your Android smartphone.

Go through the initial setup and apply it to your stock Android smartphone.
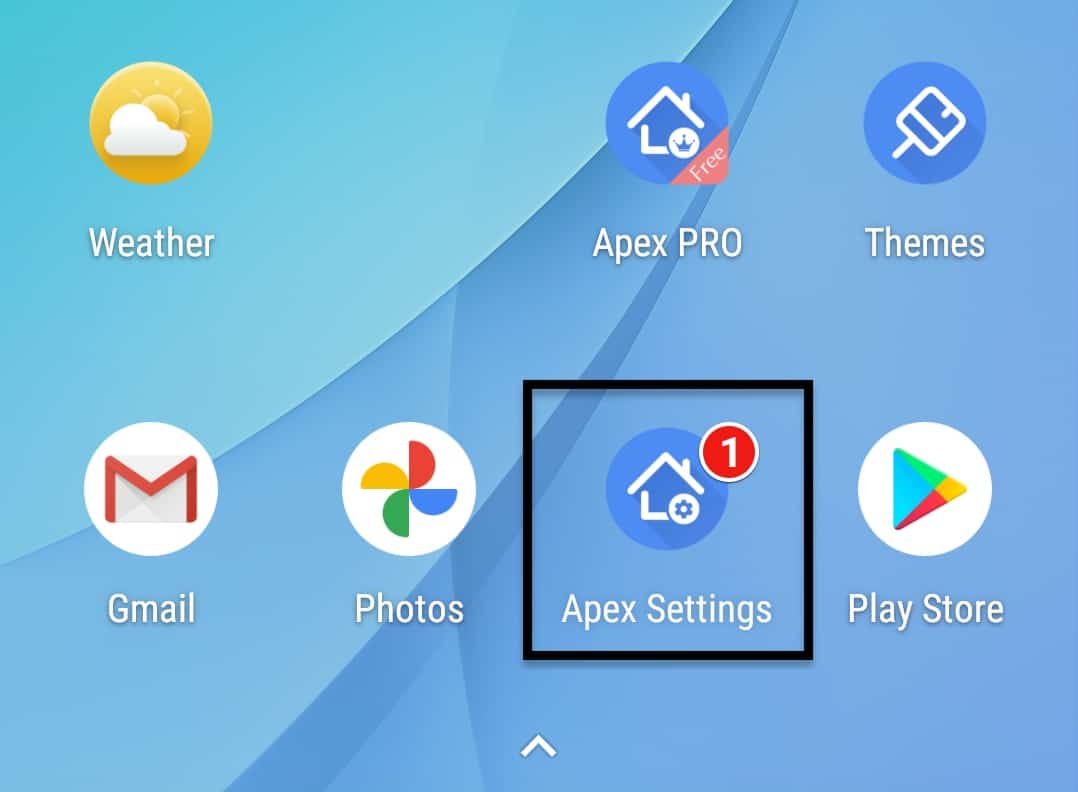
On the home screen, tap on the ‘Apex Settings’ option.
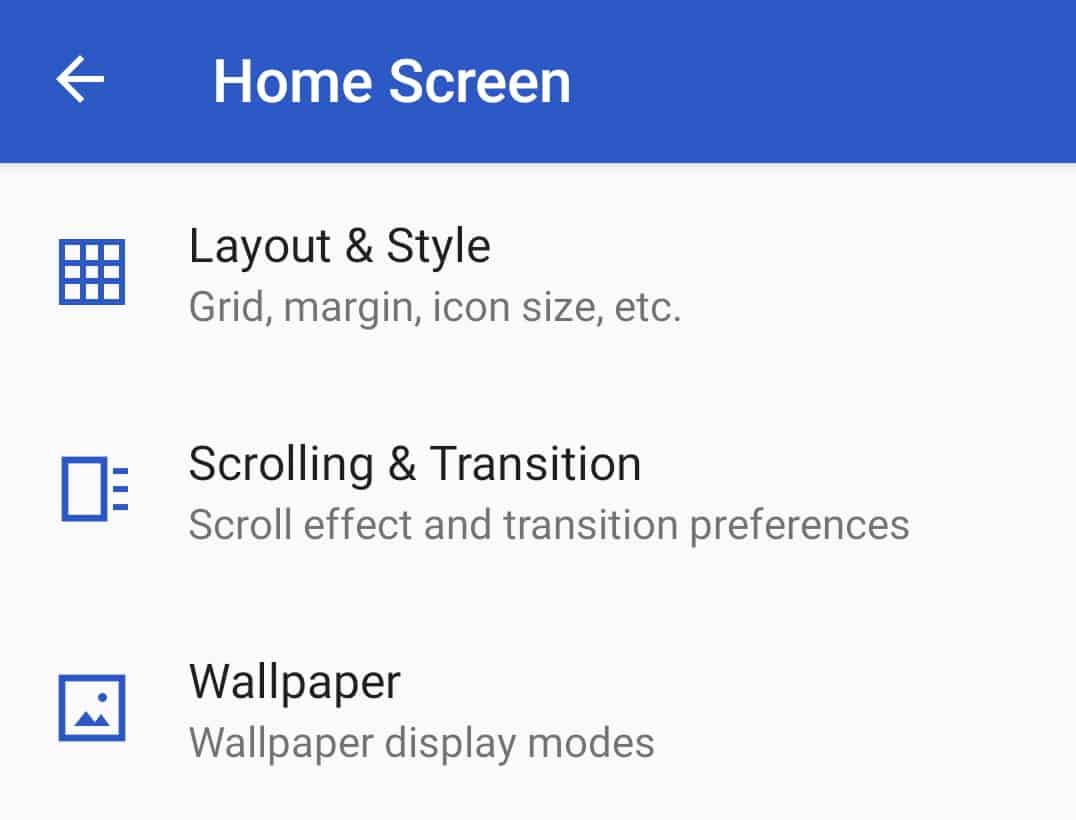
Scroll through the list and tap on the ‘Home Screen’ option.

Next, tap on the ‘Layout and Style’ option.
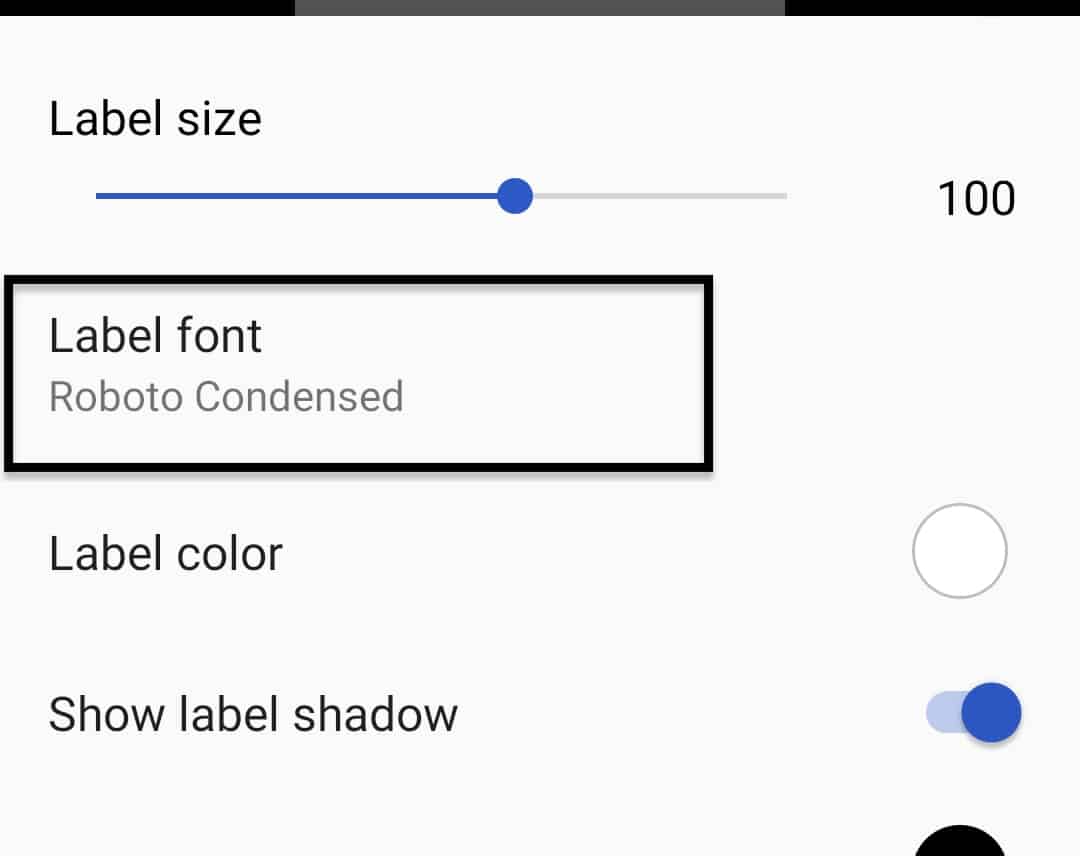
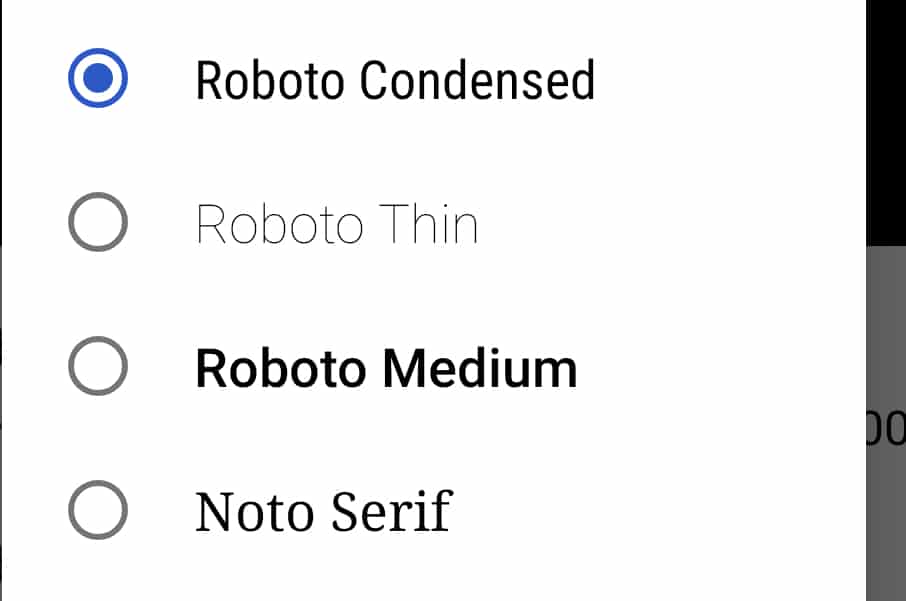
Scroll through the settings and tap on the ‘Label Font’ option.
Choose the font you want to apply to the system.
Exit the settings and you will see that the font across the system has been changed to the desired setting. Keep in mind that these settings will be in effect as long as the Apex launcher is installed on your device. The moment you choose to uninstall the launcher, you will lose all the settings pertaining to the same.
There are other launchers also available for Android smartphones, and it doesn’t matter if you have a stock Android device or a device from another OEM, you can still use these launchers to customize your experience.
