

Every design tool has its own unique features and style of presentation. Blender 3D offers users all the necessary features that are required in the design pipeline, for absolutely no cost.
Some of the UI elements in Blender 3D may look a bit complicated at first glance, but once you understand how they work, you will use them in all your design projects.
One of the most underrated features of Blender 3D is the 3D cursor. This basically indicates the origin point for any new body that is added into the Blender 3D file.
While it is very convenient when you have multiple layers to play around with, there are times where yoy accidentally left-click on the screen and move the 3D cursor to an unwanted location.
In this tutorial, we will show you how to re-center the 3D cursor on Blender 3D.
Open the Blender 3D application on your Desktop/Laptop.
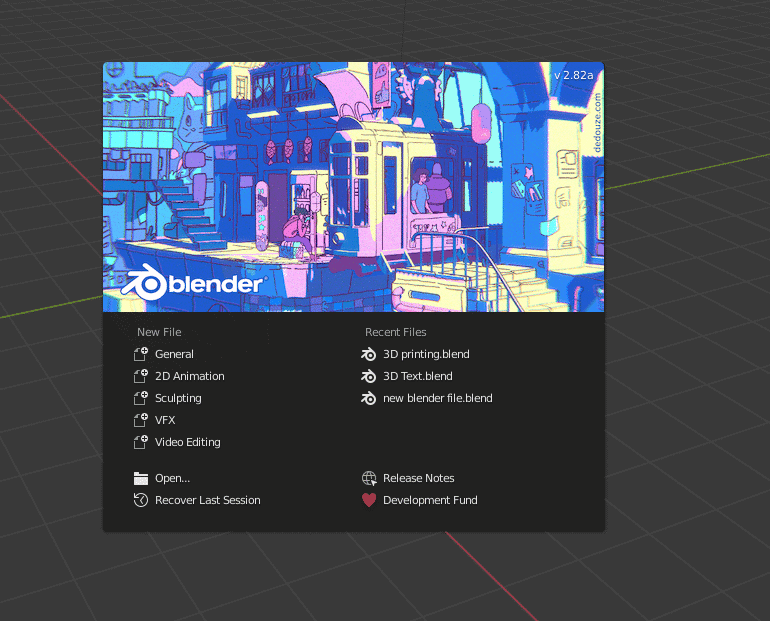
Create a new file.
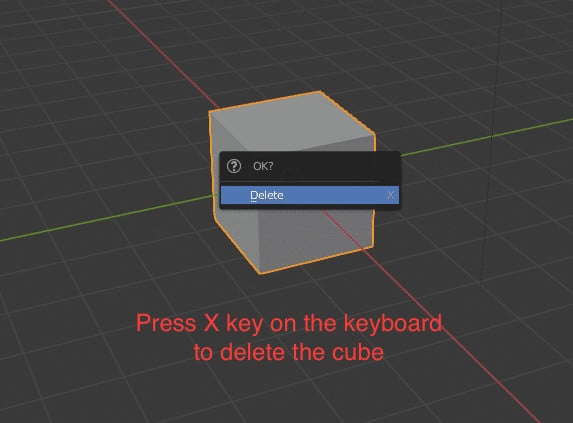
Left-Click on the default cube in the center of the workspace and press the ‘X’ key on the keyboard to delete it.
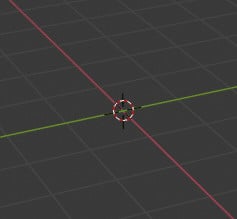
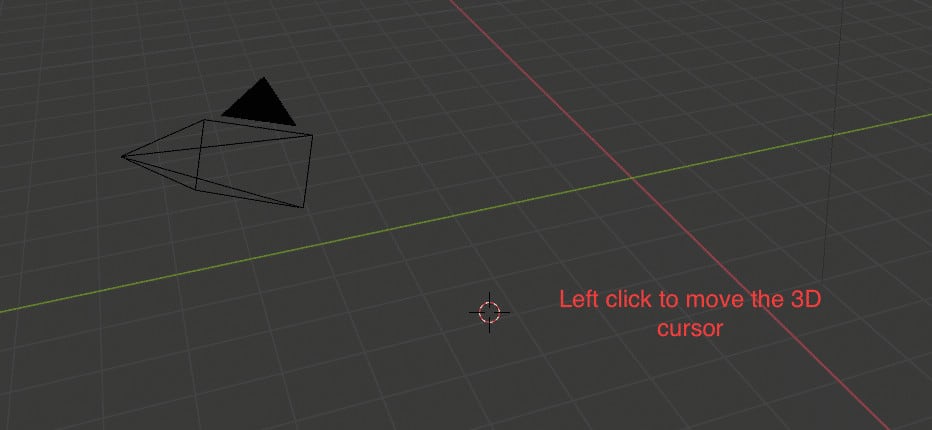
The red crosshair on the center of the workspace is the 3D cursor.
Click on the cursor button on the left-hand side toolbar.
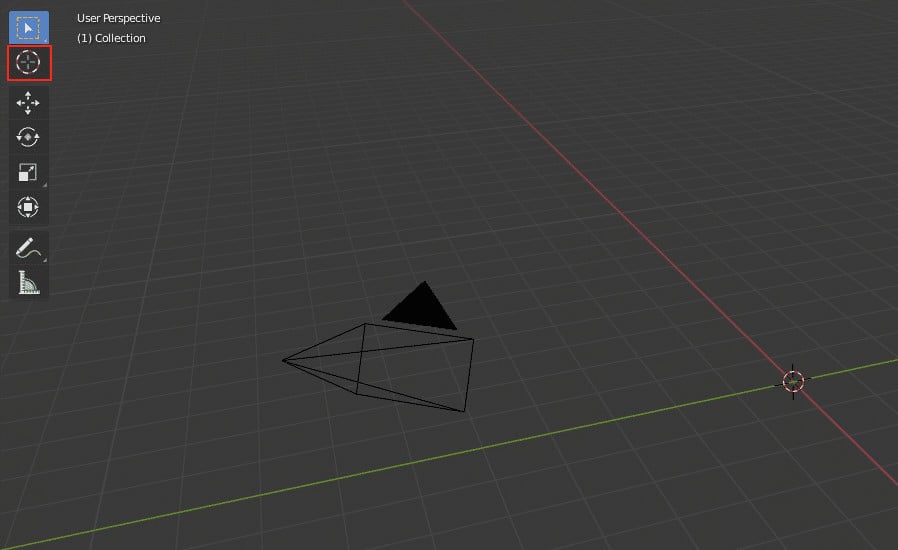
Left-click anywhere in the workspace to move the 3D cursor to that point.
Press the Shift+S keys on the keyboard.
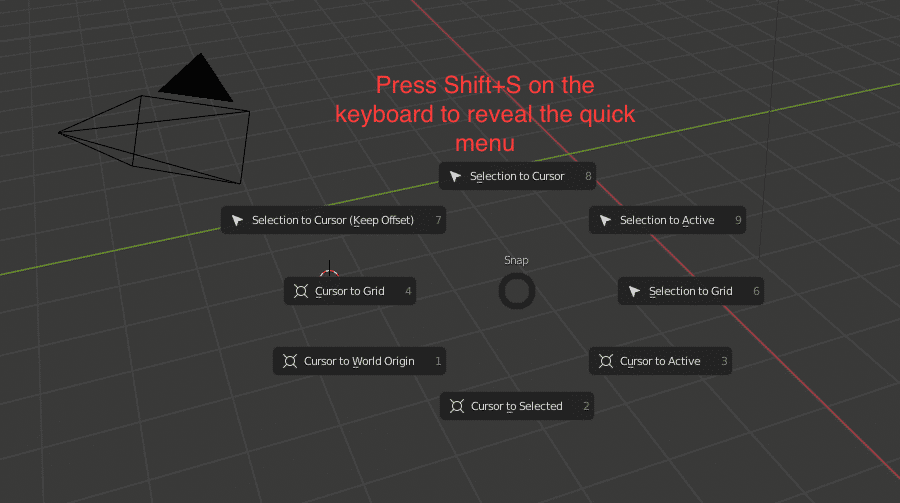
Click on the ‘Cursor to World Origin’ option from the menu.
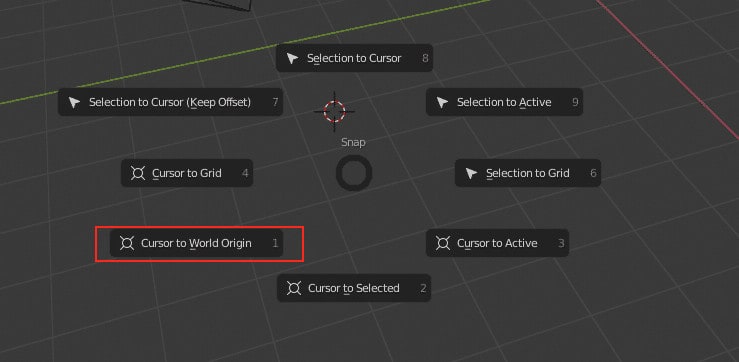
The 3D cursor will now come back to the center.
