

When you open the Blender 3D tool for the first time, chances are that you will get overwhelmed by all the buttons and features that are presented on the screen. The experience gets easier with time, but usually, we have noticed that most people give up learning a tool after seeing a slightly complicated interface.
In the case of Blender 3D, the interface is well laid out, and the tricky part is knowing what exactly you need and what is to be used for other design applications.
In this tutorial, we will show you how to get started with 3D Modelling on Blender 3D.
Table of Contents
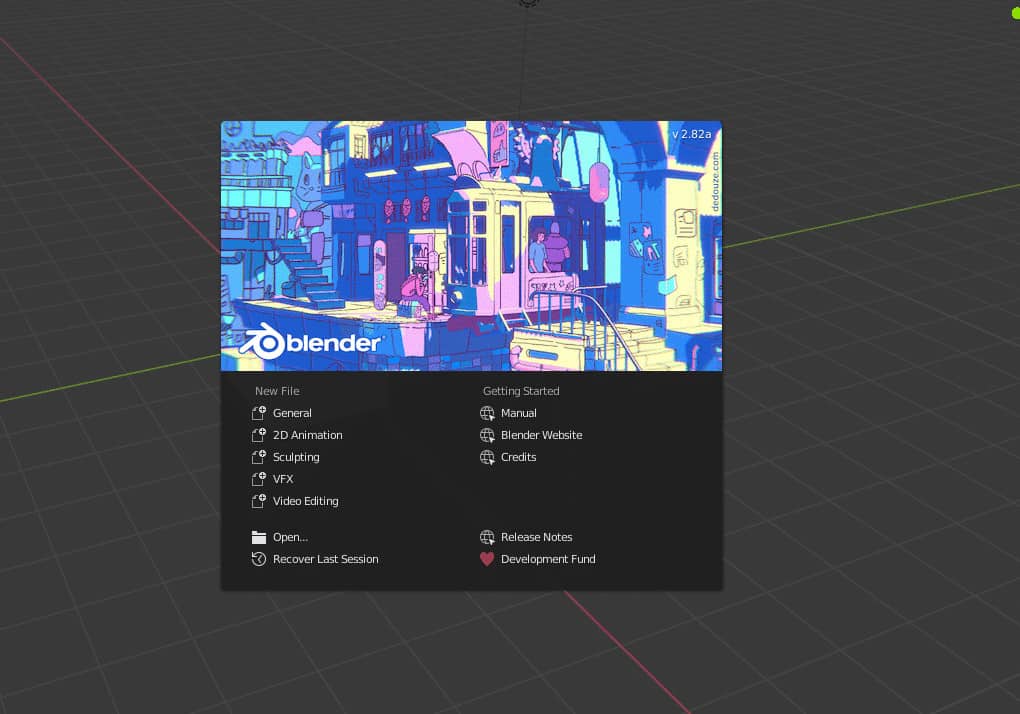
Open the Blender 3D app on your PC.
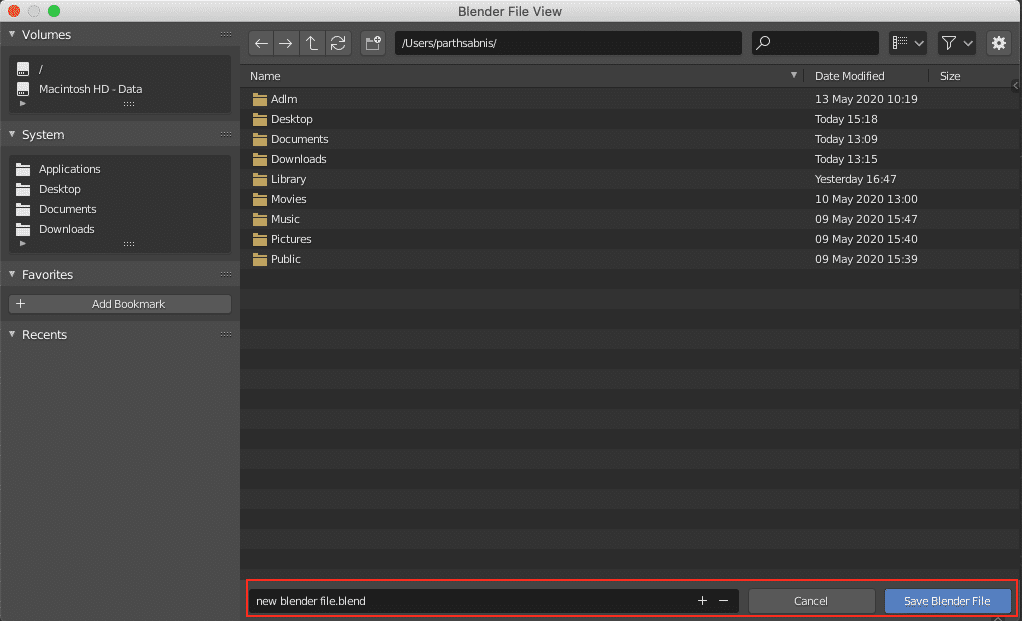
Create a new file and save it with an appropriate file name.
Now let’s start with some basic 3D modelling steps.
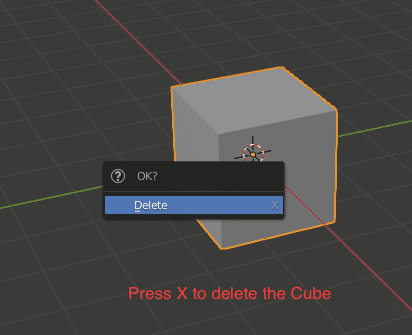
Click on the default cube in the workspace and press the ‘X’ key on your keyboard to delete it.
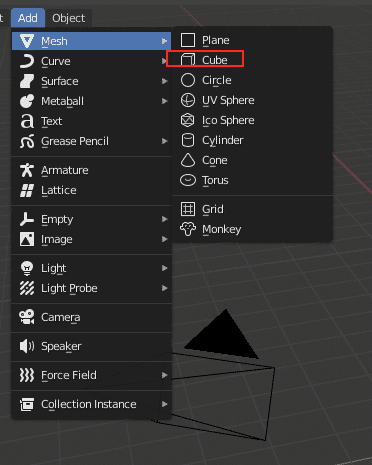
Click on the Add button from the toolbar.
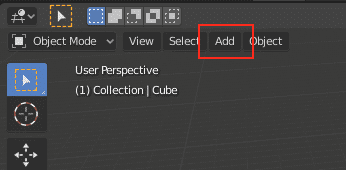
Click on the Mesh option from the dropdown and select the ‘Cube’ option.
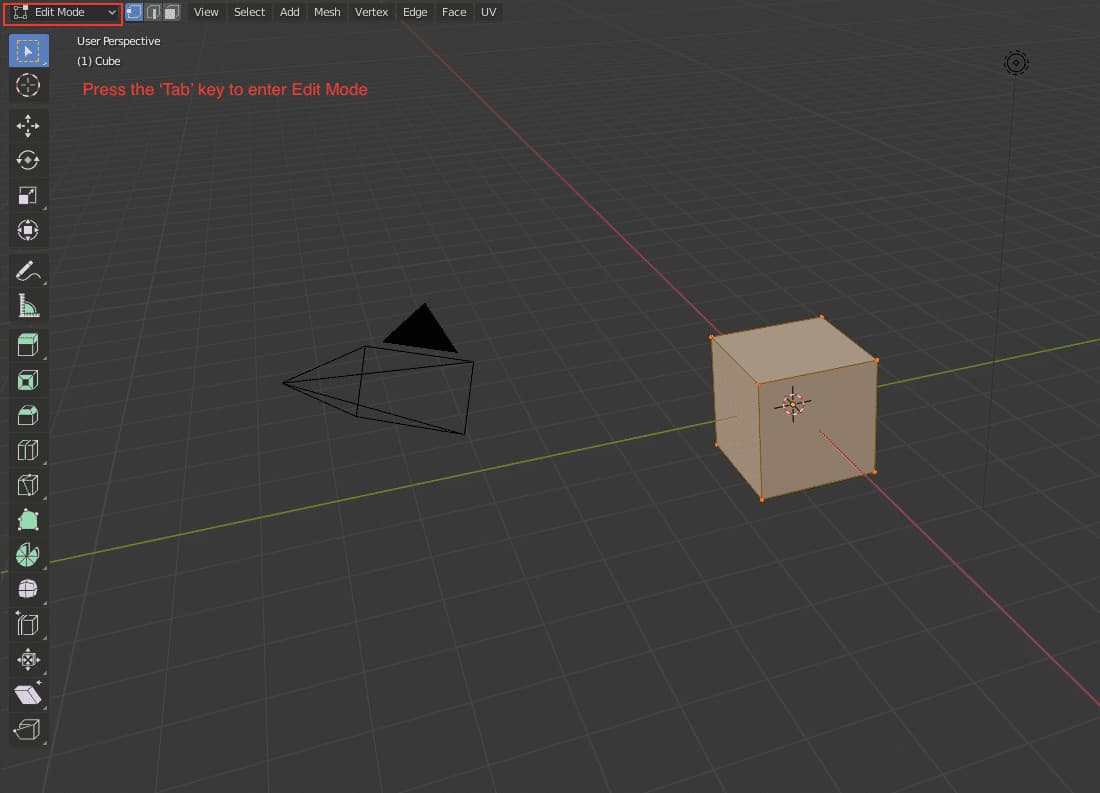
Now press the ‘Tab’ key on the keyboard to enter the ‘Edit mode on Blender 3D.
You can now choose between three select options – Vertex, Edge and Face.
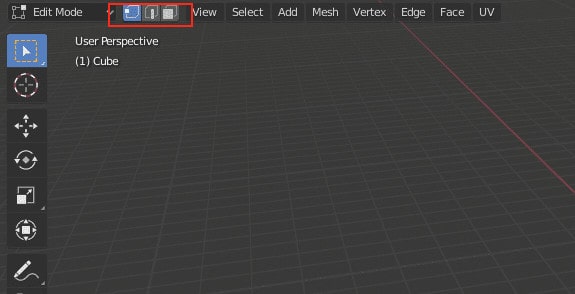
- The Vertex Select button helps you select individual vertices on the model.
- The Edge select helps you select individual edges on the model.
- The Face select helps you select faces on the models.
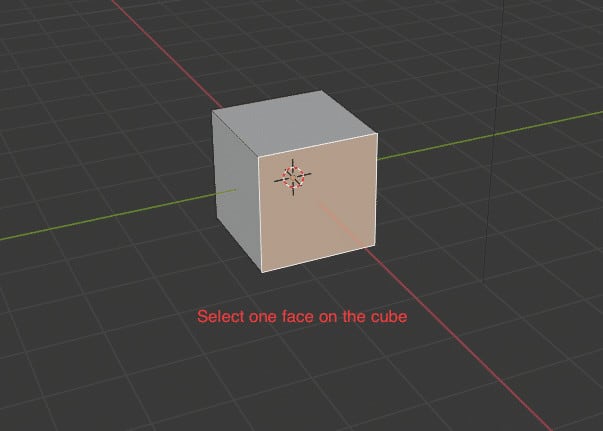
For this tutorial, click on the Face select button.
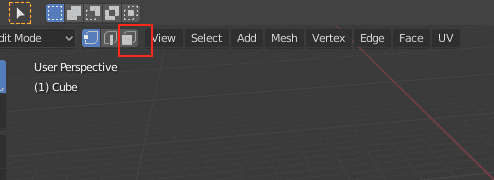
Select one face on the cube that you added.
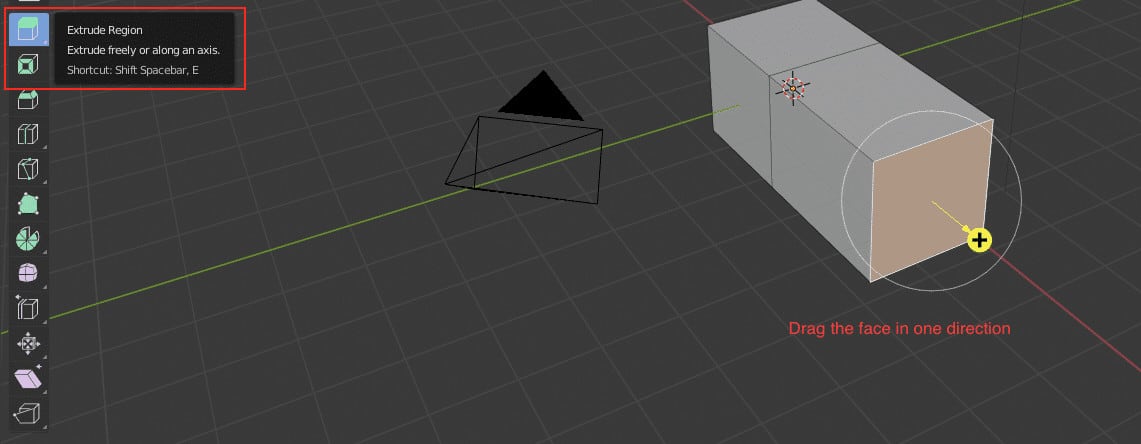
Click on the extrude button and drag the face in a particular direction to add material to the cube.
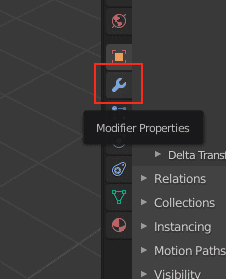
Now click on the modifier tab on the right-side toolbar.
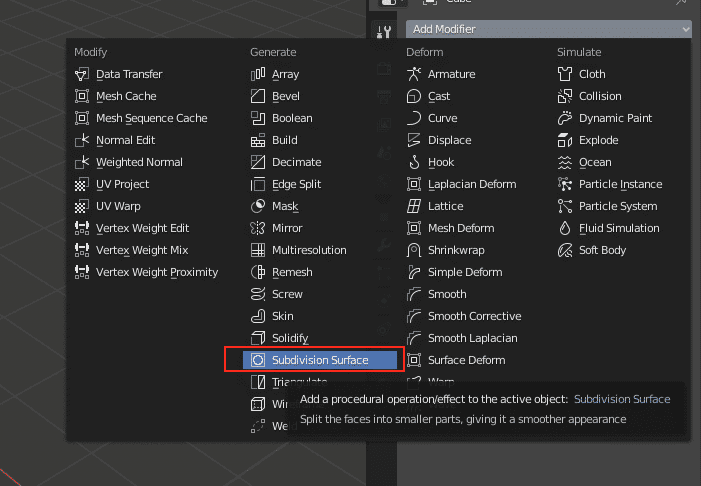
Click on the ‘Add Modifier button and click on the ‘Subdivision Surface modifier.
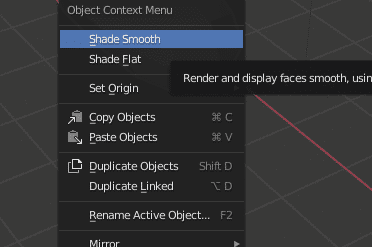
Now, Right Click on the model and click on the ‘Shade Smooth’ button.
You have now successfully 3D modelled a simple object on Blender 3D.
