

Blender 3D is used in many different design streams and not many people know that this open-source and free to use design software can be used to create some really great graphic design assets as well.
One of the most popular Graphic design elements is the 3D text. This effect really brings out the text content and gives it a whole new meaning and dimension. Blender 3D features support for fonts, which helps you create stunning 3D text effects right inside the application.
So, if you are a graphic designer who wants to put in some great 3D text renders into your social media content or design projects, Blender 3D can definitely help you out.
In this tutorial, we will show you how you can create some amazing 3D text on Blender 3D.
Open the Blender 3D application on your computer.
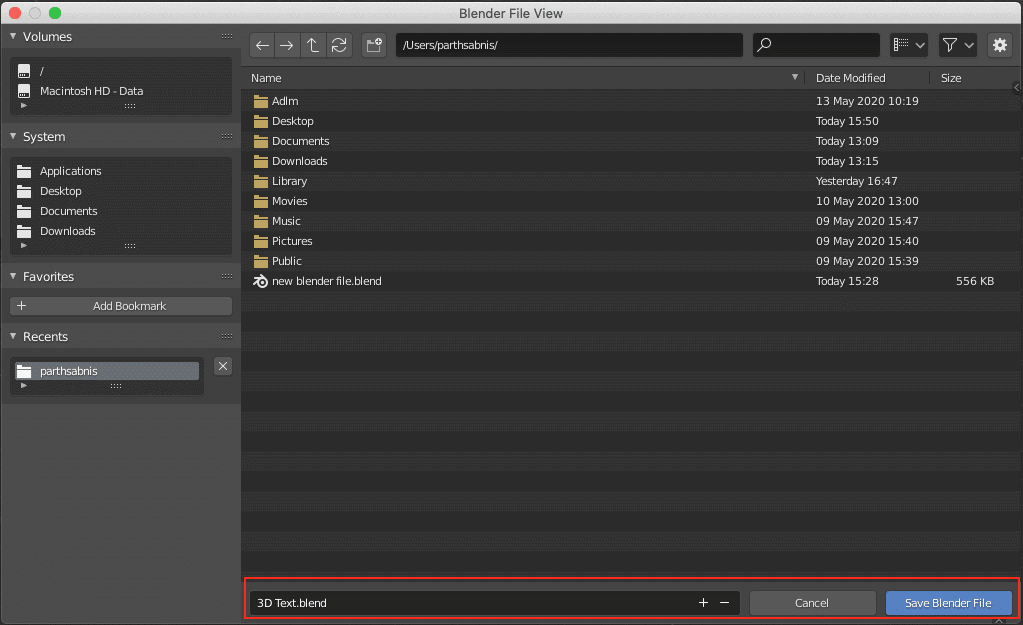
Create a new file and save it with an appropriate file name.
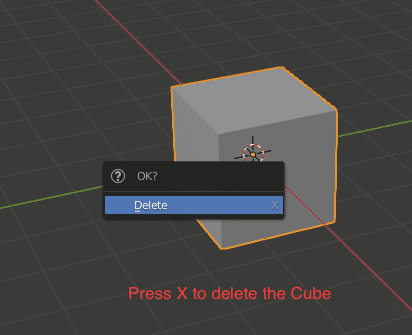
Click on the default cube and press the ‘X’ button on the keyboard to delete it.
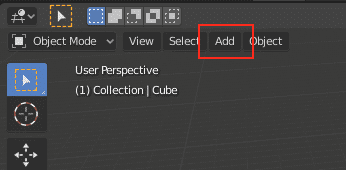
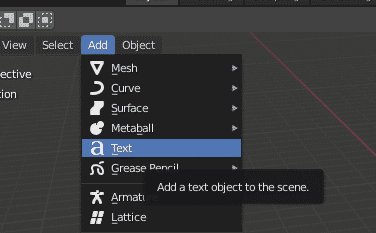
Click on the ‘Add’ button on the toolbar.
Click on the ‘Text’ option from the dropdown menu.
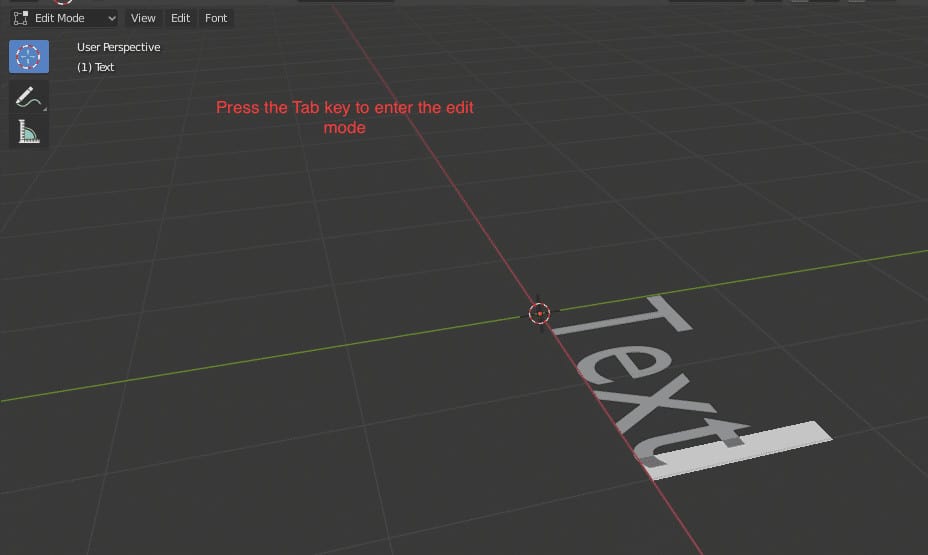
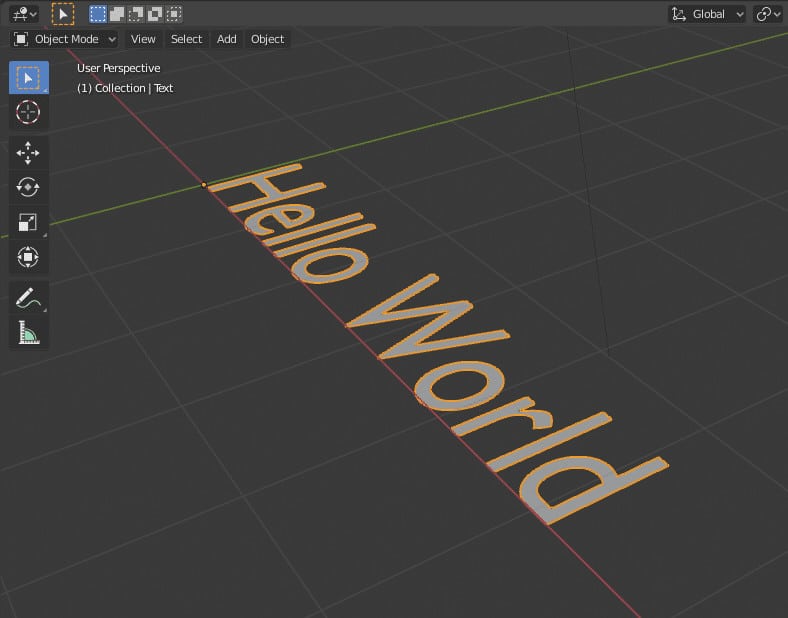
Press the ‘Tab’ button to enter the Edit mode on Blender 3D.
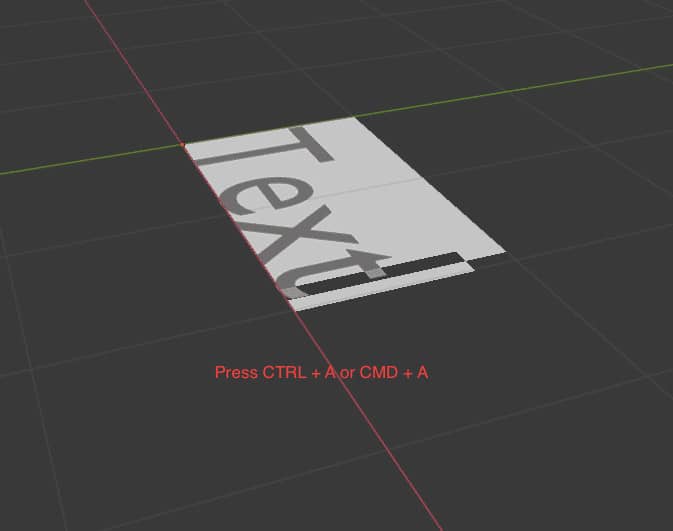
With the ‘Text’ object still selected, press the CTRL+A or CMD+A combination to select the text.
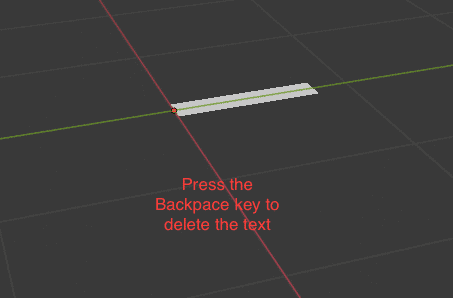
Press the backspace key to erase the text.
Enter the text you want to enter.
Press the Tab Key to enter Object mode.
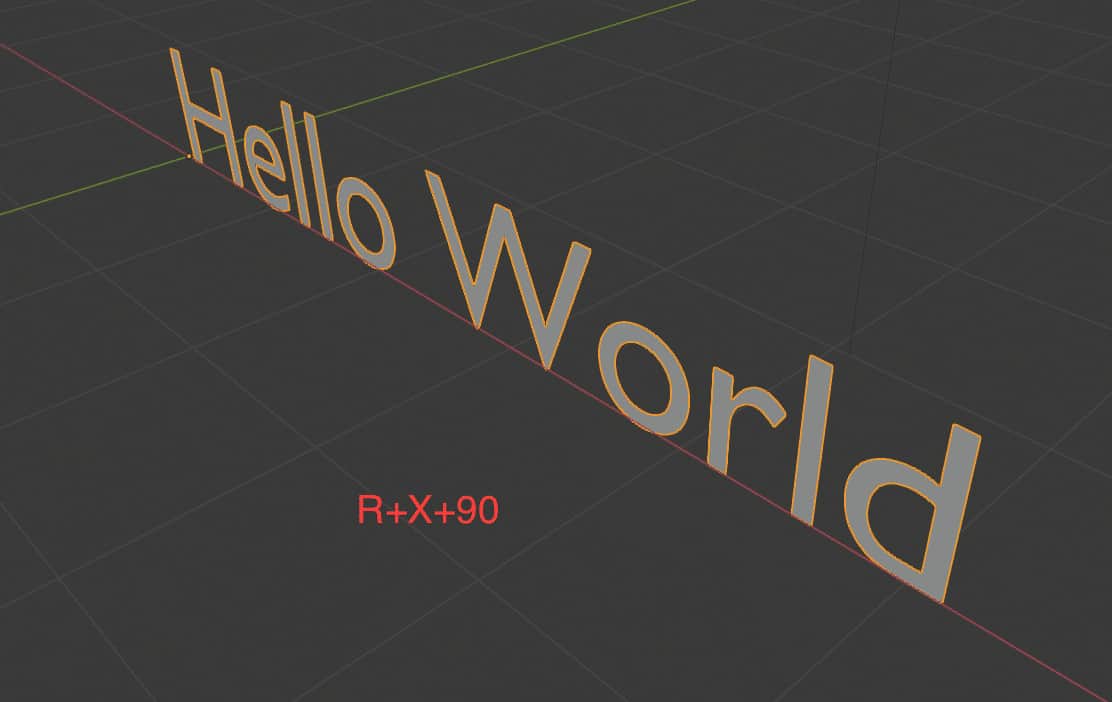
With the text selected, press the R button to enter the rotate command.
Now Press the ‘X’ key to rotate the body along the X-axis. Now enter 90.
The text object will now be rotated by 90 degrees along the X-axis.
Right-click on the object and click on the ‘Extrude size’ option from the drop-down menu.
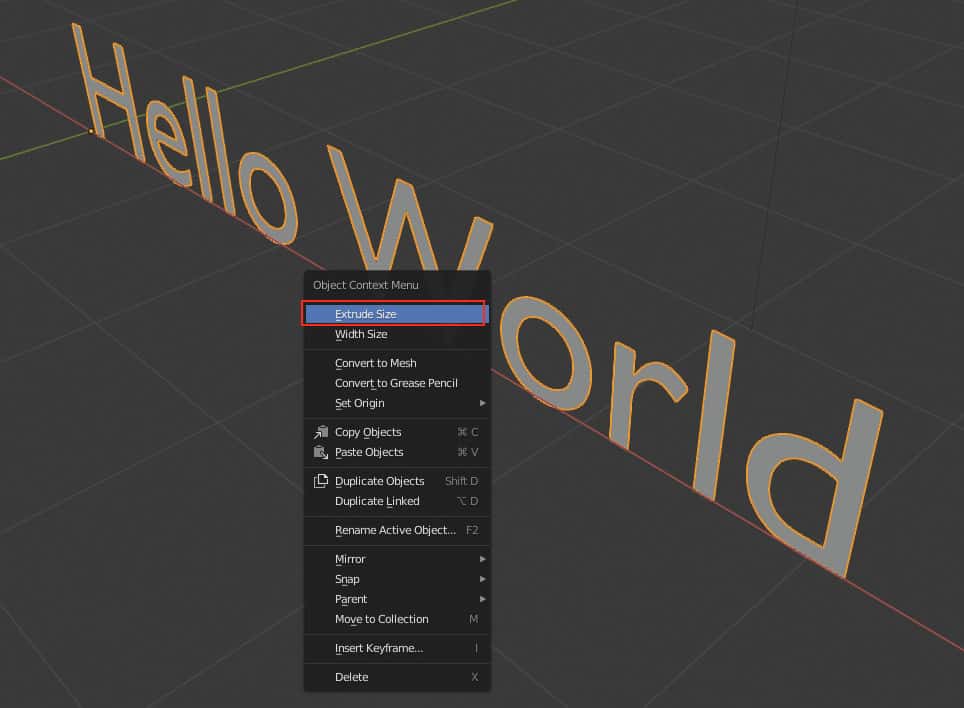
Drag the mouse till you are happy with the Extrusion.
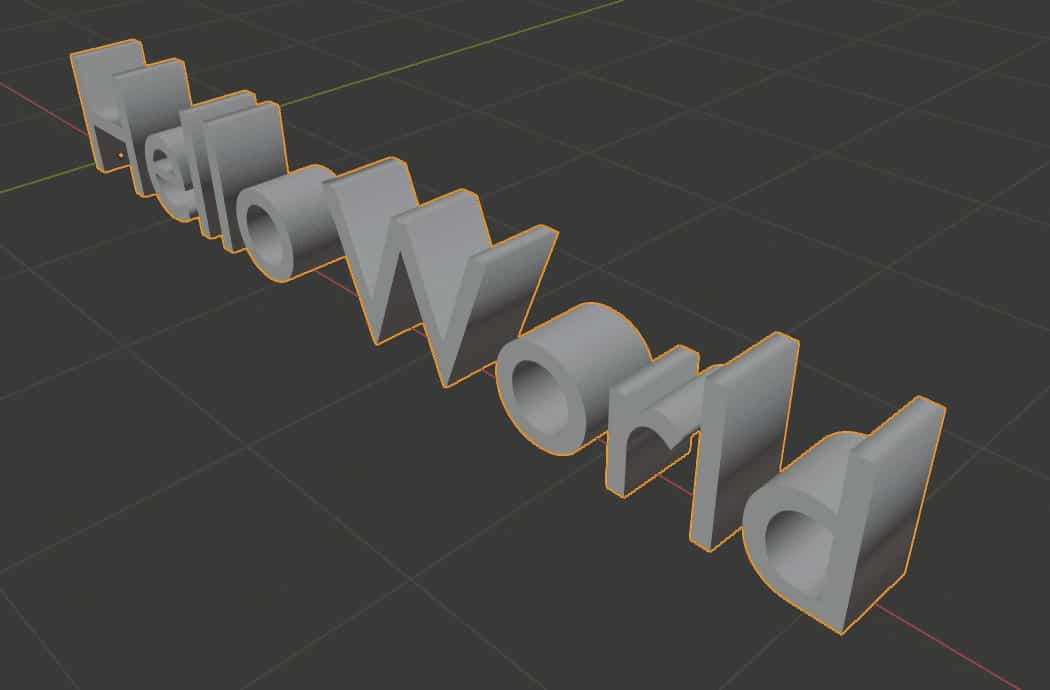
Left-click anywhere to free the changes.
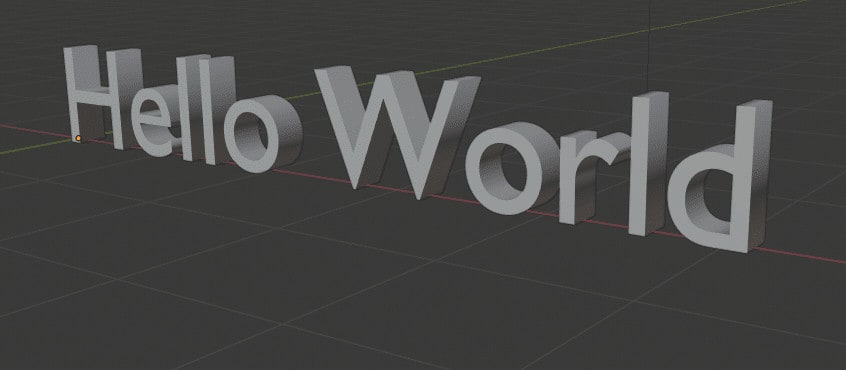
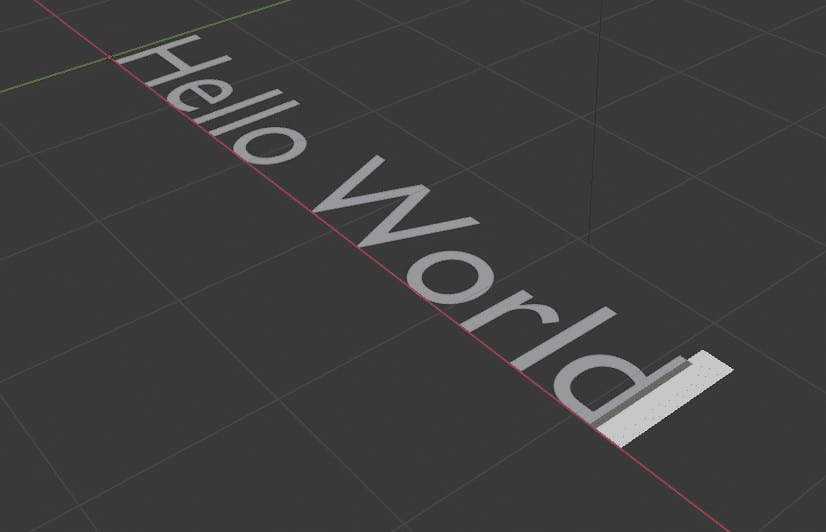
Your 3D text is now ready for use.
