

Windows 11 updates, which Microsoft delivers to your machine on a regular basis, are intended to keep your operating system up to date. They are, for the most part, beneficial. However, as long-time Windows users are aware, updates do occasionally go wrong, therefore some prefer to delay updates for a week or two to ensure that no problems are sent with the update. Furthermore, upgrades can arrive at inappropriate times, such as while you’re in the middle of a project with a tight deadline.
You can’t completely stop updates, but you can pause them. There is also a way to turn off updates, but this is not permanent. Here’s how to change your settings if you want to wait in case of any potential difficulties or if you just want to put them off as long as possible.
How to Pause Updates –
Step 1. Open the Settings app on your Windows 11 PC.
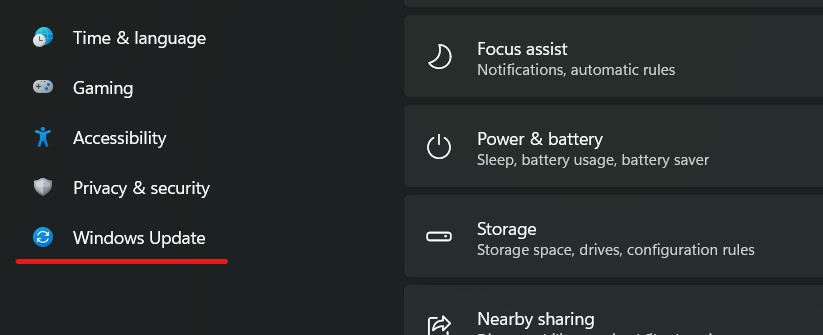
Step 2. On the left hand side pane, click on the ‘Windows Update’ button.
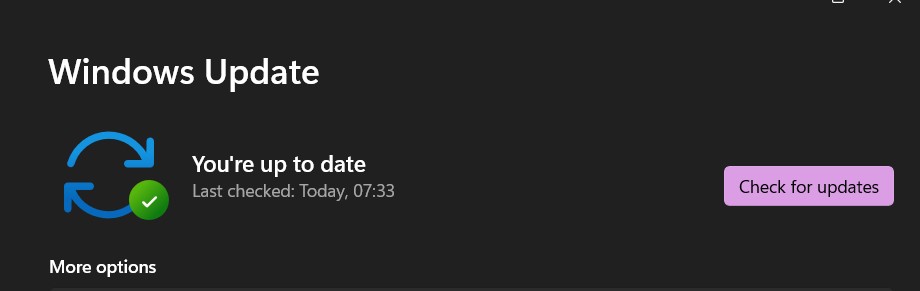
Step 3. If you have any pending updates, they will be placed at the top. You can also check for updates by clicking on the Check for updates icon. Otherwise, you’ll be informed that you’re up to date.
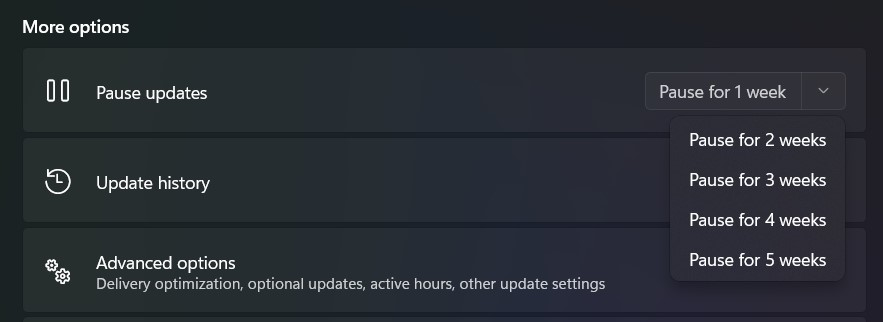
Step 4. You’ll notice a Pause updates option directly below. There is a button on the right labelled Pause for 1 Week that will allow you to do just that.
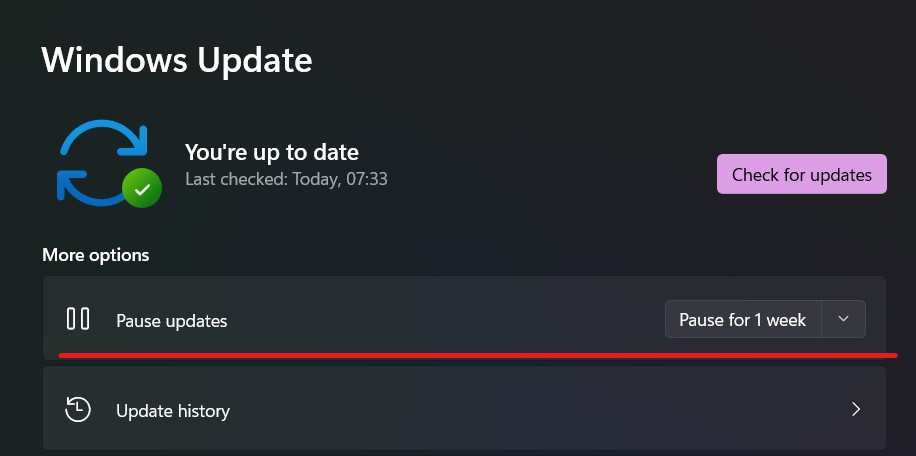
Step 5. If you wish to pause for more than a week, click on that option again, and you can do so for up to five weeks.
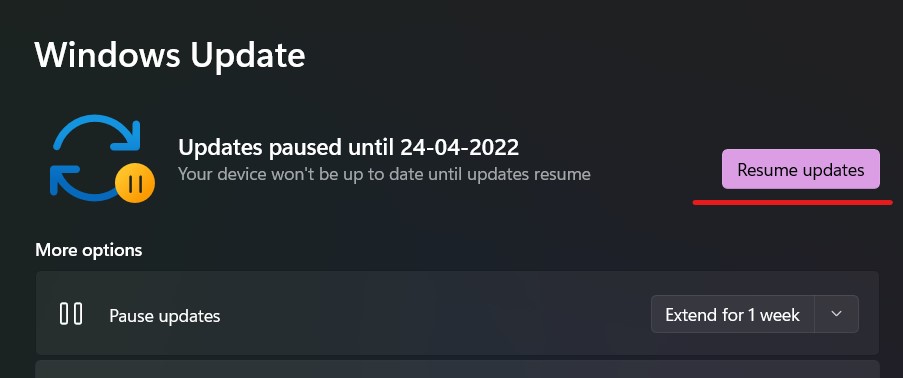
Step 6. If you want to restart updates, you’ll see that the button that was previously used to check for updates now says Resume updates. Click on it.
Step 7. Unfortunately, unlike Windows 10, where you could postpone updates for up to 35 days, Windows 11 allows you to pause updates for five weeks.
How to adjust the time of the restart during an update
Windows will normally require a restart to complete the installation of updates — and because an update can take your computer offline for anywhere from a few minutes to a few hours, you may want to change the restart schedules for when it’s most convenient.
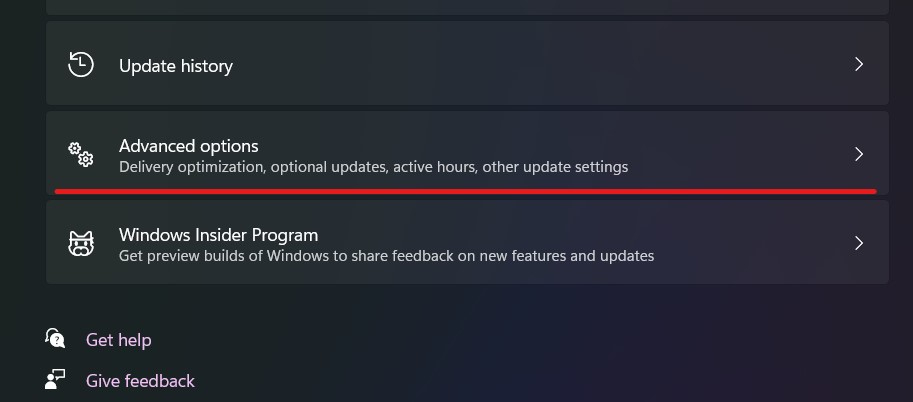
Step 1. On the Windows Update screen, click on the ‘Advanced Options’ button.
Step 2. Search for Notify me when a restart is required to complete the update and turn it on. That way, you’ll know if a restart is on the way, and you’ll be able to reschedule it if necessary.
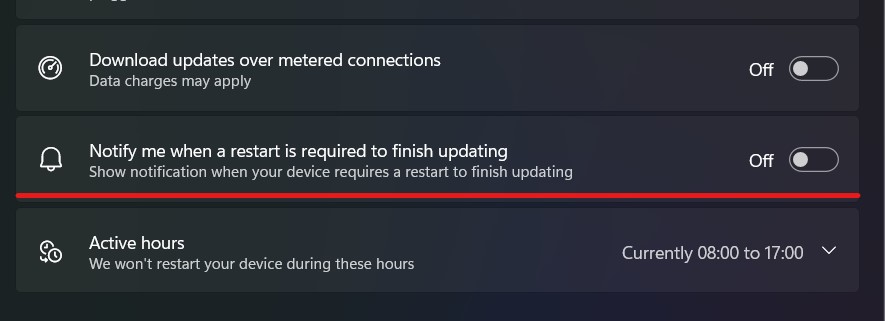
Step 3. Click on Active hours just below that. Select Manually or Automatically from the drop-down option to the right of Adjust active hours. If you choose the former, you can specify the hours when it will not restart (for example, if this is your work computer, you can choose not to have restarts between the hours of 9 a.m and 5 p.m.). If you select the latter, the machine will resume when you leave it idle.
