

WhatsApp Communities is now available for Android, iOS, and Web users, after being announced a few weeks ago. The new function is intended to assist users in connecting with groups that are important to them on WhatsApp. The main purpose of launching Communities is to bring individuals and organisations with similar interests together under one roof.
WhatsApp Communities is similar to groups, except it allows you to add more individuals. For example, WhatsApp groups allow members to join a single chat, but WhatsApp Communities allow you to put groups with similar interests together under one roof. You may bring together relevant organisations in one spot, and connect with your schools, neighbourhood, camps, and more.
Now, irrespective of where you are using Whatsapp, the feature has rolled out across the ecosystem, and now, let’s take a look at how you can put this new feature to use.
Disclaimer – Before getting into the tutorial, make sure you have updated the Whatsapp application on your iOS, Android or Web device to the latest build. This will ensure that the feature is in there and activated.
For iOS devices –
Step 1. Open the Whatsapp application on your iOS device (Again, make sure you are using the latest build of the messenger).

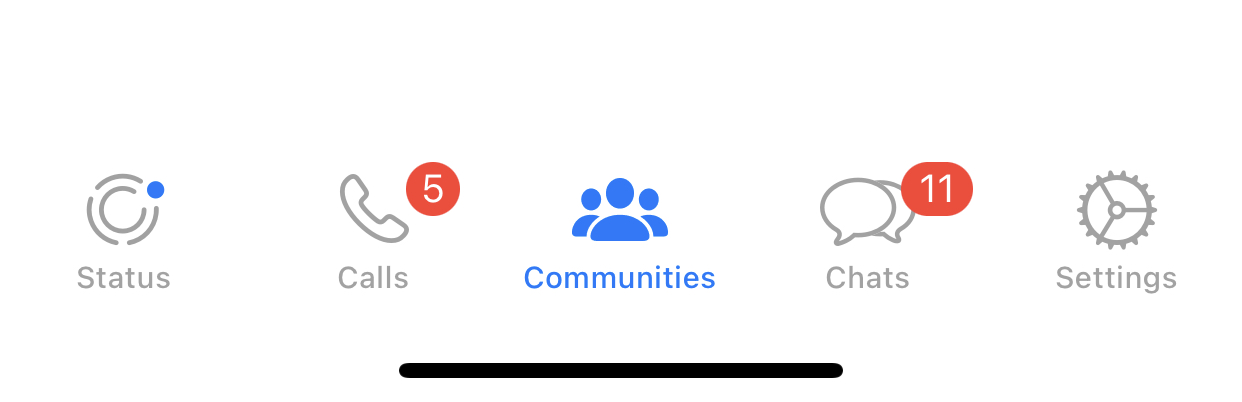
Step 2. On the dashboard at the bottom, you will now see a new tab that is named ‘Communities’.
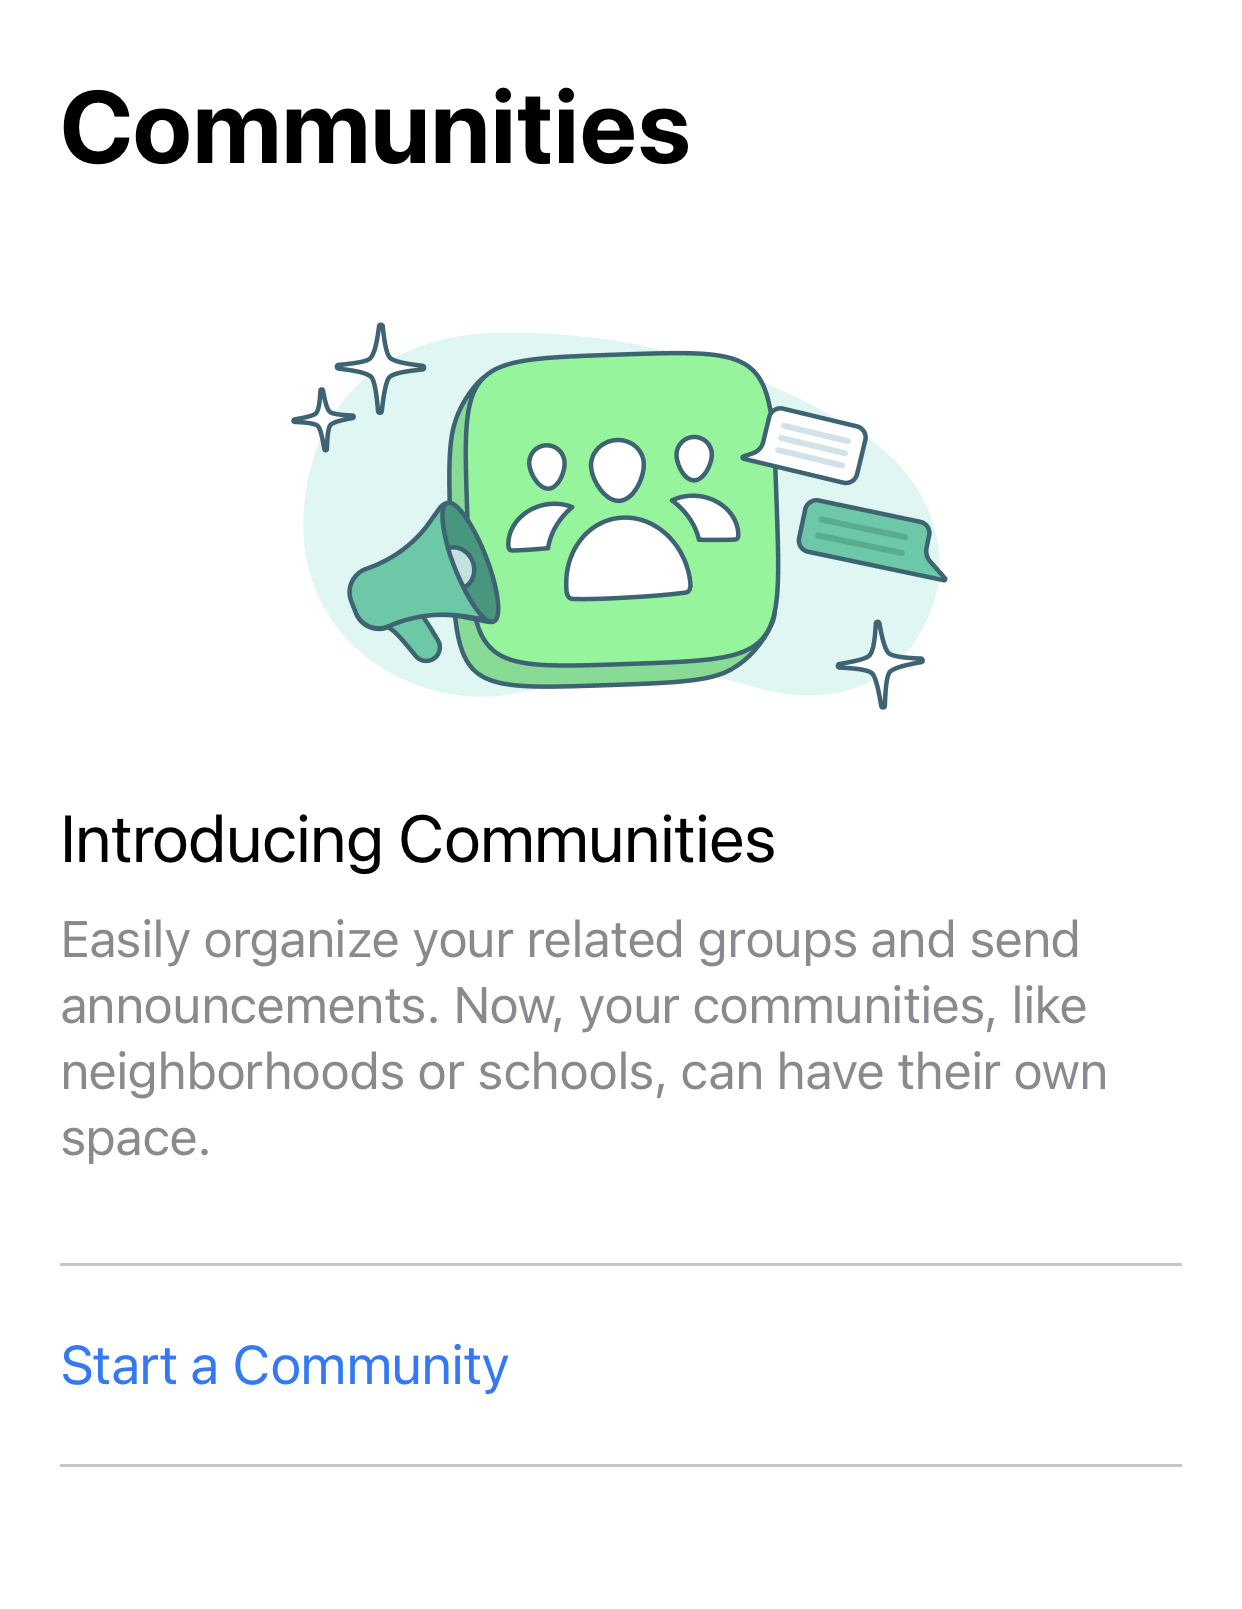
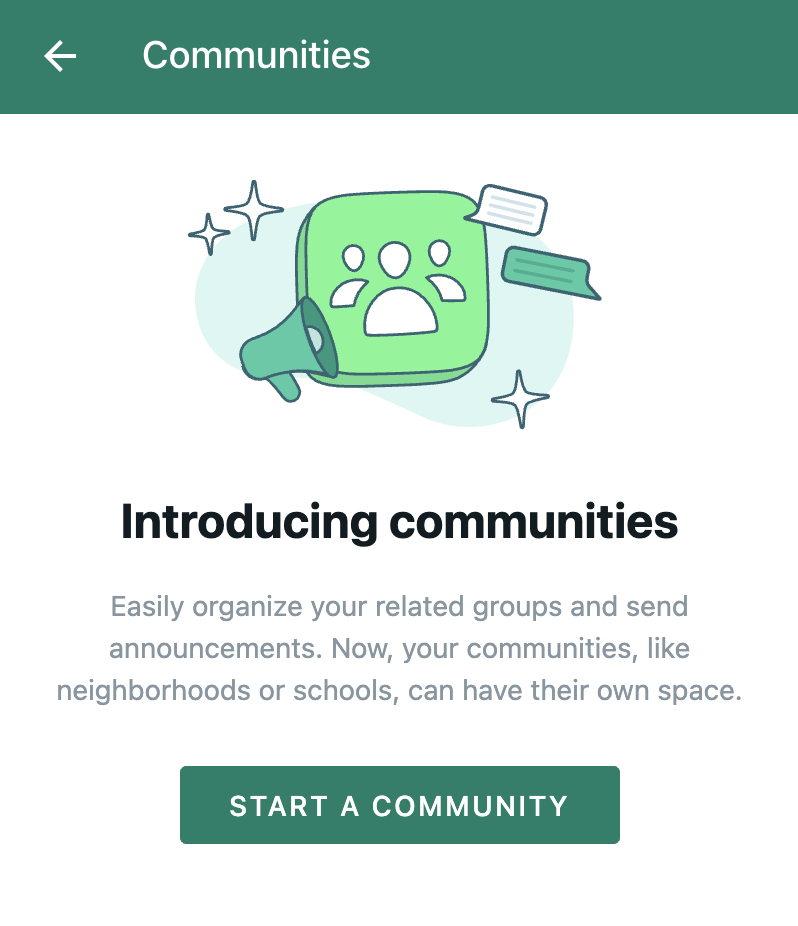
Step 3. Now, tap on the ‘Start a Community’ option on the splash screen that appears.
Step 4. You will now see another screen pop up, where you must tap on the ‘Get Started’ button.
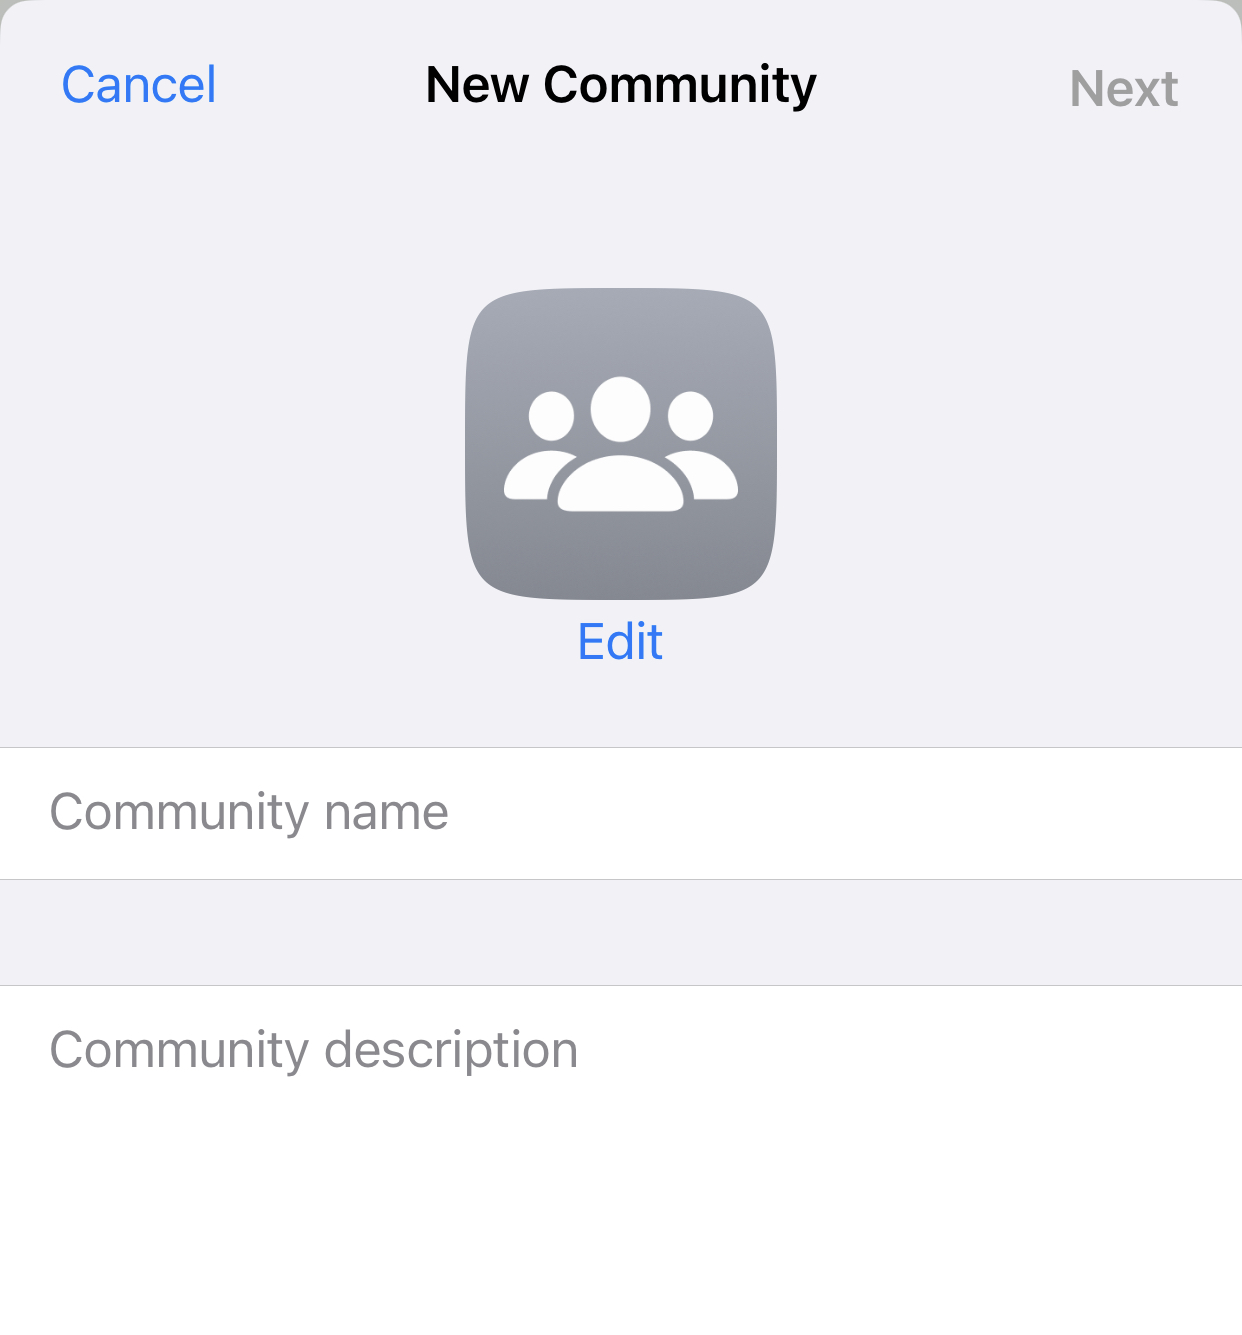
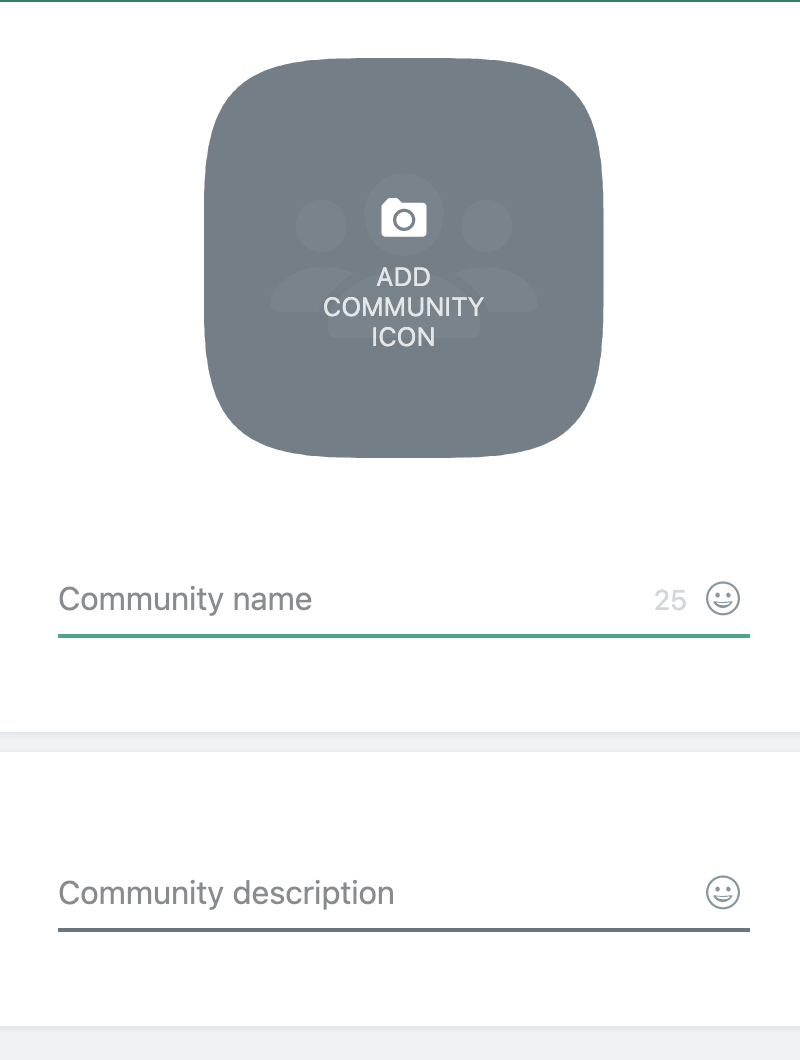
Step 5. Now, on the setup screen, enter the name of the community and give it a neat description. Make sure the name and description of the community give everyone a clear idea about it’s theme and purpose.
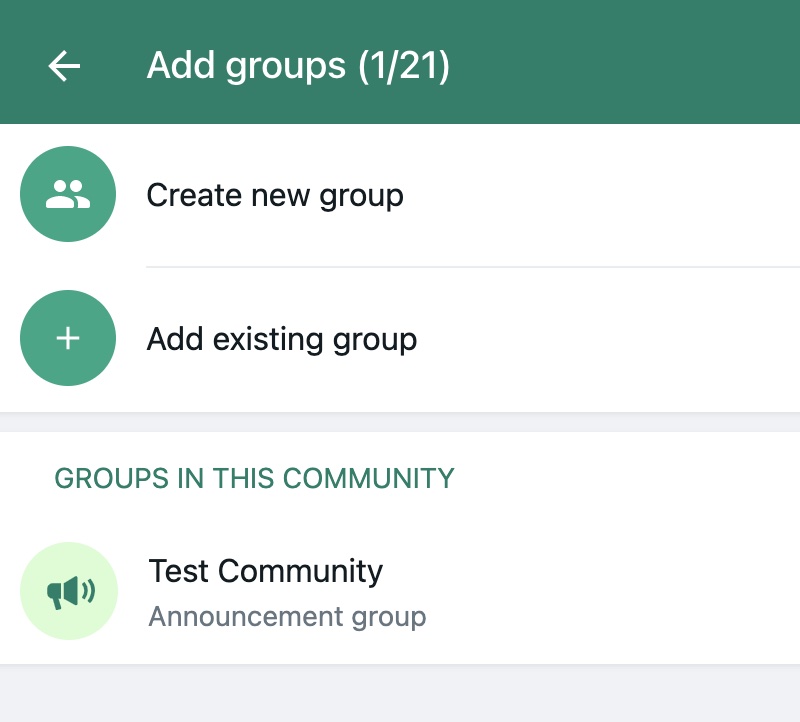
Step 6. Now, you will be presented with an option to either add an existing group to the community or create a new group altogether. Tap on the option that best suits your needs.
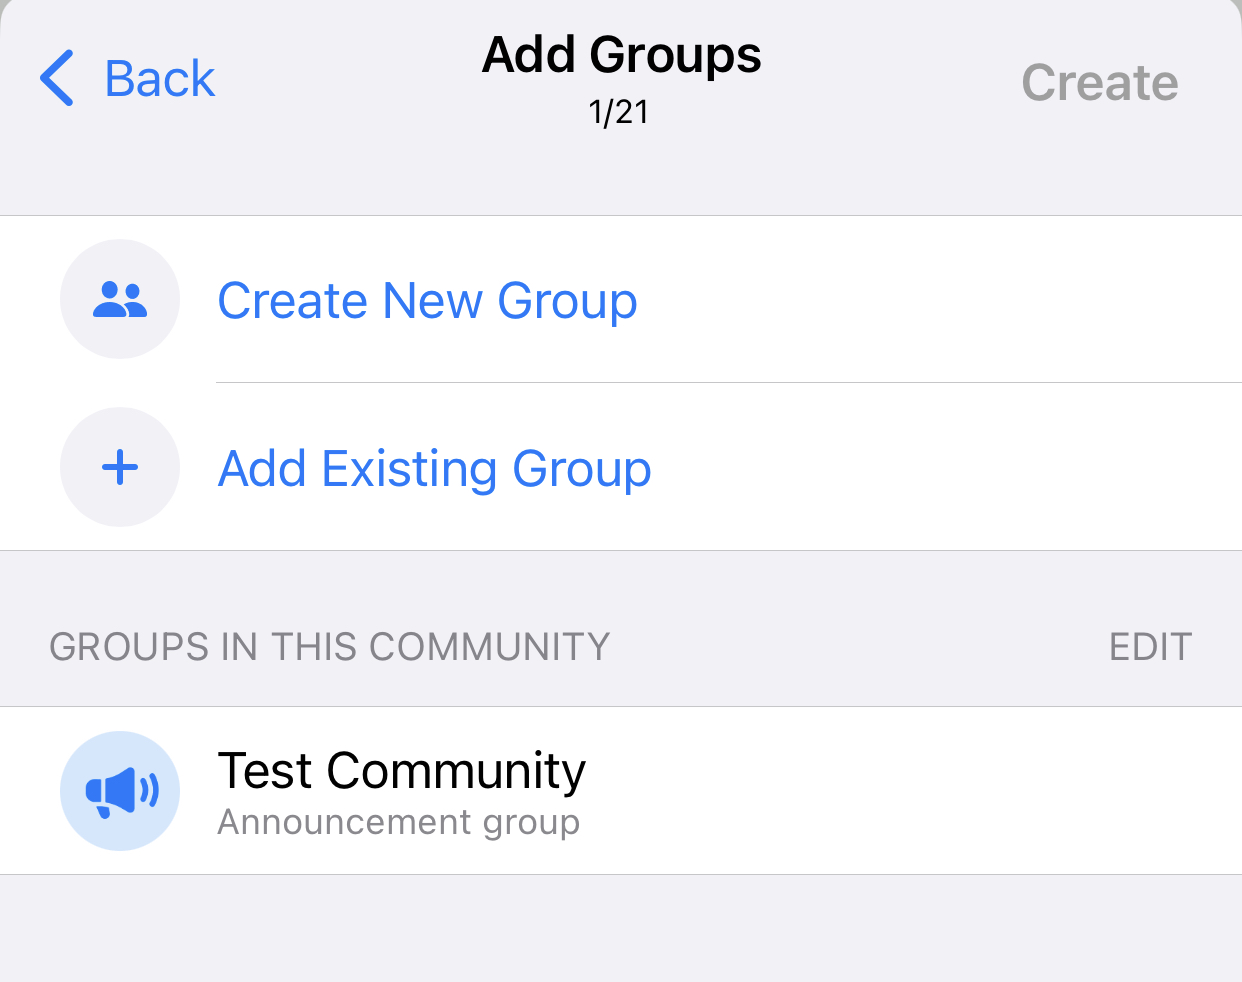
Tap on the Create button to confirm the community creation, and you are good to go.
For Whatsapp Web –
Step 1. Open the Whatsapp Web application on your computer.
Step 2. Now, right next to the profile icon, you will see a communities tab. Click on it.

Step 3. Now, tap on the ‘Start a Community’ option on the splash screen that appears.
Step 4. Tap on the arrow button on the next screen.
![]()
Step 5. Now, on the setup screen, enter the name of the community and give it a neat description. Make sure the name and description of the community give everyone a clear idea about it’s theme and purpose.
Step 6. Now, you will be presented with an option to either add an existing group to the community or create a new group altogether. Tap on the option that best suits your needs.
The community will now be created and you are good to go.
