

On a daily basis, we interact with a large number of files on the Mac. Files are downloaded and saved, new or edited files are created, and files are deleted at the end of the process. When we download or create a file, one of the first things we want to do is give it a name that will be easy to remember and will allow us to access it more quickly. To their advantage, the Mac/MacBook series allows their users to quickly rename any files that they have stored on the system, and they can do so an unlimited number of times. The technique is straightforward, and we will lead you through it step-by-step in this tutorial, so without further ado, let us get started.
Step 1. Unlock the Mac/MacBook device to reveal the Home Screen.

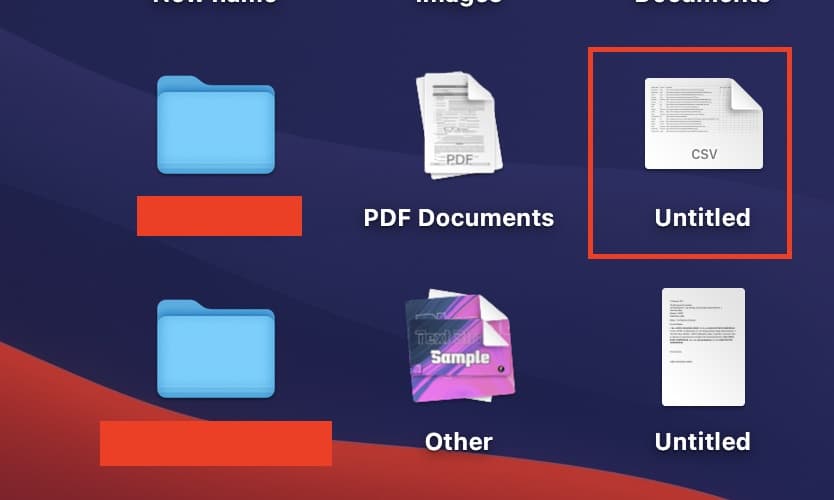
Step 2. Browse to the file that you want to rename.
Step 3. Right-Click on the file to reveal a drop-down menu.
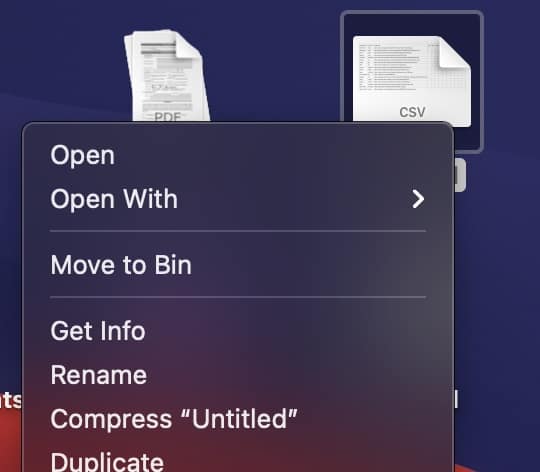
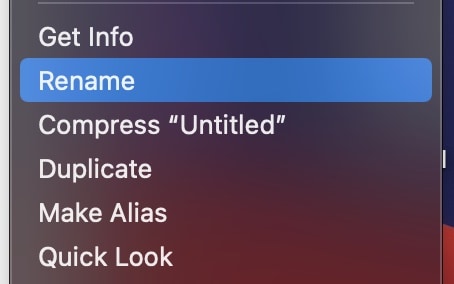
Step 4. Click on the ‘Rename‘ option from the menu.
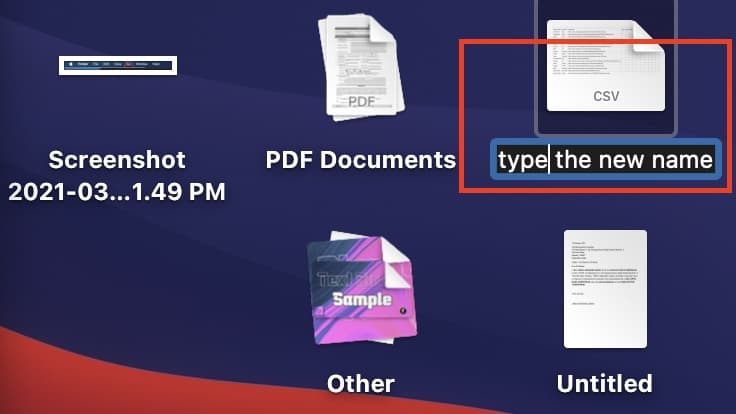
Step 5. Type in the new name for the file and click outside the window to reflect the change.
This technique can be used to rename virtually any type of file, unless the file has been restricted or banned from being accessed in some way. It is possible to restrict access to specific files and folders on a Mac or MacBook if you are the administrator and you do not want other users to be able to modify or delete information stored in those files or folders. This will help to protect the identity of the folders and prevent unnecessary mischief.
There are also many third party tools that allow you to perform this trivial operation and some people fall prey to them. Please note that renaming a file is a built in feature and you do not need any sort of assistant software or tools to get this done. Any vendor marketing such a tool is clearly baiting you into a scam.
