

Usually, when you are working on a tutorial or some sort of content that involves the use of your Mac, then chances are that you need to record yourself performing some actions on the PC for your viewers or students to follow along. Thankfully, the Mac has a built-in screen recorder, that allows you to not only record the screen but also capture audio, due to which, you can speak along with recording your actions on the Mac.
In this tutorial, we will show you how to record the screen on the Mac.
Open up your Mac/MacBook and unlock it.

Open the content that you want to start recording on the Mac.
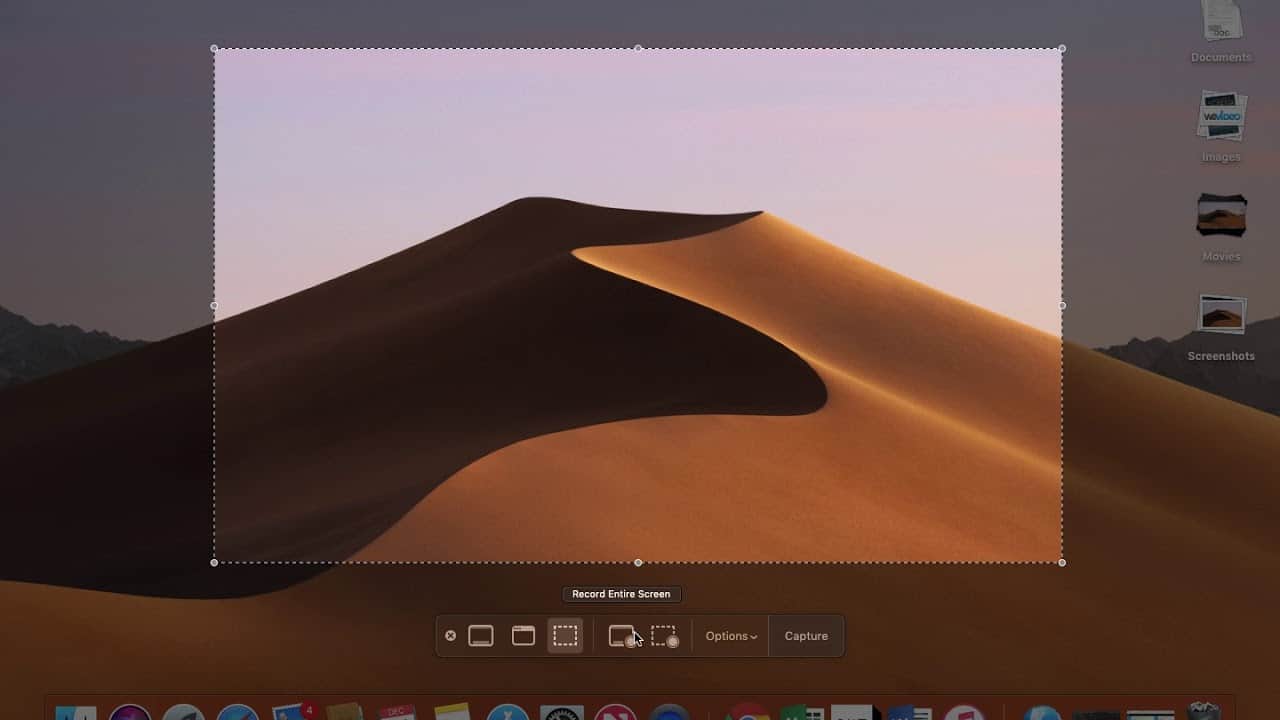
On the Mac keyboard, press the ‘CMD+SHIFT+5‘ keys simultaneously to see a menu.

In the menu, you can choose whether you want to record the whole screen or a part of the screen that you can select using the transform window.
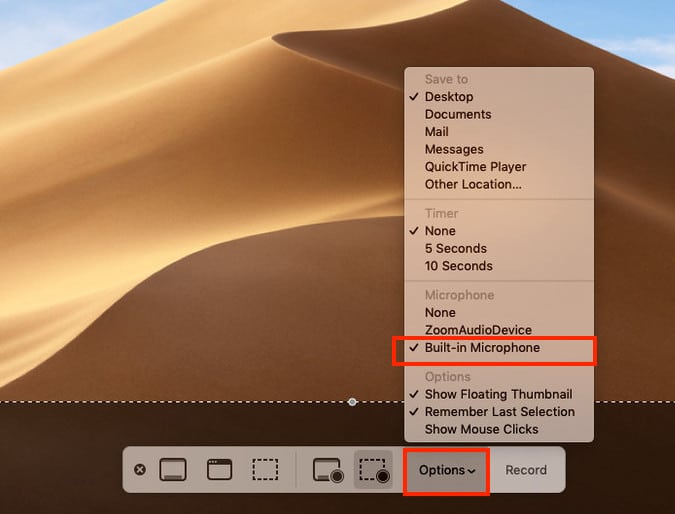
If you want to enable the audio recording feature, click on the ‘Options’ button.
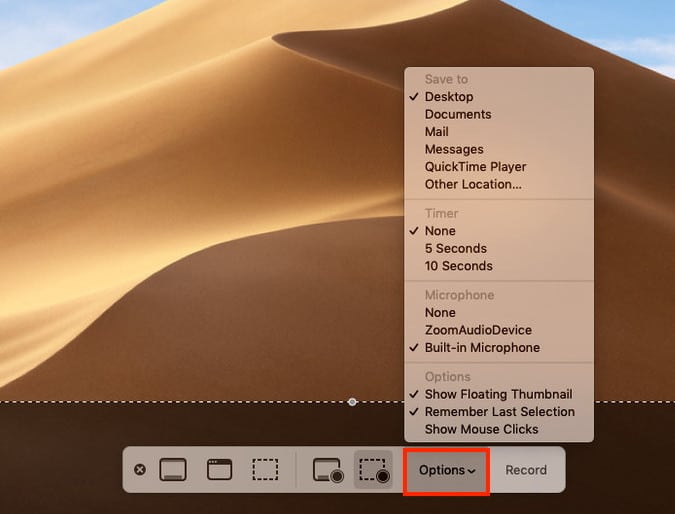
Under the microphone option, select the default microphone that is displayed.
Press the record button once you have made your choice, and then start recording your content.
Once you have finished the recording session, click on the ‘Stop’ button on the top menu bar to stop the session. After this, you can edit the footage, save it and even export it to Youtube or other platforms as per your preference.
Now, there are some third-party apps, that offer the facility to record your screen, but we urge you to avoid using these apps, as there is no telling what data they will pull from the recording. Apple is very stringent with its data protection rules and as such, your work will be safe on the device.
