
Apple’s AirDrop tool is extremely useful for sharing photographs, movies, documents, and other information between the company’s devices, which include iPhones, iPads, and Macs. You may effortlessly send anything to a buddy — or use AirDrop to transfer things between your own devices.
The simplicity of AirDrop is what makes it so appealing. Instead of painfully sharing data through Dropbox, Google Drive, or another cloud storage service, it’s an instant transfer from one device to another that takes only seconds.
Apple uses AirDrop to establish a peer-to-peer Wi-Fi connection between the two devices involved in an AirDrop exchange. These gadgets interact directly and do not need to be connected to the same internet connection.
What do you need to start using AirDrop?
- You need to be near the person you want to share the files or data with, over AirDrop.
- Both parties must have Wi-Fi and Bluetooth enabled (but not on the same Wi-Fi network) and the Personal Hotspot function turned off.
How to use AirDrop?
Step 1. Tap the Share icon when you’re in any app that has a file you want to transmit via AirDrop.
Step 2. Select AirDrop. If both you and the recipient have an iPhone 11 or later, you can point your phone towards them to prioritise them in the list of nearby AirDrop users.
Step 3. If you have an older iPhone, you’ll see a list of potential AirDrop recipients in your area.
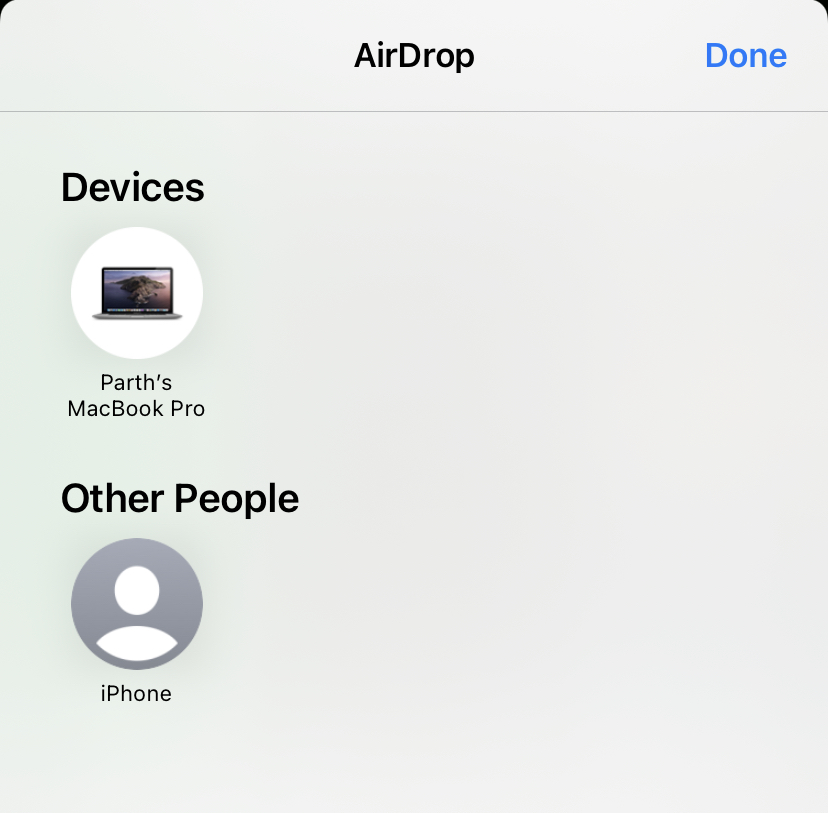
Step 4. People in the People row are known contacts. Choose the individual with whom you want to share your file. In the Devices section, you’ll also find your own Apple devices. Choose one of these if all you want to do is send anything from one device to another. AirDrop users in the area will appear in the Other People row.
Step 5. A notification will be sent to the recipient, along with a preview of the information being shared. They can then accept or reject the file transfer.
