
One of the most important aspects of our digital lives is data. Everything we do, whether it’s at home, office, play, or any other situation, is quantified by the computer and the different memories such as photos, videos, and even some important work files, are stored within the machine and are commonly known as data. It is very important for us to ensure that the data we require, is available to us at all times, and we can do so in many ways. But what happens if the data gets wiped off your system and you have no hard copy of the same lying around at home or in your office?
Well, if this happens to you, and mind you, this may happen due to many reasons, then the first thing you say to yourself is – “I wish there was a way to bring the data back.”
If the data has simply been deleted due to a human error, and it exists in the Recycle Bin of the computer, then you are in luck, as you can simply head to the Recycle Bin folder, select the files you want to restore, and put them back into the system. The same cannot be said about files that have been permanently deleted from the drive. The market is full of software that claims to help you retrieve your permanently deleted content, but the one that does the best job is the Stellar Photo Recovery Software.
Table of Contents
Who or What is Stellar?
Stellar is a company that specializes in data erasure and recovery software, and they have been pioneers at the same for the past 25 years. Since 1993, they have consistently organized their resources & efforts to develop innovative, future-ready solutions unrivaled in capability and built with the core purpose of enabling comprehensive data care. Their wholly-owned & operated engineering infrastructure & native technologies help them go beyond the domain of software and bring the world’s best data care offerings to you.
The company is based in India and their products are also proudly made in India, so for all the Indian readers, this is something you will like to see.
Why is Data Recovery So Important?
You can lose data due to a number of reasons – Maybe you ran out of cloud storage, or you forgot to back up the system and had no hard copies or maybe you even underestimated the importance of that photo or video or even file and deleted it in the heat of the moment.
In such situations, it’s always good to have a handy tool that will help you recover these files and help you put them where they belong, and then you are free to use the files for your individual needs.
Let’s talk about the Stellar Photo Recovery Tool
Installation and First boot
Installing the Stellar photo recovery tool is very easy. However, before you do that, you need to head over to Stellar’s website and pick the plan that suits your needs. You do get a free trial version, but the prices for the licenses are not very exorbitant. Each tier of the plan gives you additional benefits. We have opted for the standard license which allows us to perform the photo recovery operation. However, higher tiers allow you to perform photo repairs and much more.
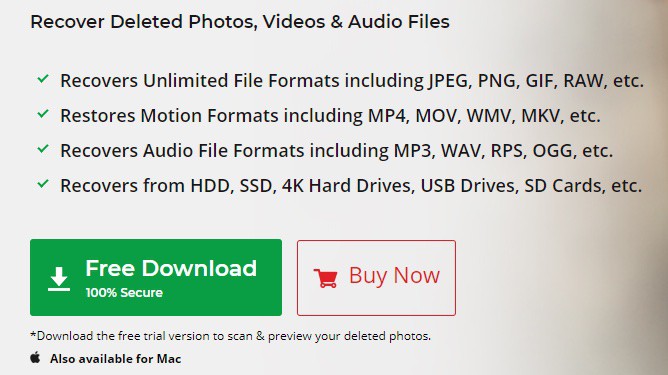
For your reference, these are the plans that are on offer.

Once you make the purchase, you will receive the product key in your registered email id. This will come in handy later on. Now, if someone has already purchased the software and they are basically giving you the product key to use for yourself, then this is how you can install the Stellar Photo recovery tool on your Windows PC or Laptop.
Step 1. Head to the official Stellar website on your Windows PC.

Step 2. Click on the ‘Data Recovery‘ option on the home page of the website

Step 3. Now, click on the ‘Stellar Photo Recovery‘ option from the available options.

Step 4. Click on the ‘Free Download‘ option and the file will get downloaded.
Now, follow the usual installation procedure that you would follow for other Windows software packages. Once the software is installed, you can open it up and you will be greeted by the tool window, which, by the way, is very simple to operate.
There are no complicated windows and sub-windows that will confuse you to the absolute ends of the earth. There are no ads, which makes it very comfortable to use. Now, the first thing you are going to want to do is to activate the Stellar Photo Recovery software. Simply click on the ‘key’ icon on the menu bar and enter the product key you received and you are good to go. The procedure took us 10-15 seconds, maybe even lesser. Once it is activated, the name of the software on the title bar will change to reflect the version you have bought. In our case, since we opted for the standard license, the name changed to ‘Stellar Photo Recovery Standard’.

Next, let’s look at the rest of the user interface. On the home screen, you will see the available drives on your computer. If you have connected external drives to the computer, you will see those drives pop up as well.
You will see a three-line icon on the menu bar and this will reveal a host of options –
![]()
- Settings – This will be used to set up preferences for the software and there is also a help section that you can use for your reference.
- Create Image – This allows you to create the exact replica of the drive or partition from where you want to recover your data.
- Load Image – This allows you to load images of previous drives that you may have created.
- Save Image – If you have created an image of your drive, you can save it using this option.
- Resume Recovery – If you were running a recovery operation and it got interrupted, you can resume the recovery process from where you left off.
- About – This gives you information regarding the current version of the Stellar Recovery software package.
Next to the three-line button, you will see an icon that resembles a microscope. This allows you to have a conversation with tech support on Stellar’s end. If you are having problems with your recovery process, the team at Stellar will help you get through the problem.
Next, we have the ‘Help’ button that takes you to the browser to Stellar’s website where you can go through all the relevant help topics regarding the software and the recovery process.
Next, we have the store button. This allows you to visit the Stellar marketplace where you can either upgrade the current plan or even purchase a new software from their list of offerings.
You will now see that the key icon that you used earlier, to enter the product code, will now be greyed out, so the button will now be inactive.
Now, to the right-hand side, you will see the Stellar branding and next to it, you will see a symbol that resembles a set of squares. Clicking this button will allow you to compare the different versions of the Stellar Photo Recovery software in case you want to upgrade to a higher version that offers more features.
![]()
All in all, the installation, first boot and the user interface of the Stellar Photo Recovery application, are very simple, straightforward and very clean. We absolutely loved how most of the work happens within the software and the window is not oversized, keeping things clean and well centered on your desktop.
Using the Stellar Photo Recovery Software
The Stellar Photo Recovery software works in three simple steps. Let’s take a look at them in a little more depth.
Step 1. Scan the Drive
On the home screen of the Stellar Photo Recovery application, select the drive you want to recover your data from, and then click on the ‘Scan’ button. This will start scanning the drive for deleted files that you can restore. Now, this step might take some time to accomplish, but as we mentioned earlier, the software itself is very minimal so you can continue working on other things or even browse the internet while the software does its job in the background.
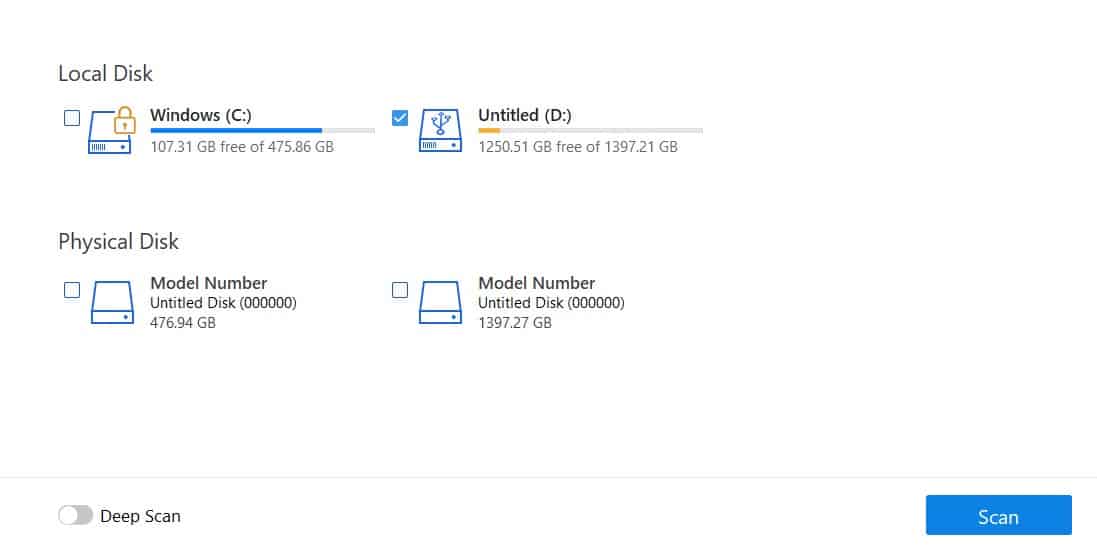
Now, if you are concerned about the PC slowing down during the scan, you can click on the three-button icon on the top left-hand side of the tool and create an image of the drive. This will create a virtual duplicate of the selected drive and scan that instead of the physical medium, thus giving you the performance you need for carrying out your tasks in the meantime.
Depending on the size of the drive, the scanning process will take a few seconds to a few long minutes. Stay patient and enjoy a cup of coffee if you are in the mood.

A quick word of advice – If you find that the scan has entered phase 2, it would be advisable to ensure that the process is not aborted as it has now entered the important part of the scan and must be left to it.
Step 2. Choose the Files you want to Recover
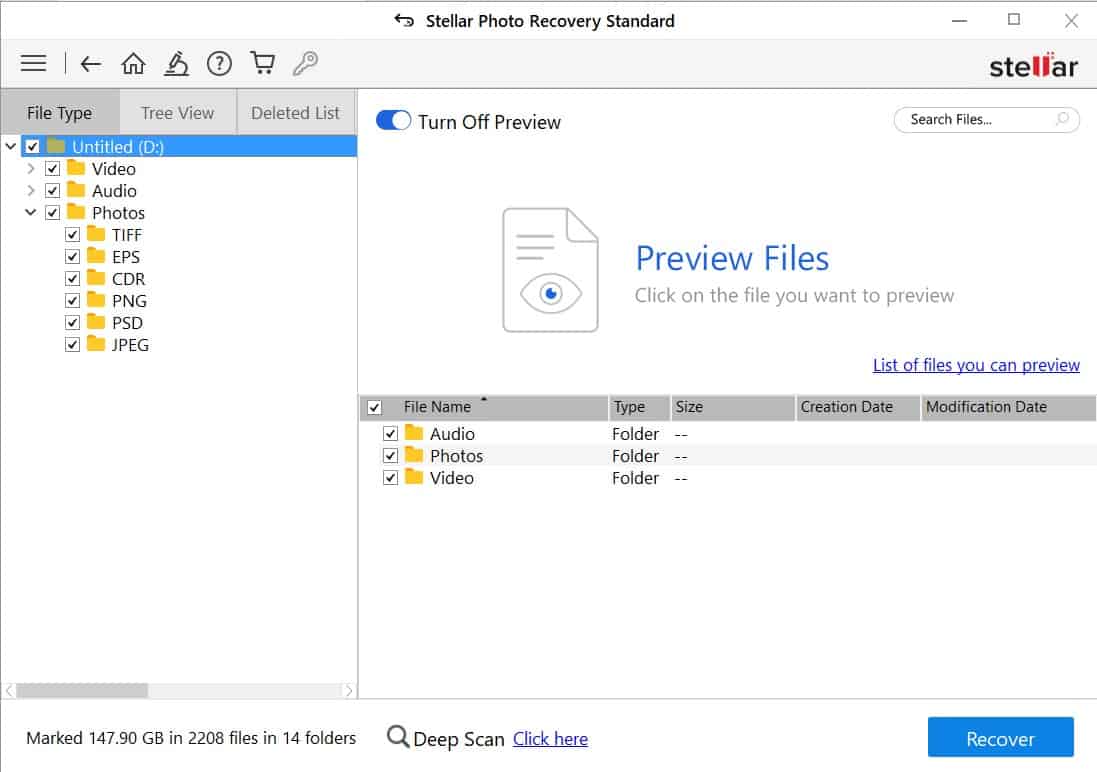
Once the scan is complete, you will see a success message and once that is put out of the way, you will be greeted with a list of all the files that can be recovered. The list may look complicated at first, but you can simply click on the ‘File type’ option and you will see folders titled based on the types of files available. For example, if you have images, videos, and documents, you will find folders titled correspondingly.
You can now double click on the folder and navigate through the subfolders and spot any of the files that you may want to recover. In our case, we wanted to see if we could recover images that we had deleted many months ago, and to our pleasant surprise, we found them all on the list.
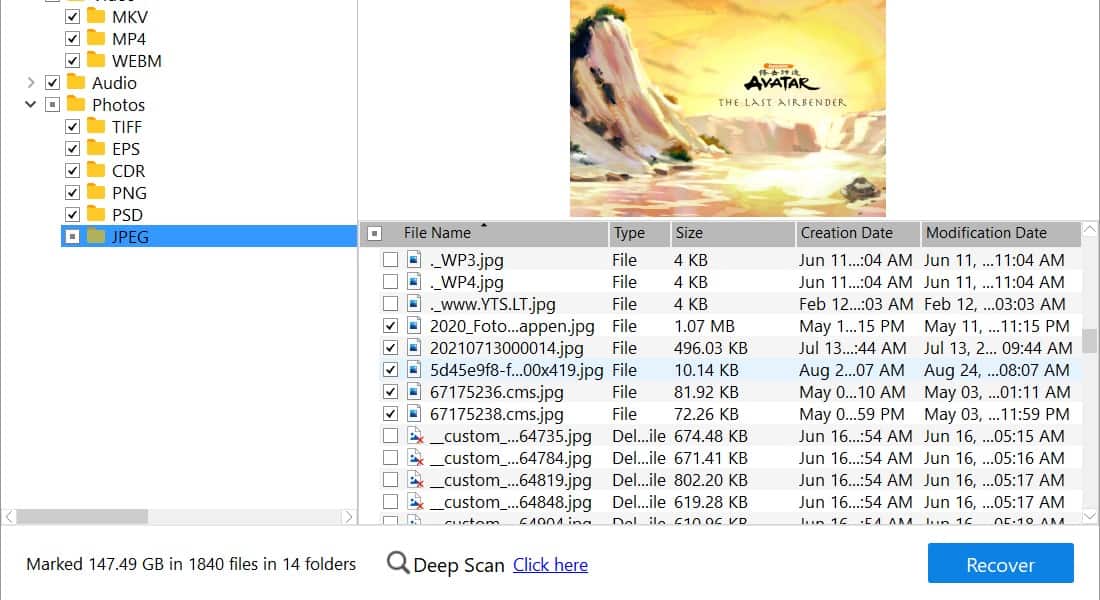
Take your time with this process and go through the list carefully and select the files that you want to recover. Sometimes, if the file is not too damaged, you will even get a preview of the file you are trying to recover. However, if the file is a little too damaged, you will see an error message wherein it will tell you that the file it recoverable but cannot be previewed. In the standard edition of this software, you can recover files. However, if you take up the higher tiers, you will be able to repair broken files as well.
What we absolutely loved about this scan result is that it lets you browse it just like a regular file manager. There is no new UI to master or complicated menus to venture into. We believe that the easier a software is to use, the better it is for the next time. The Stellar Photo Recovery Software is something we plan to use extensively, thanks to genuine results and the sheer easy-to-use UI.
So, once your files have been selected, you are now ready to proceed to the final phase of the operation.
Step 3. Recover your Files
We are now in the final phase of the recovery process and also the final phase of our review. With your files now selected, simply click on the ‘Recover’ button at the bottom of the screen.
You will be greeted by another window that will tell you to choose the destination where you want to save the selected files. You can either choose the drive where you are currently recovering from, or even set a completely new recovery path. The choice is completely up to you. For our first try, we decided to save our files onto the desktop, just to get quick access to them and see what the results were. In your case, the choice is yours. Once you have set your destination path, click on the ‘Start Saving’ button to begin the recovery process.

Depending on the number of files and their overall size, the recovery time will vary, but once completed, you will see a folder titled ‘#Root’. Open the folder and you’ll see the files that you wanted to recover. What we were surprised to see, is that the files we wanted to recover had retained the quality that they were saved in before they were deleted.

We absolutely loved the results of this recovery process and we hope you have had the same results.
A quick tip – While recovering your files, you may see that in actuality, the tool has selected every file in the search result. Please ensure that you deselect everything and then only select the files you want. If there was something the developers could change, its probably the feature where the search result comes deselected so that we can select the ones we want to recover. Otherwise, the software is absolutely on point.
Conclusion
There are so many software packages in the market that promise to help you recover your lost and deleted files, but all they did was bring in adware and when it came to actually perform the task of recovering lost files, we did not get any tangible output. Yes, this software is a paid bundle, but what we have seen is that throughout the whole process, we were not greeted by any ads or any unnecessary messages. The tool does exactly what it says on the box and sometimes, that is exactly what we need when it comes to sensitive operations such as file recovery.
We highly recommend using the Stellar Photo Recovery software, as it is absolutely well made, simple in design, and most importantly, it does exactly what we expect. To the point. perfect.
