

Android devices come in many flavors thanks to multiple OEMs bringing out Android-powered devices with their own little add ons built-in. While there are some companies that stick to the stock Android OS, there are those that apply their own UI on top of the OS to give it its own personal touch. That’s not all, because most of these custom UIs also feature custom apps that also include new mobile web browsers.
While some of these browsers offer great functionality, there are some which are just plain laggy and offer more ads than web browsing. In such cases, it becomes imperative to switch the default browser to the gold standard – Chrome.
Most Android phones ship with Chrome browser pre-installed, but for some reason, you do not have the Chrome browser, you can install it on your devices via the Play Store. Alternatively, you can use this link.
In this tutorial, we will show you how to make Chrome, the default browser on your Android Phone. Let’s get started –
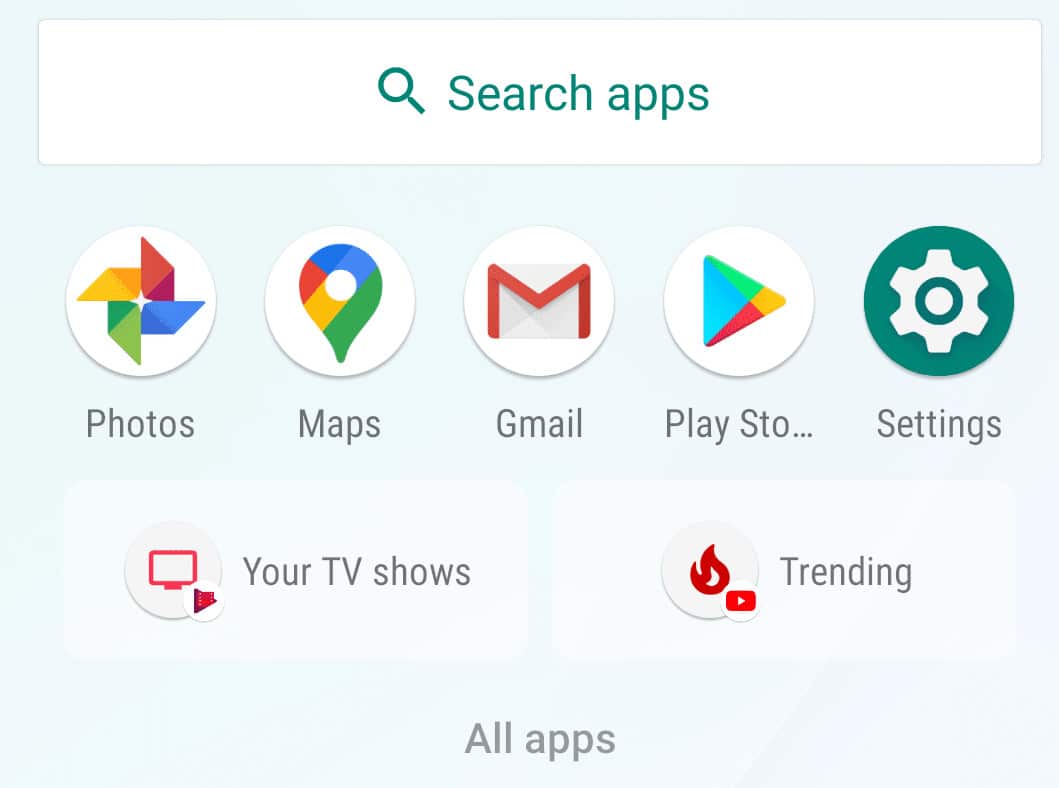
On your Android phone, head to head to the Settings icon and click on it to open it.
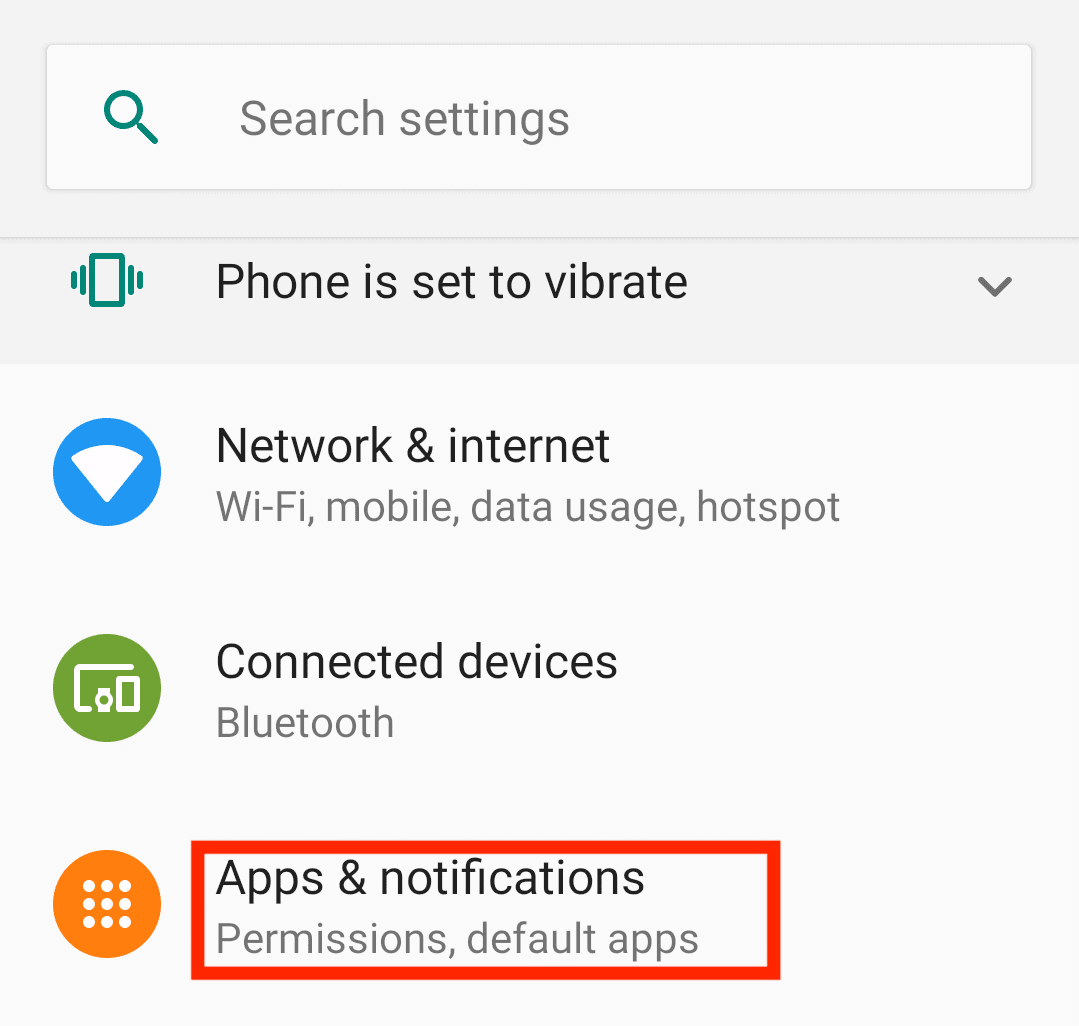
In the Settings app, navigate to the Apps and Notifications tab and tap it to open the app settings.
Navigate to the bottom and tap on the Advanced settings.
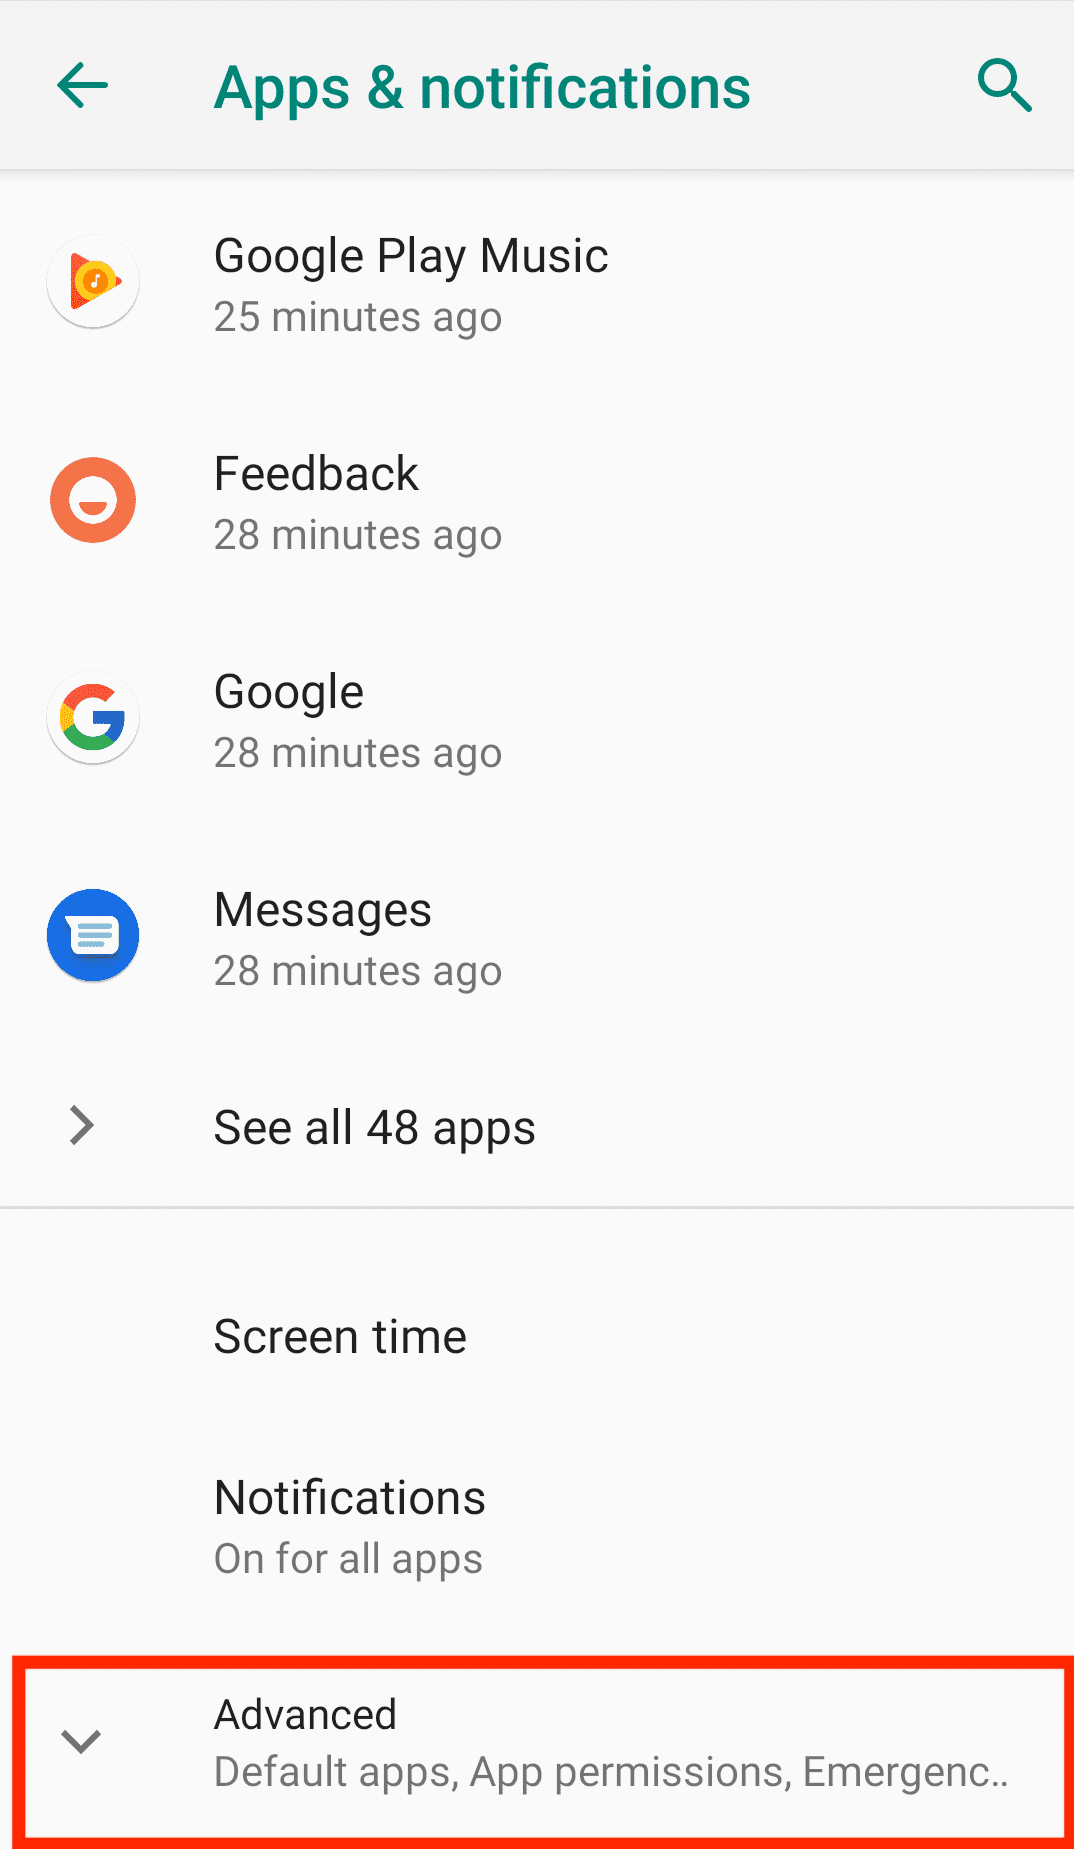
In the Advanced dropdown, click on the Default Apps option.
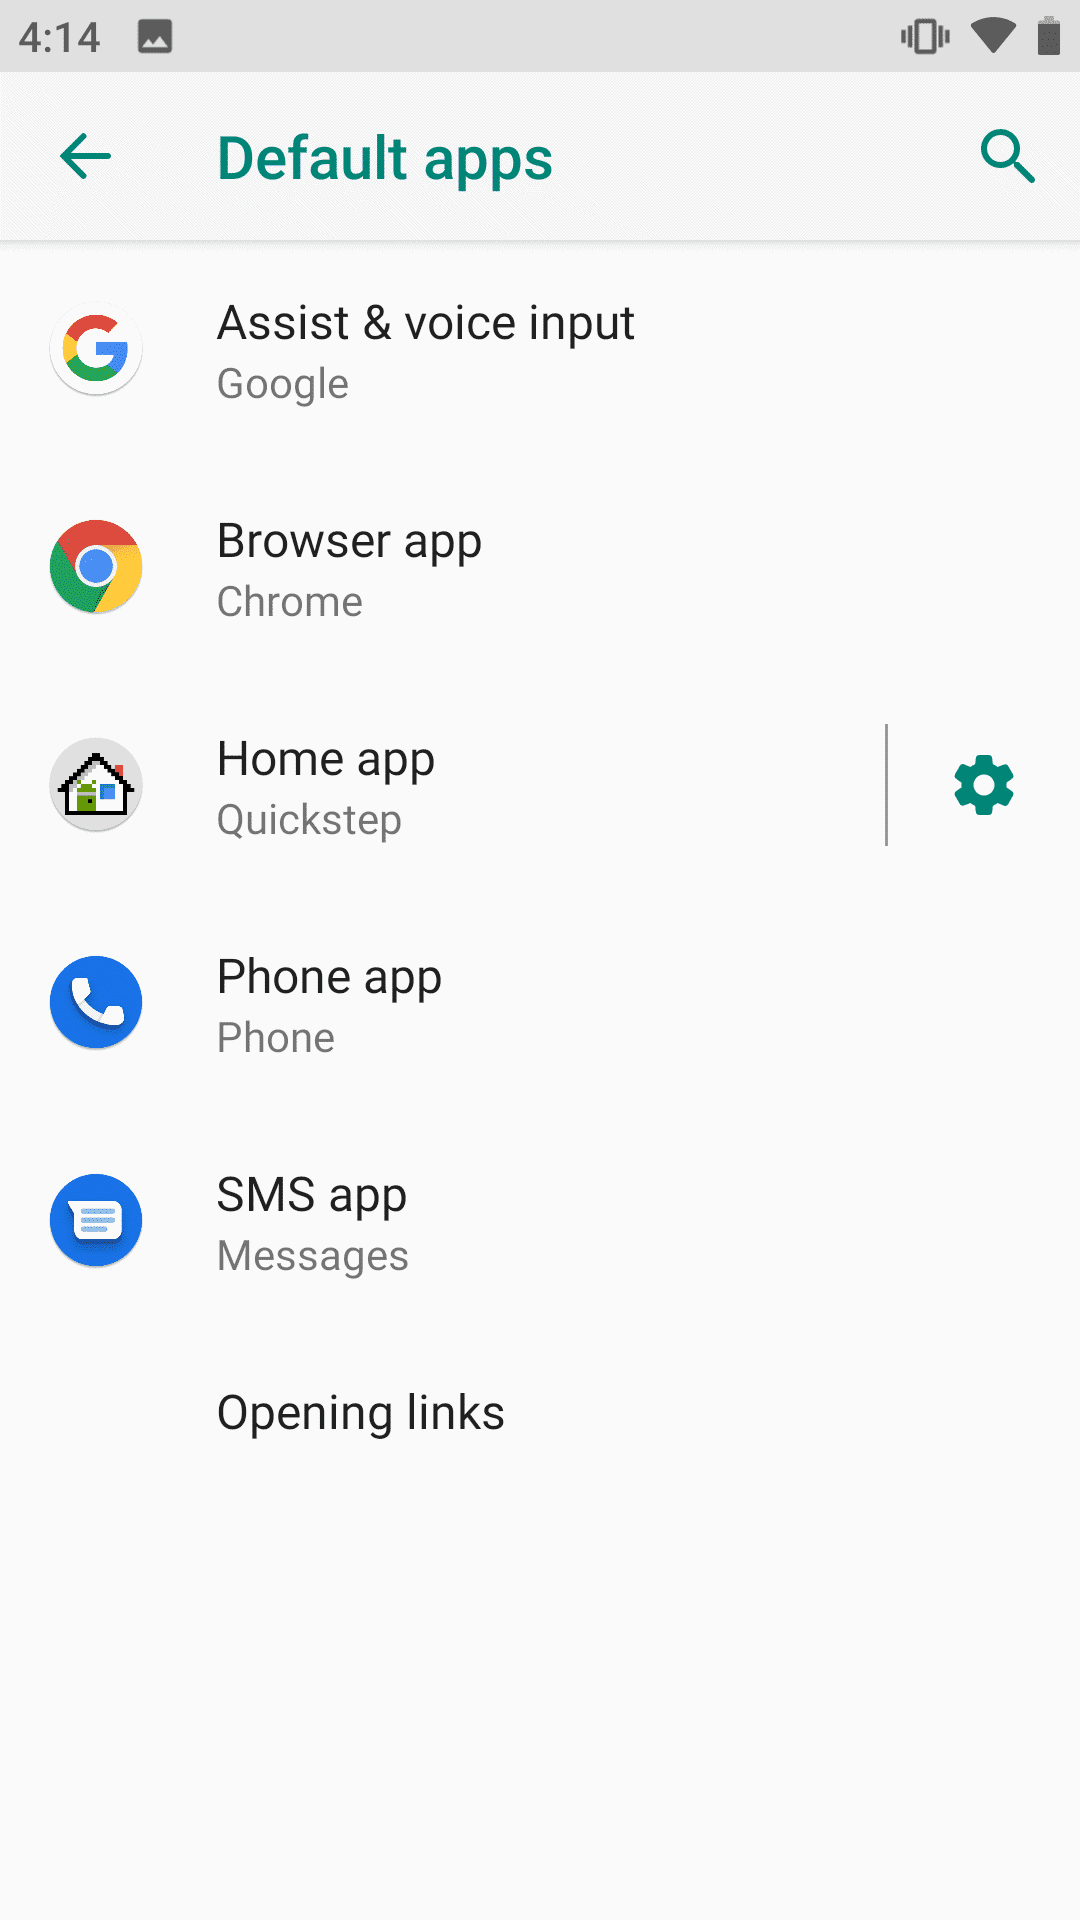
In the Default Apps window, click on the Browser App option and select Chrome.

Once you exit the settings, the default browser to open any new links and media will be set to the Chrome Browser.
