

With the world predominantly working from home due to the present situations, there has been a rapid demand for features such as mass video conferencing, screen sharing, etc. While we do now have professional services that offer high-quality video conferencing, the option to screen sharing is just now picking up. One of the variations of screen sharing that is being used by companies all over the world is remote desktop sharing. Using this feature you can share the contents of your desktop with all other participants, in real-time. This allows you to convey an idea more clearly, or even share some content that is on your desktop.
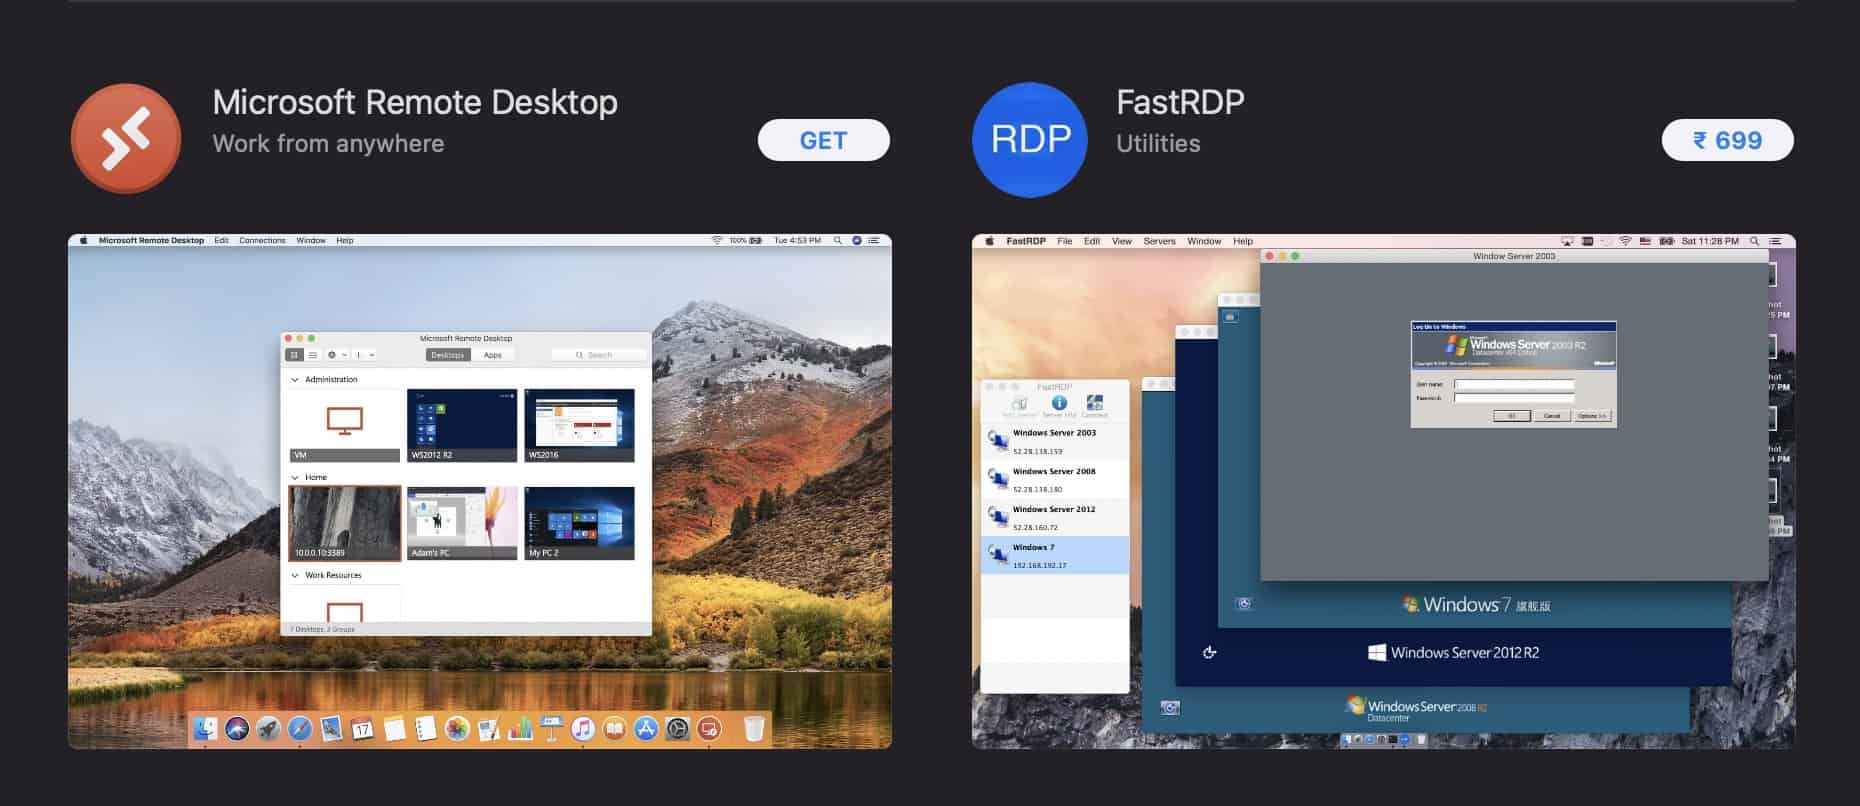
One of the most recommended and used remote desktop apps is Microsoft Remote Desktop. It is available as a free download on the App Store, but you will still need an account and all the surrounding paraphernalia to use the remote desktop feature with your colleagues.
In this tutorial, we will show you how to use the remote desktop on the Mac.
Download and Install the Microsoft Remote Desktop application from the Apple App store on the Mac.
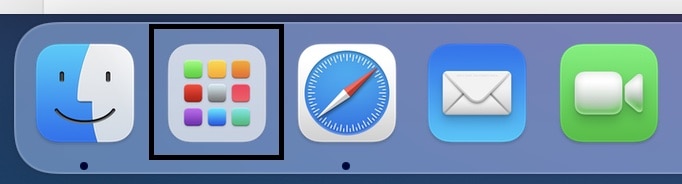
Open the ‘Launchpad’ app on your Mac and open the Microsoft Remote Desktop Application.
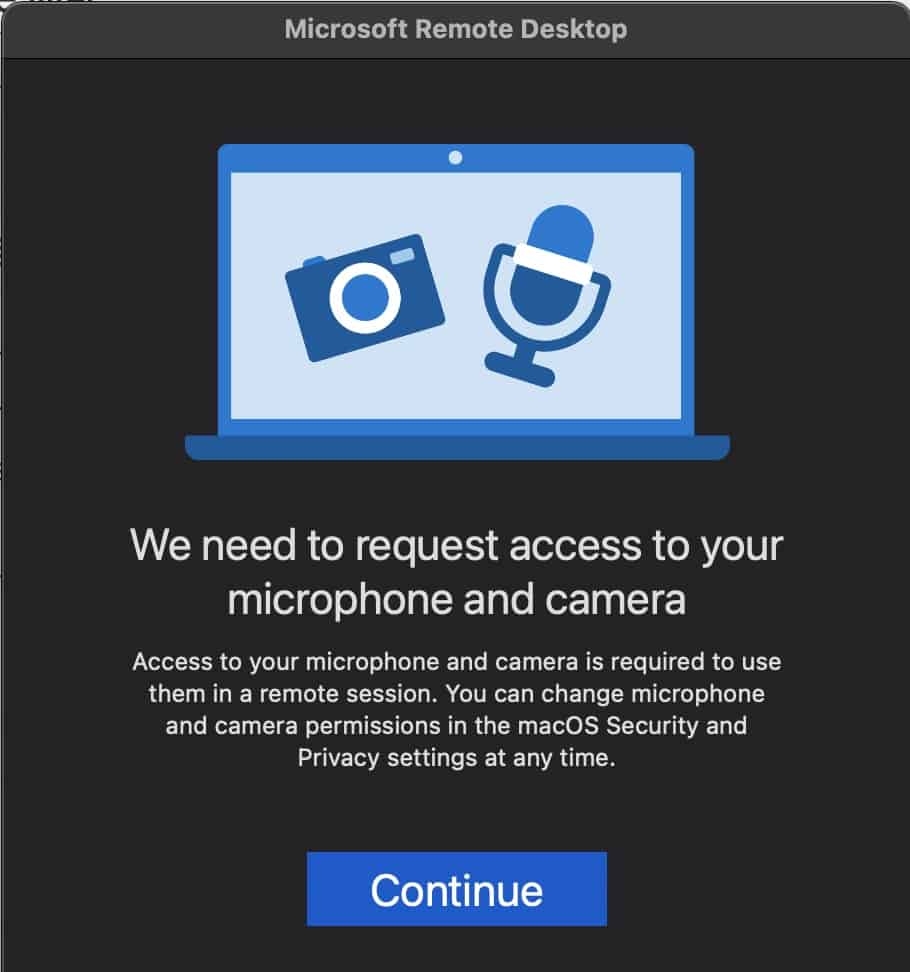
Grant camera and microphone access to the application.
Now, click on the ‘Add PC’ button on the main screen of the application.

Enter the details in the setup form shown.
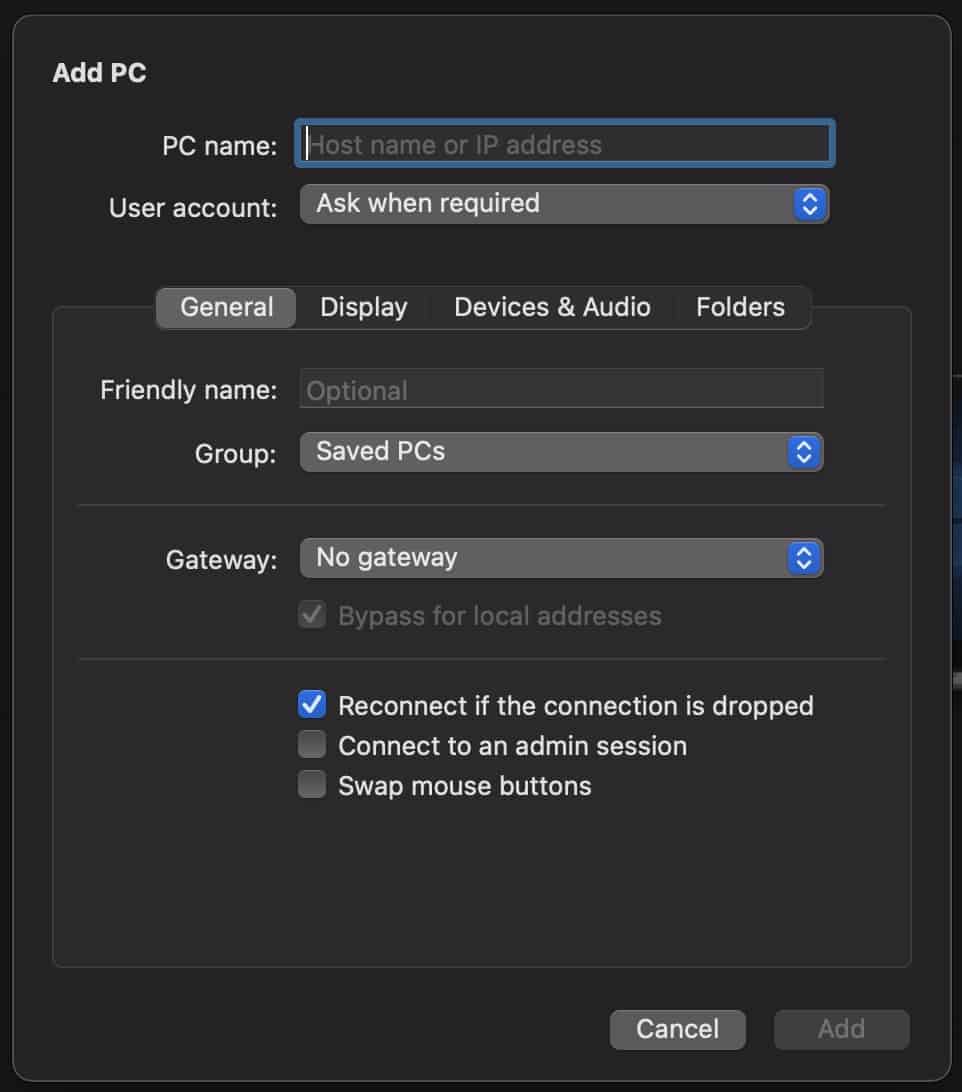
Click on the ‘Add’ button to get started.
Once the PC is set up, you can now follow your company’s protocol to start the Remote desktop sessions with your colleagues. be very careful about who you share the contents of your screen with, and ensure that you have no confidential data placed on your desktop as it can be viewed by everyone. Stay safe and responsible while engaging in Remote Desktop sessions.
