

When Apple launched the ‘X’ series of iPhones, the intention was to take mobility to the next level. The design was overhauled, the features were polished, and what we got, in the end, was a piece of tech that is not only quintessentially Apple but also future proof.
The world is now moving towards digital payments, and the next step in that is payments via NFC. Apple’s answer to this challenge is Apple Pay. Through Apple Pay, you can now just tap your iPhone X on any compatible payment platform and the phone takes care of the rest.
In this tutorial, we will show you how to use Apple Pay on your iPhone.
First, lets set up a card to make the payments with.
Set up the card
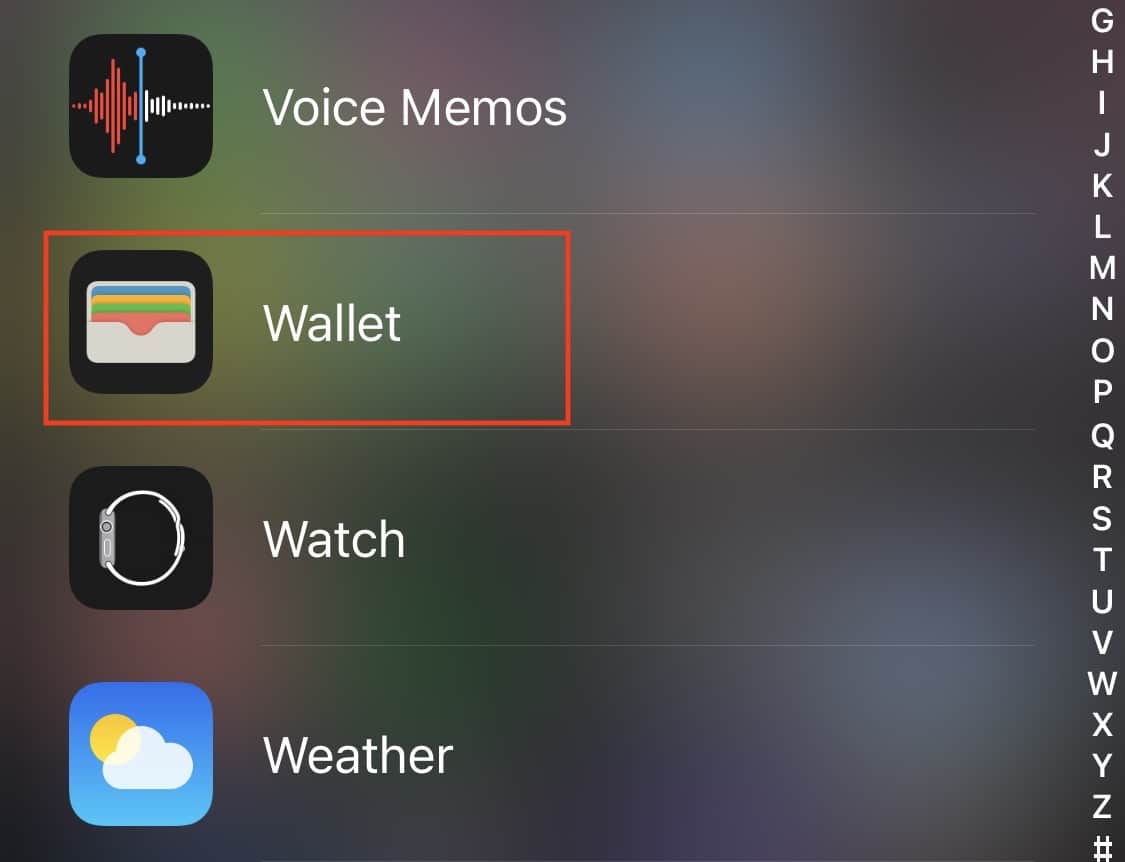
Step 1. Open the ‘Wallet‘ app on your iPhone.
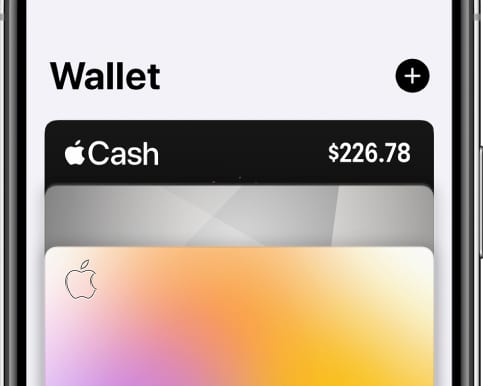
Step 2. Tap on the ‘+‘ button on the top right-hand side.
![]()
Step 3. Now, tap on the ‘Credit or Debit‘ card option.
Step 4. Follow the on-screen instructions to add your card to the wallet.
Make the payment
Once you have added the card to your Apple Wallet, this is how you can make a payment using Apple Pay.
Step 1. Double click the power button on the right-hand side of your iPhone.

Step 2. A glance at your iPhone to authenticate the Face ID.
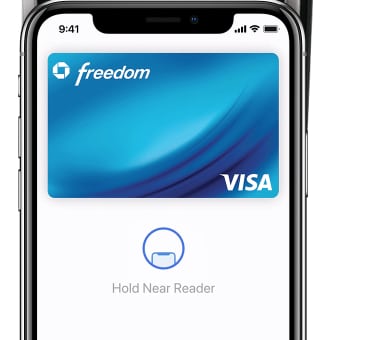
Step 3. Hold the top of your iPhone near the payment reader and wait for both the devices to show the tick mark.
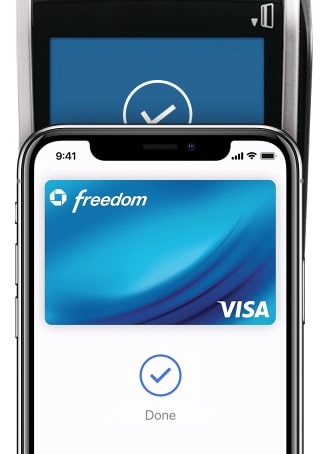
Your payment using Apple Pay will now be successful.
