

One of the most used features on computers today is Bluetooth. This technology not only allows us to share files between multiple systems but also helps connect various peripheral devices to the computer. While the Bluetooth module is more of a hardware component, the software that drives it and allows it to communicate with compatible devices, is ingrained in the operating system.
When it comes to Windows 11, which is Microsoft’s newly announced operating system the Bluetooth settings are pretty much identical to the ones found on Windows 10, and in this tutorial, we will walk you through the different ways in which you can turn on Bluetooth on the Windows 11 platform.
Table of Contents
Turn On Bluetooth through the Settings.
The first way you can turn on Bluetooth on Windows 11, is through Settings.
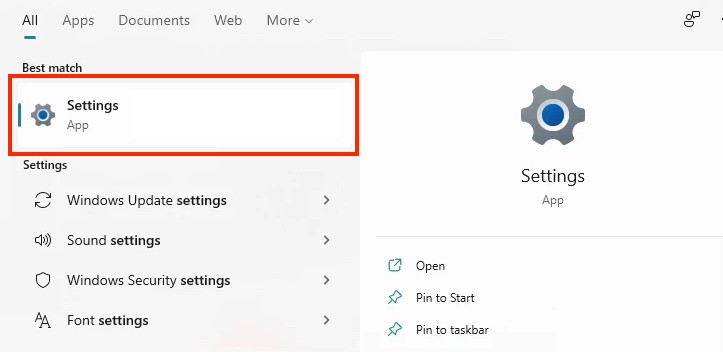
Step 1. Open the ‘Settings‘ application on your Windows 11 PC or Laptop.
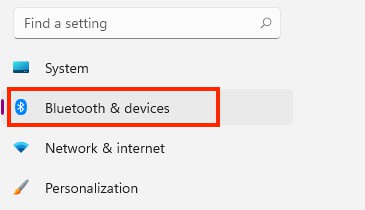
Step 2. From the list of tabs on the left-hand side pane, click on the ‘Bluetooth and Devices’ settings.
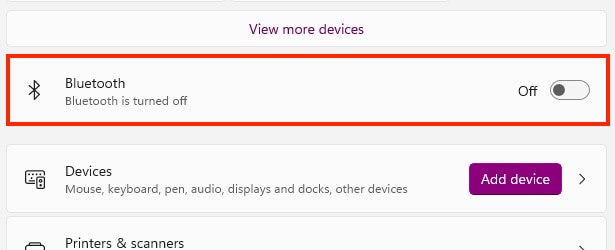
Step 3. Next, toggle the switch next to the Bluetooth title to turn it on.
Turn on Bluetooth from the Action Center.
Much like Apple macOS, the Windows 11 platform also features an action center where you can toggle on or off, certain features or functionalities. The Bluetooth toggle is also present on the action center, and thanks to its smartphone-like button mechanism, switching it on or off is just a single click away.

The Action center can be activated by clicking on the icons at the bottom right-hand side of the desktop, which instantly triggers a pop-up window with the various control buttons.
Once you are in this window, you can simply click on the Bluetooth button to turn it on or off, depending on the requirement.
What if the Bluetooth option is not present in the Action Center?
Ok, so for some reason, if the Bluetooth control is not visible on the Action Center of your Windows 11 PC, this is how you can add it.
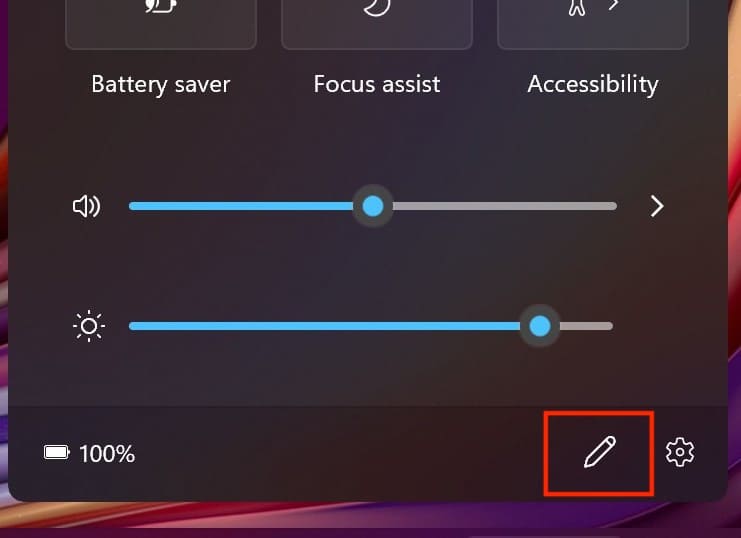
Step 1. Launch the ‘Action Center’ and click on the ‘Edit quick settings’ icon that resembles a pencil at the bottom left of the dialog.
Step 2. The tiles will now get greyed out and you will see two options – ‘Add’ and ‘Done’. Click on the Add option.
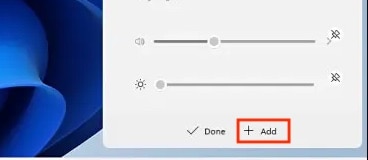
Step 3. Next, select the ‘Bluetooth’ option from the list that is displayed.
Finally, click on the ‘Done‘ button at the bottom to save the changes.
The Bluetooth feature will now be turned on for your Windows 11 device and you can proceed with connecting peripheral devices or performing file transfer operations with other devices nearby, without an issue.
