
The all-new Windows 11 Operating System has been designed to keep your system up to date, automatically. This can be a bit of an annoyance as Microsoft tends to release cumulative updates every now and then, and when your Windows 11 PC has been primed to download and install these updates as soon as they drop, then there are chances that you will either be rebooted automatically or you will be constantly prompted to reboot your PC in order to install these updates.
Fortunately, Microsoft has also bundled in a feature that allows you to choose when you want to update your PC. Sometimes, you may be deep at work and don’t want to be bothered with updates, in which case, you can now choose the frequency of updates and when it is a good time to install them.
Let’s take a look at how you can stop or disable Windows 11 updates.
Table of Contents
If you want to Temporarily Pause the Updates
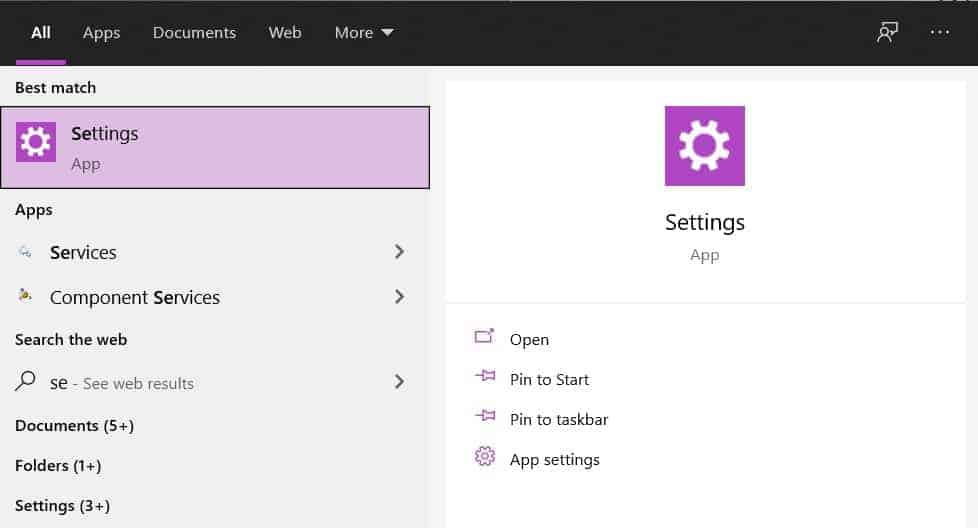
Step 1. Open the Settings application on your Windows 11 PC.
Step 2. Now, click on the Updates page and you will now see an option that reads ‘Pause Updates’. Click on it and your updates will be paused for a week.
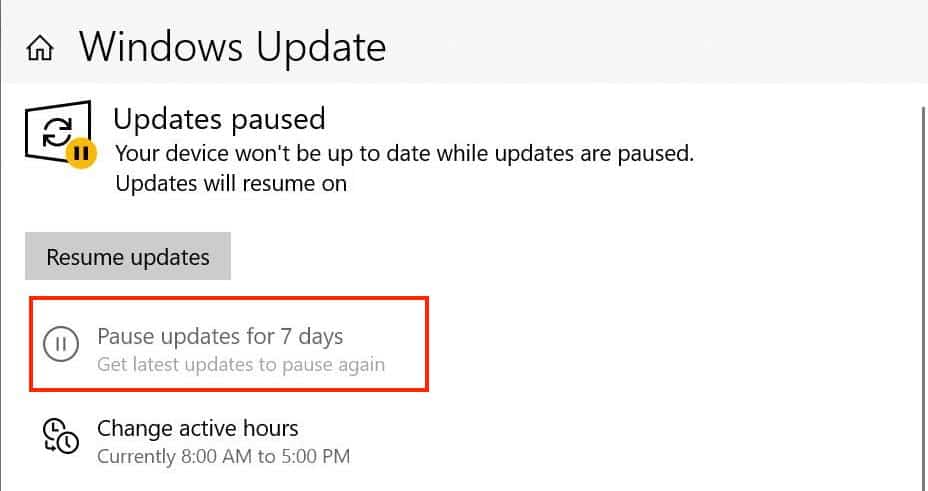
Now, if you want to keep delaying the update, you can click on the same button and you will delay the updates with one-week increments.
If you want to disable the updates feature as a whole
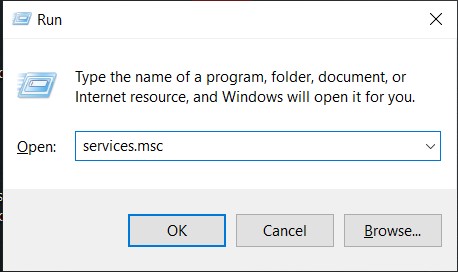
Step 1. Press the ‘Windows + R‘ key combination on your keyboard. The ‘Run‘ command window will open.

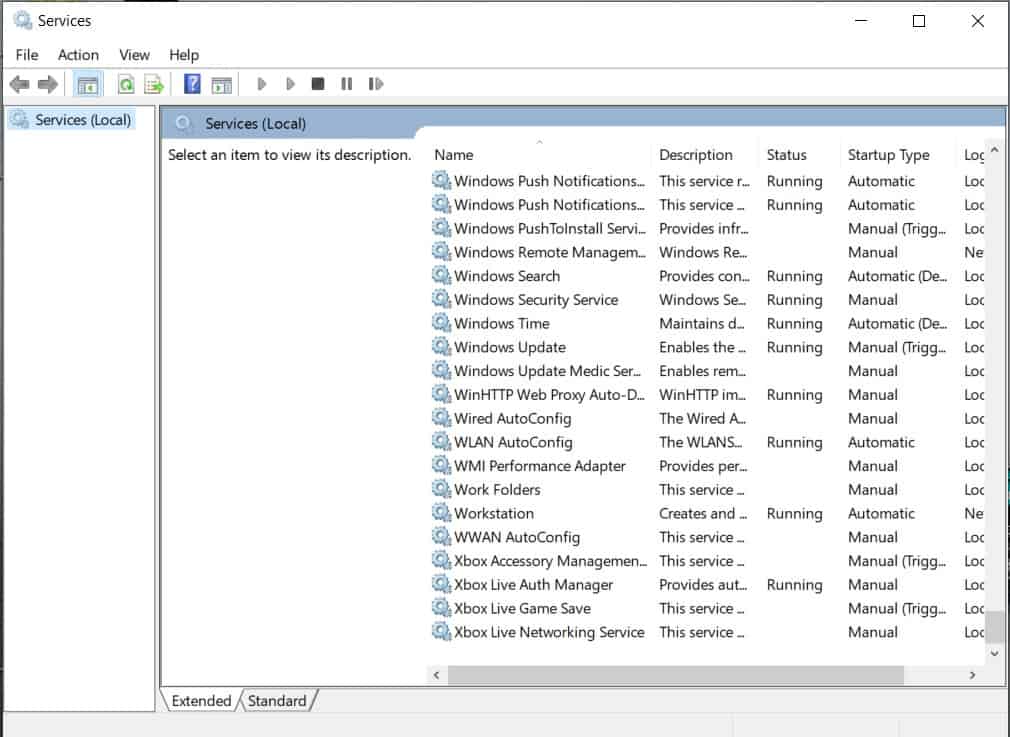
Step 2. In the dialog box, type in ‘services.msc‘ and press Enter. This will open the services window.
Step 3. Now, in the services window, locate the ‘Windows Update‘ service.
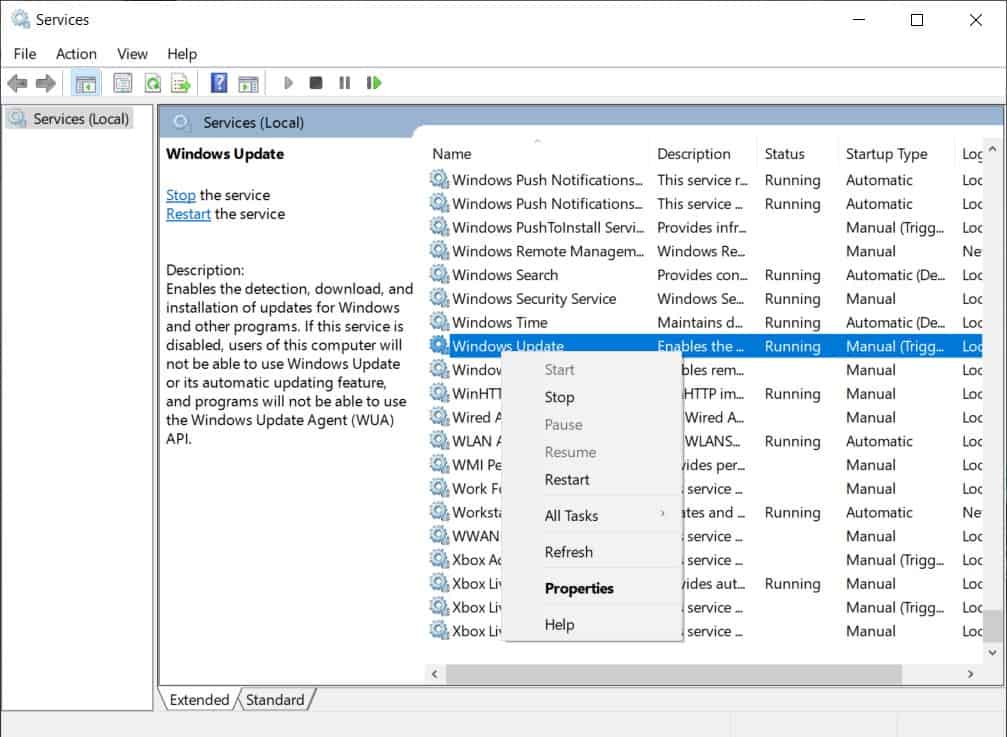
Step 4. Right-click on the windows update service and click on the ‘Properties‘.
Step 5. In the properties window, head to the ‘General‘ tab and spot the ‘Startup Type‘ option.

Step 6. Click on the drop-down menu in the startup type option and select the ‘Disabled‘ option.
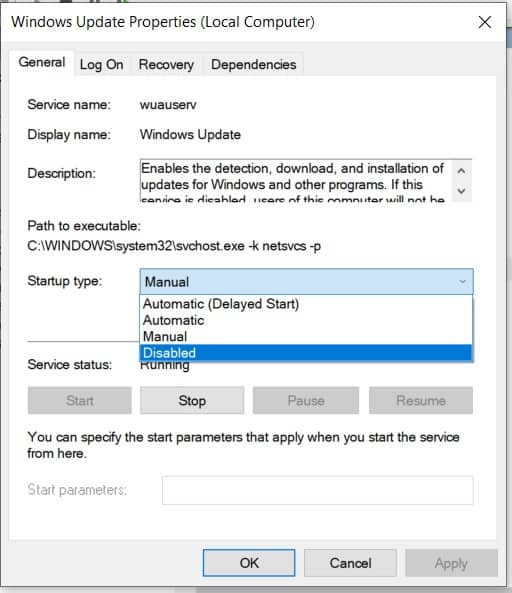
This will permanently turn off automatic updates on Windows 11. However, if you plan to turn it on again, you can follow the above steps and select automatic in the startup type instead of disabled. This will turn on the automatic updates on Windows 11 again.
