
Microsoft Windows 11 is now official, ad thanks to the preview build that we have got access to, we have been able to spend some time tinkering and getting a feel of the new version of what seems to be a resurgent Microsoft platform. After a lot of to and fro between releasing a new OS or keeping the Windows 10 as the final named version, Microsoft seems to have finally made their decision, and while although Windows 11 is more of a refined and glassier looking Windows 10, there are certainly a lot of improvements that make the various elements just click.
In this article, we will take a look at how you can use one of the most used features of Windows 10 – the screen recorder, on the all-new Windows 11 platform. Without further ado, let’s get started.
If you are someone who likes to use built-in features for these simple tasks, then you will be happy to know that the Game bar, which was on Windows 10, has been retained in Windows 11, and it is this game bar, that we will use, to record the screen of the Windows 11 PC or laptop.
Table of Contents
How to turn on the Game bar?
You can turn on the game bar on Windows 11, by pressing the ‘Windows key + G’ combination. This is what the Windows 11 game bar looks like.

How to Screen Record using the Game bar?
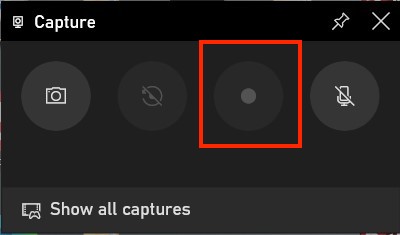
Step 1. On the Windows 11 game bar, click on the ‘Capture button‘ that is present.

Step 2. Now, if you want to record the screen and also provide a verbal cue or narration, you can click on the mic option to toggle it on or off.
Step 3. Once you are happy with the settings, press the ‘Windows Key + ALT +R‘ combination to start the recording session.
You can use the same combination to stop the recording as well.
Once the recording is completed, you will see a thumbnail appear, which you can click to view the recording. However, if you miss the thumbnail you can even click on the ‘Show all captures’ button present on the toolbar to open the Gallery view of the Game Bar app.
What if I want to use third-party software?
Now, if you are someone who likes to experiment with third-party applications, one of the better alternatives out there, is Free Cam.
One of the things that we like about Free cam is that is it totally ad-free, and comes in two flavors – Free and Paid. The paid version will cost you close to $227/year, which is quite steep, seeing that the developer is not exactly well-known worldwide. We went for the free version instead and were surprised to see that it offers all the key functionalities and also does not apply any watermarks. This means you can easily record the screen using Free cam and use it in your projects or video content.
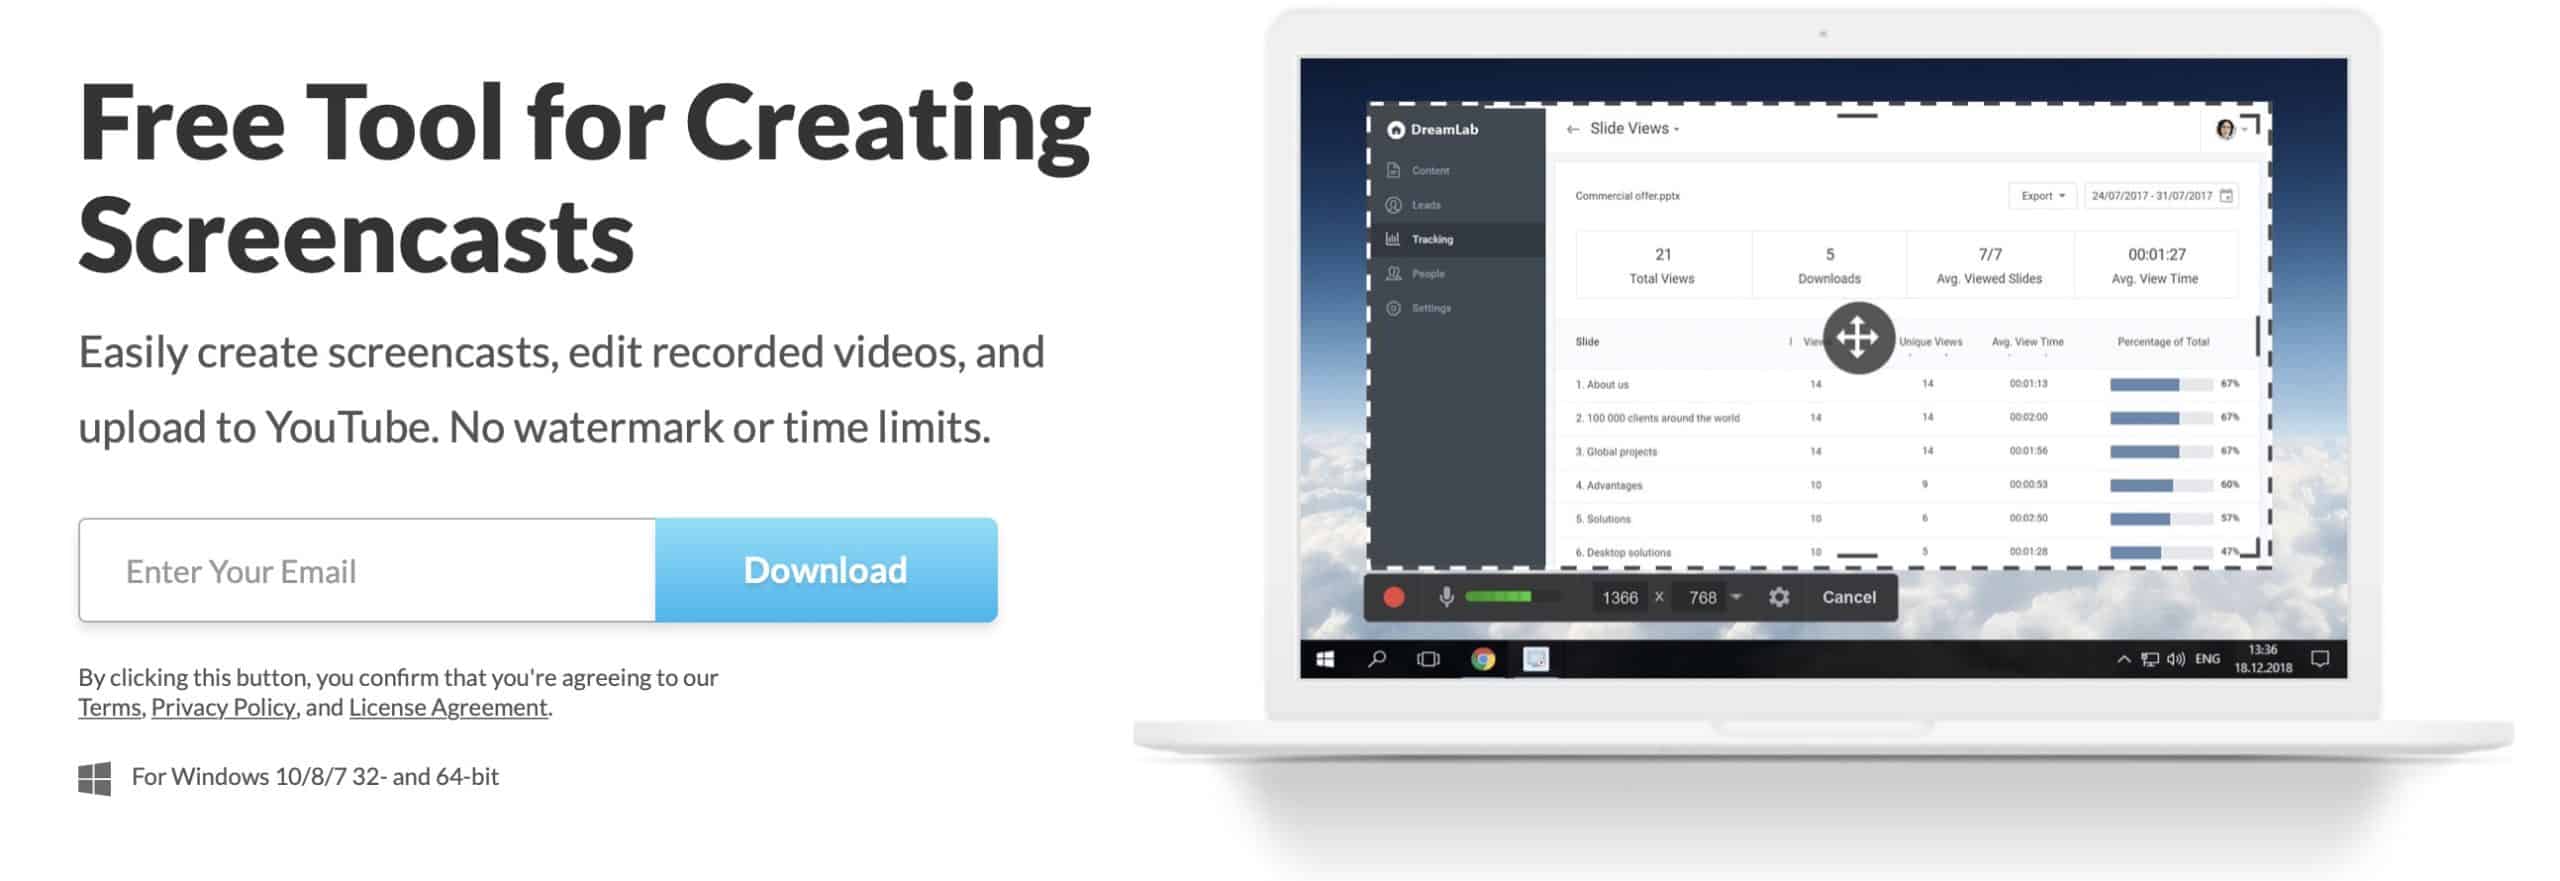
If you want to try the free version of the Free Cam software for Windows 11, you can click here. Then, simply enter your email id and click on the download button to get started.
