

Voice recording software on your iPhone might be great for rapidly capturing thoughts, an interview, or even a musical concept. While the App Store is brimming with third-party applications that can do this for you, Apple’s built-in Voice Memos app is very simple to use because there’s no need to download anything — and it’s completely free. Furthermore, once you’ve completed recording your voice message, you can effortlessly share it – and even change it if necessary. In this guide, we will walk you through how you can record voice notes on your iPhone.
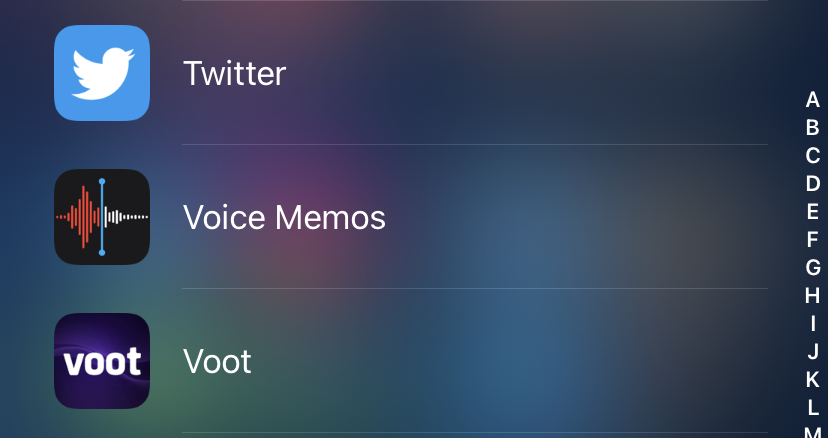
Step 1. First, launch the Voice Memos app, which is represented by an audio graph symbol on your phone. It’ll most likely be in your iPhone’s Extras or Utility folder, but you may also look for it in your App Library.
Step 2. When you’re ready to begin recording, press the large red button towards the bottom. Your iPhone’s built-in microphone will immediately begin capturing your voice.
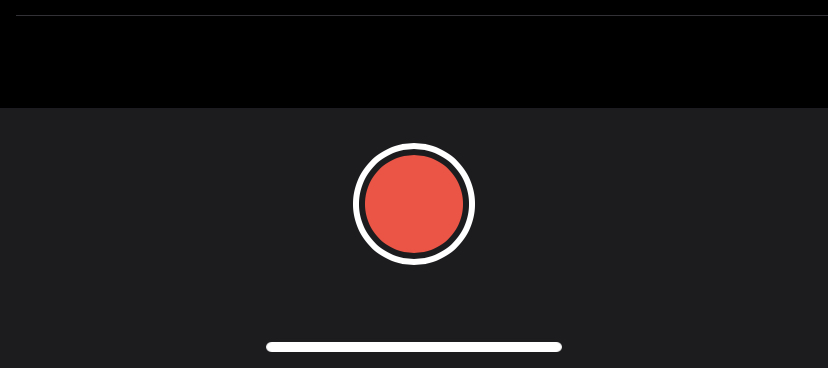
Step 3. When you’re finished, hit the red button (which should now appear like a square) once again to end the recording. It will be saved automatically by the app.

Step 4. To listen to the recording, click the play icon, which is represented by a white triangle.
Step 5. Click on the name of the recording you’re presently playing to rename it. This will make it editable, allowing you to enter a new name.
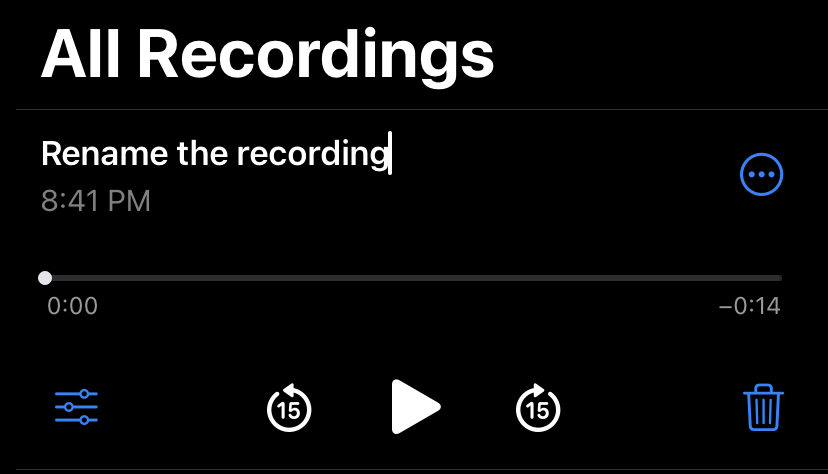
Step 6. After entering the name, press Return (or Enter) on your phone’s on-screen keyboard to store it.
Step 7. To share the recording, click on the three blue dots to the right of it again and select Share.
Step 8. You’ll be given a variety of app selections. If you want to email it to yourself, for example, click on the Gmail button, enter in your email address, then hit send.
This is how you can easily create a voice recording, rename it and then share the same with your family, friends, or colleagues.
