
The ChromeOS platform isn’t as feature-rich as the more settled operating systems in the market such as Windows and macOS, but Google has ensured that they packed in some much-needed personalization features that allow new and existing users to customize their desktops and make the user experience a lot more intimate and friendly. We decided to crank on one of the Chromebooks in the office and prepare a list of things that you can do to personalize your Chrome Desktop. Let’s get started –
Number 1. Change the Wallpaper on your Chromebook
Step 1. Right-click anywhere on the desktop of your Chromebook and select Set wallpaper from the menu that opens.
Step 2. Click on one of Google’s categories to browse a selection of pre-made photographs, or select My Images to select an image from your own local storage.
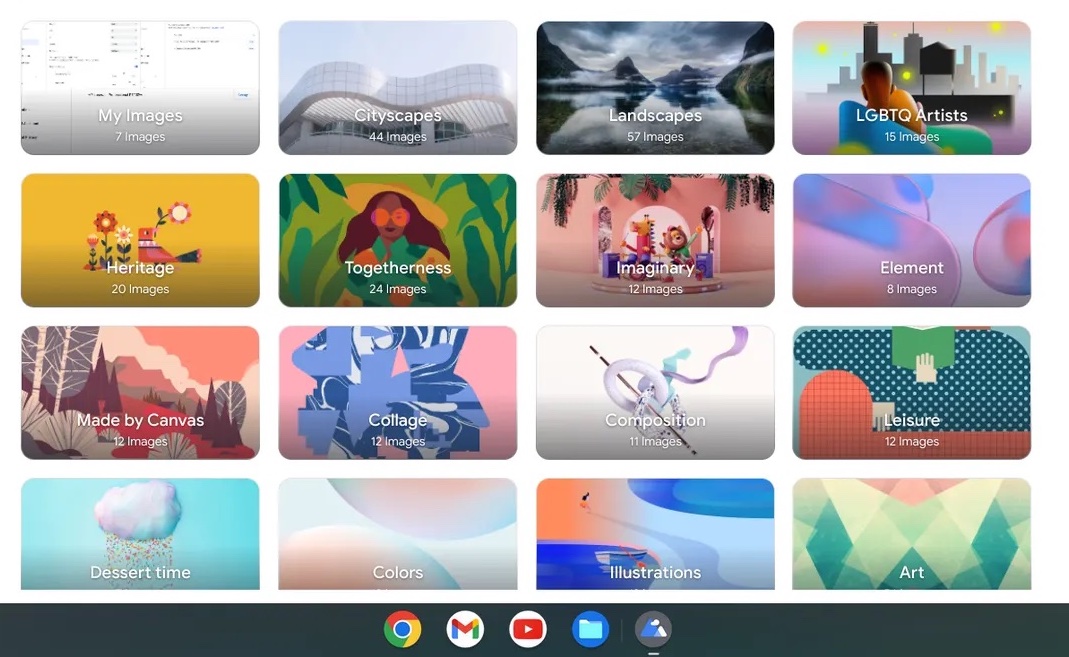
Step 3. If you want your wallpaper to change every day, simply click the Change Daily icon at the top of any of Google’s category pages.
Number 2. Customize the browser background
Step 1. Launch Chrome and navigate to the Customize Chrome button (or the pencil icon) in the browser’s lower right corner.
Step 2. Select Background to select an image from Google’s library or Upload your device to select an image from your local storage, then follow the prompts to locate and confirm the desired image.
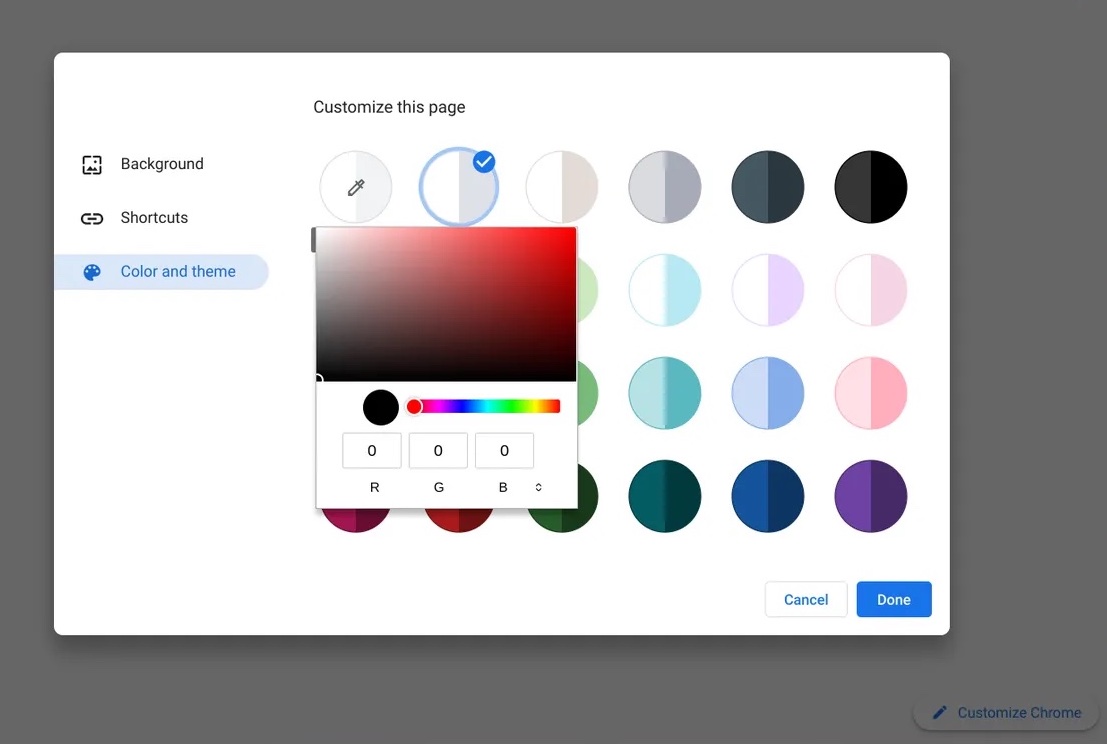
Step 3. Change the color and theme of your browser’s border and backdrop by selecting Color and theme. You can select from a number of predefined themes, or you can select new colors by clicking on the circle with the dropper icon.
Number 3. Change the way your Chromebook’s shelf looks
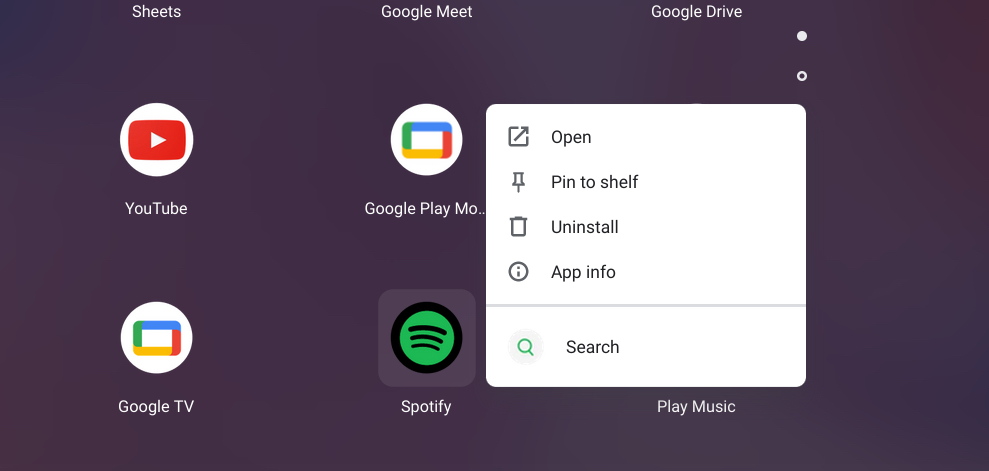
Step 1. Launch your app drawer (by clicking the circle icon in the lower-left corner of the screen and then clicking the upward-facing arrow on the partial drawer that appears). Select Pin to shelf from the context menu when you right-click any item in the list.
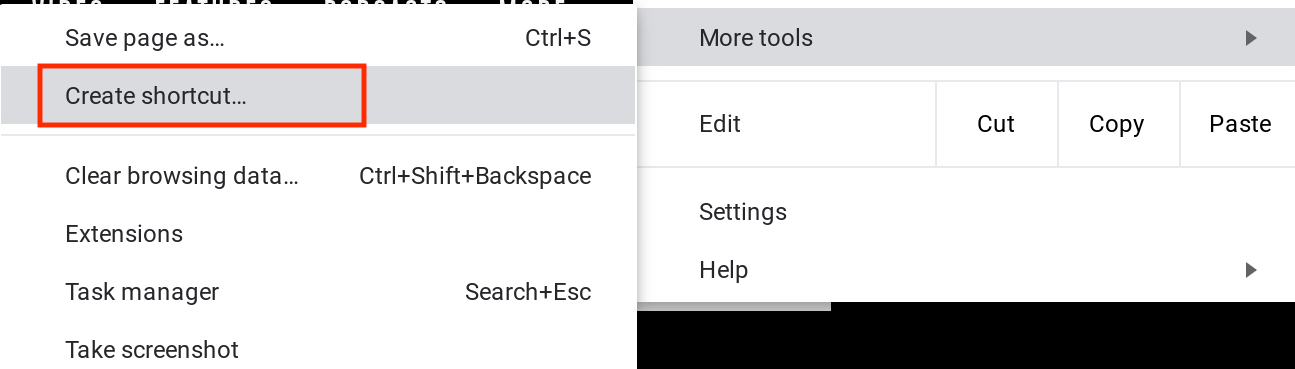
Step 2. To add a website, open it, then click the three-dot menu symbol in Chrome’s top right corner, then More tools, then Create shortcut.
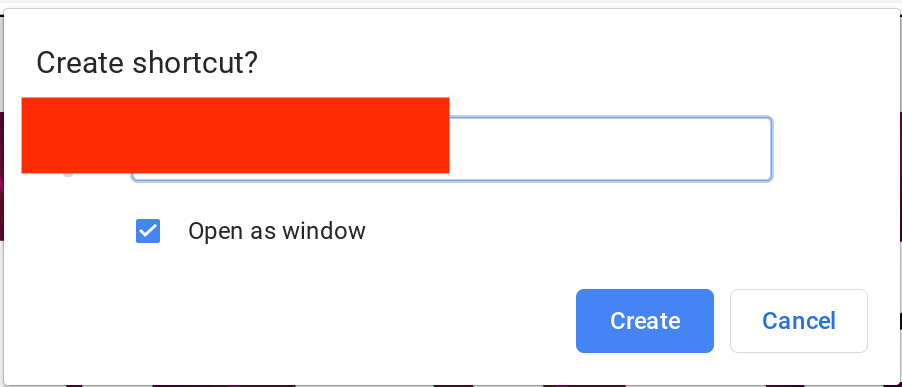
Step 3. Click the Open as window option in the Create shortcut the pop-up window that opens if you want the site to open in an app-like window without the typical browser elements on top. Then, on the right, click the blue Create button.
Step 4. Drag and drop any of the icons on the shelf to reposition them.
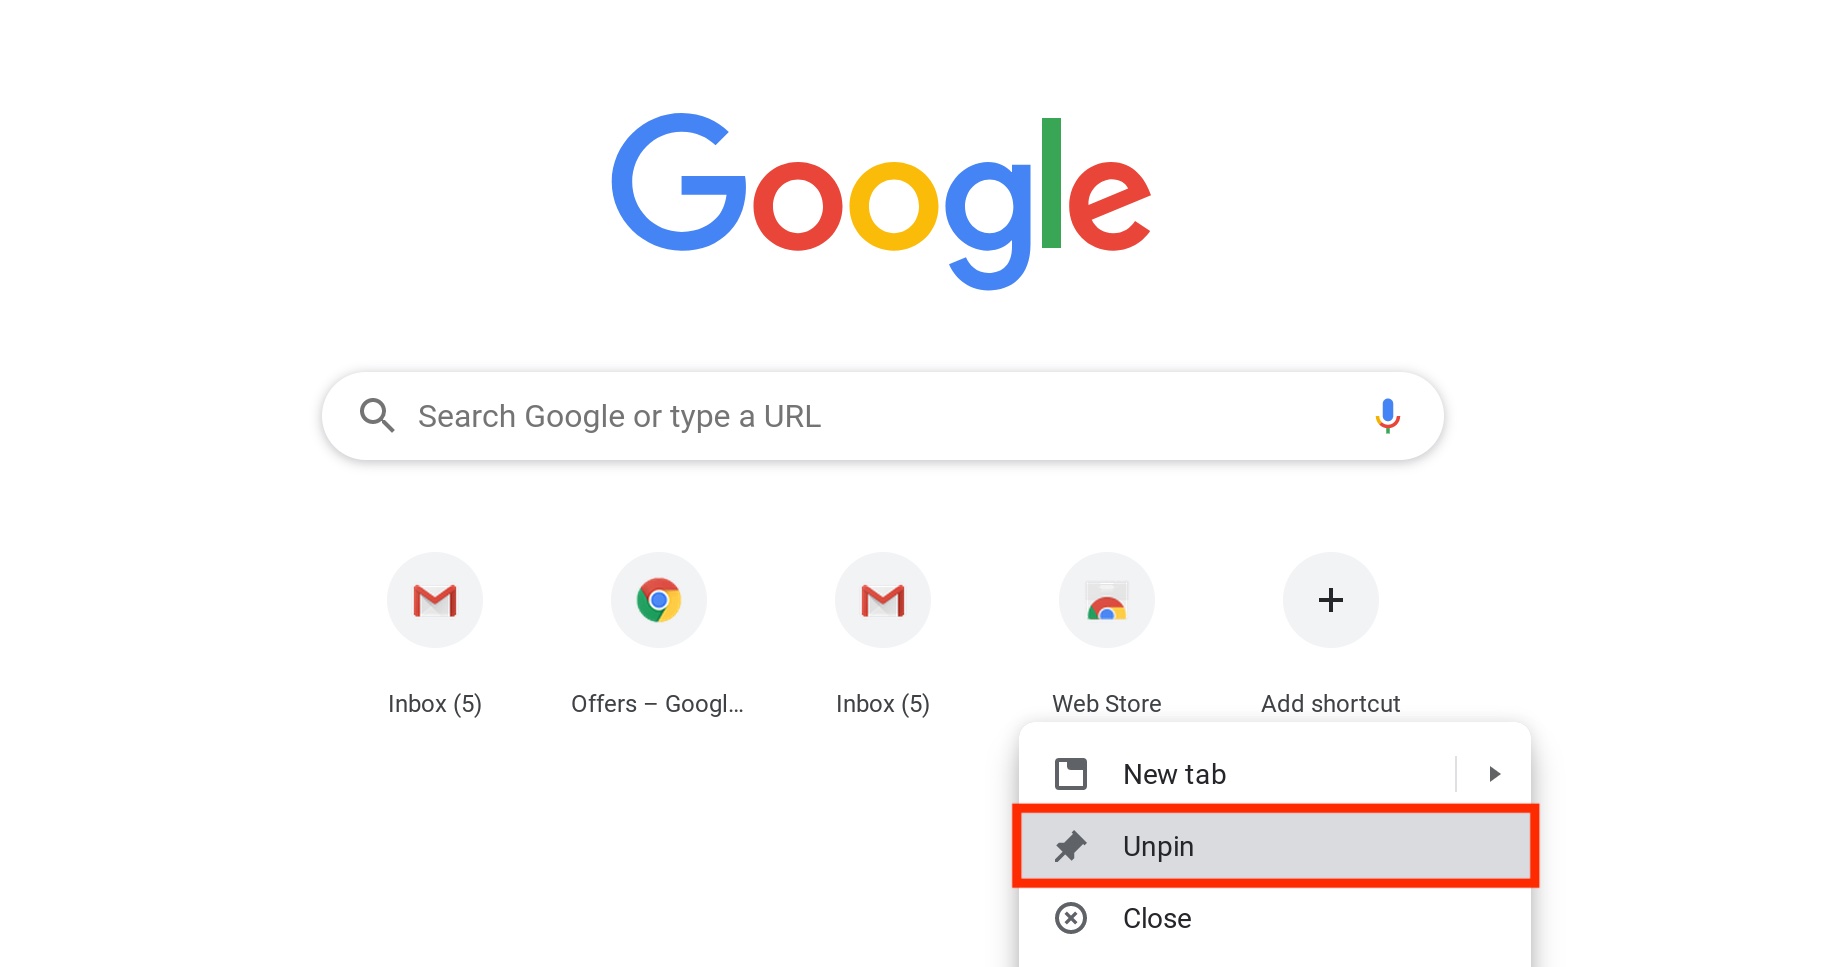
Step 5. Have you decided that you no longer want the icon on your shelf. Unpin the symbol by right-clicking it.
Step 6. Finally, if you want your shelf to show on the left or right side of your screen rather than at the bottom, right-click anywhere inside it, select Shelf location, then Left or Right. If you want your shelf to be hidden by default and only appear when you hover your cursor over it, right-click it and pick the Autohide shelf option.
