

When you receive a CAD assignment from your client, the usual process you follow is
- Study the requirement, sketches, and specifications.
- Create the CAD draft.
- Export the desired format.
- Print out the CAD drawing and submit it to the client.
Printing out the CAD drawing that you have made is very easily accomplished on AutoCAD, but you have to be mindful of the various options and settings. Wrong settings usually print the drawing out of scale and sometimes, part of the drawing gets cropped out as well.
In this tutorial, we will show you how to print out your CAD drawing on AutoCAD.
Table of Contents
Open the AutoCAD application on your Desktop/Laptop.
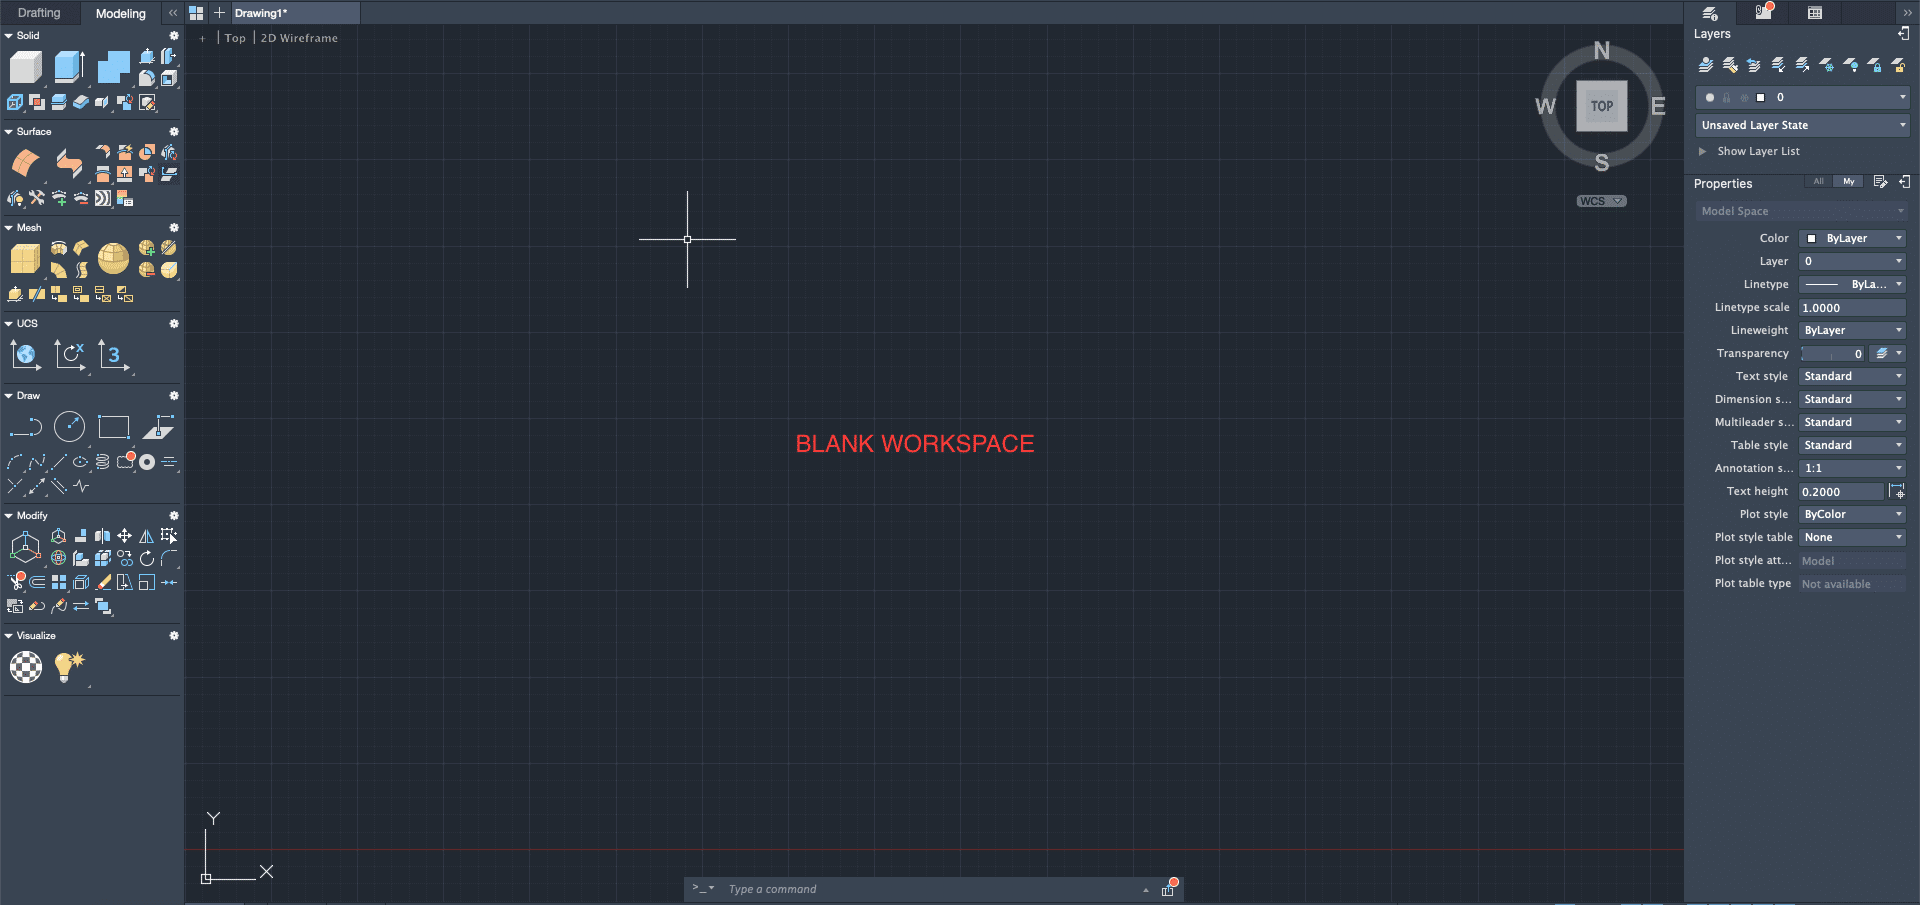
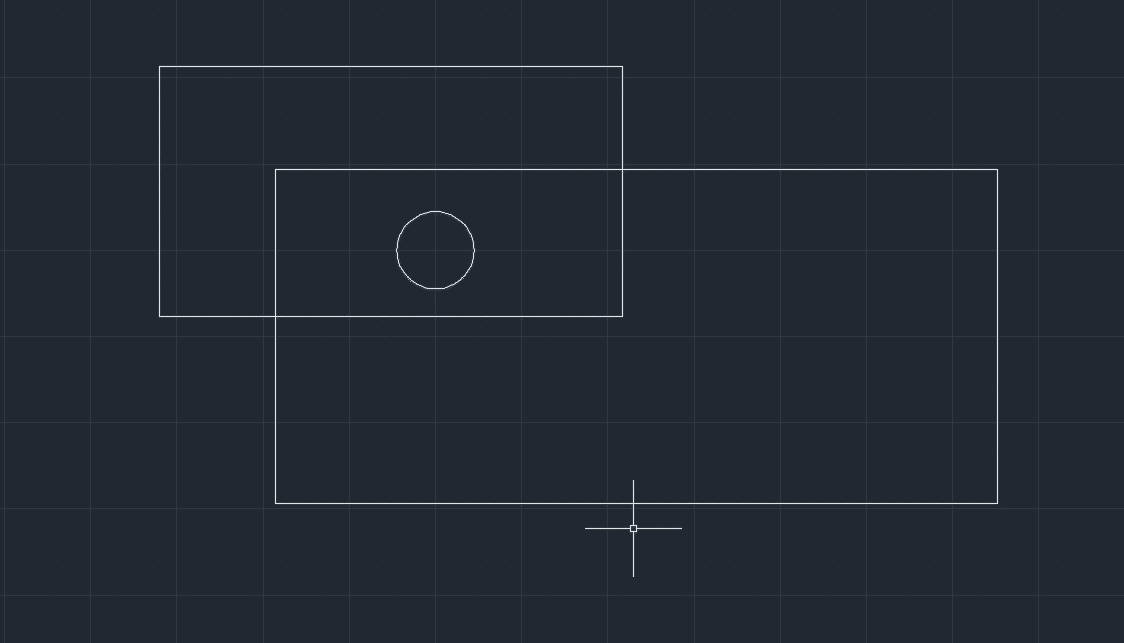
Open a new file and create your CAD draft.
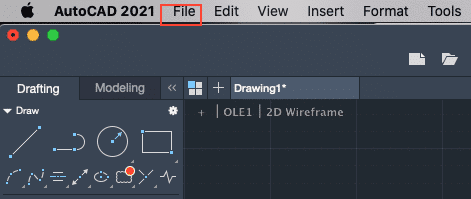
Once the draft is ready, click on the File button.
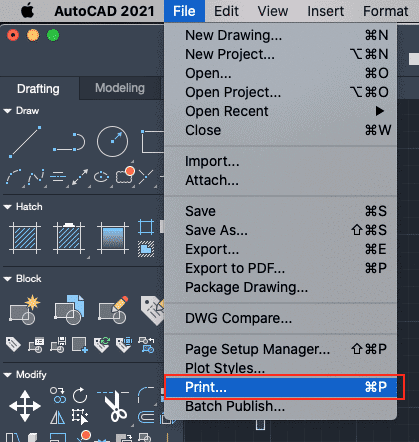
Click on the ‘Print’ option from the drop-down menu.
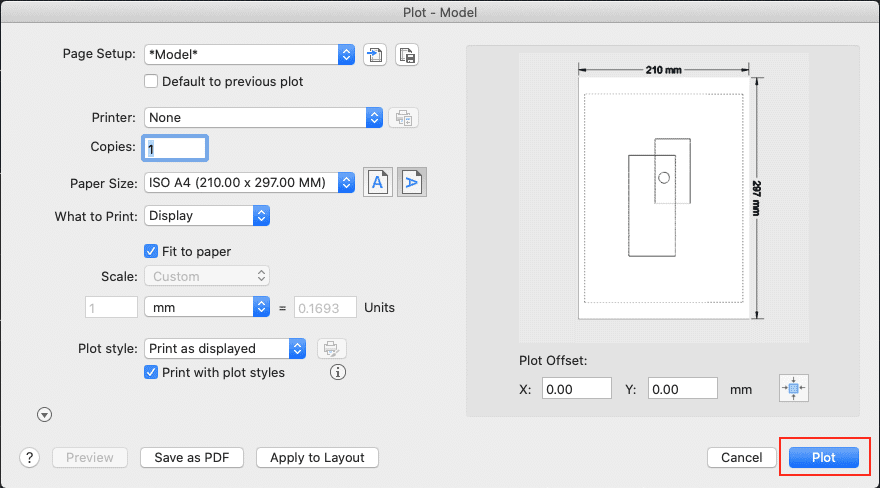
In the menu, let the Page Setup remain as the default setting.

Choose the printer that is connected to your PC from the Printer drop-down menu.

Next, make sure you select the paper size that you are inserting into the printer. This way the scaling of the file is done properly.

Set the ‘What to Print’ option to ‘Display’.

Make sure the ‘Fit to Paper’ option is checked.

Click on the ‘Plot’ button to start the printing operation.
Your CAD draft will now be printed.
