

Skype is one of the most popular instant messaging apps and finds its application in all major corporate organizations as well as personal use cases as well. However, Skype Skype uses a lot more resources on a PC than it should. If you want to keep Skype installed on your PC but just want to prevent it from opening on startup, you can disable it easily via Task Manager.
In this article, we will take a look at how you can disable Skype on your Windows 10 PC/Laptop. Let’s get started –
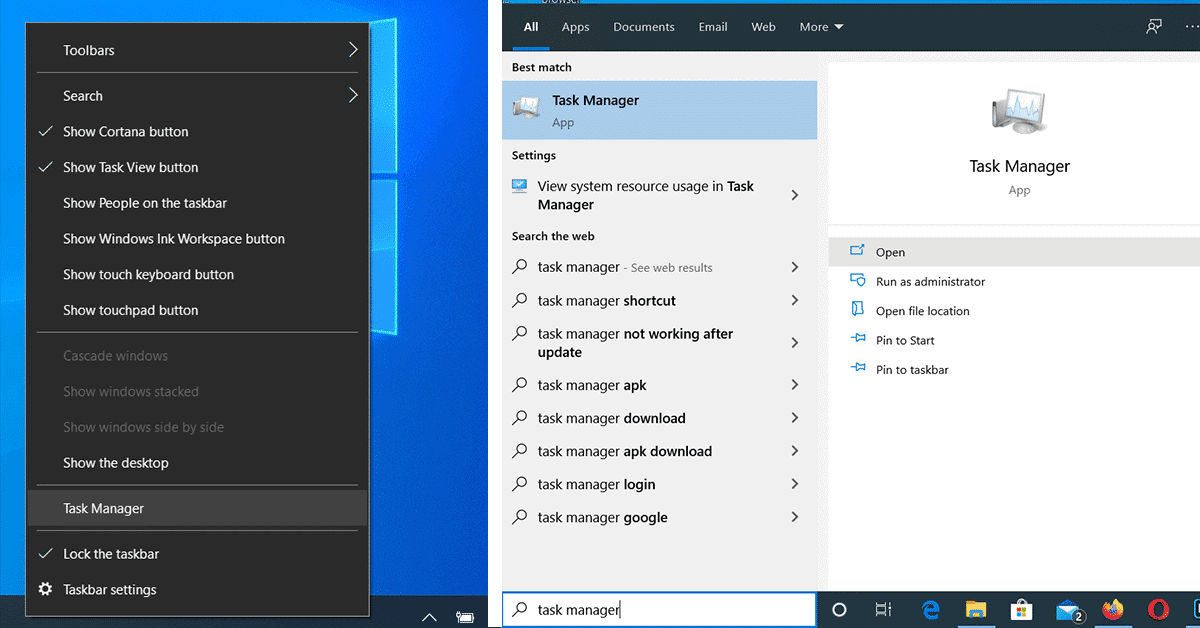
- The first step here is to open the Task Manager. To do this, you can either Right Click on the Taskbar and select the Task manager option, or you can search for the Task Manager in the Cortana Search bar. Make sure that you select the Task Manager app, if you are searching on the Cortana Search bar.

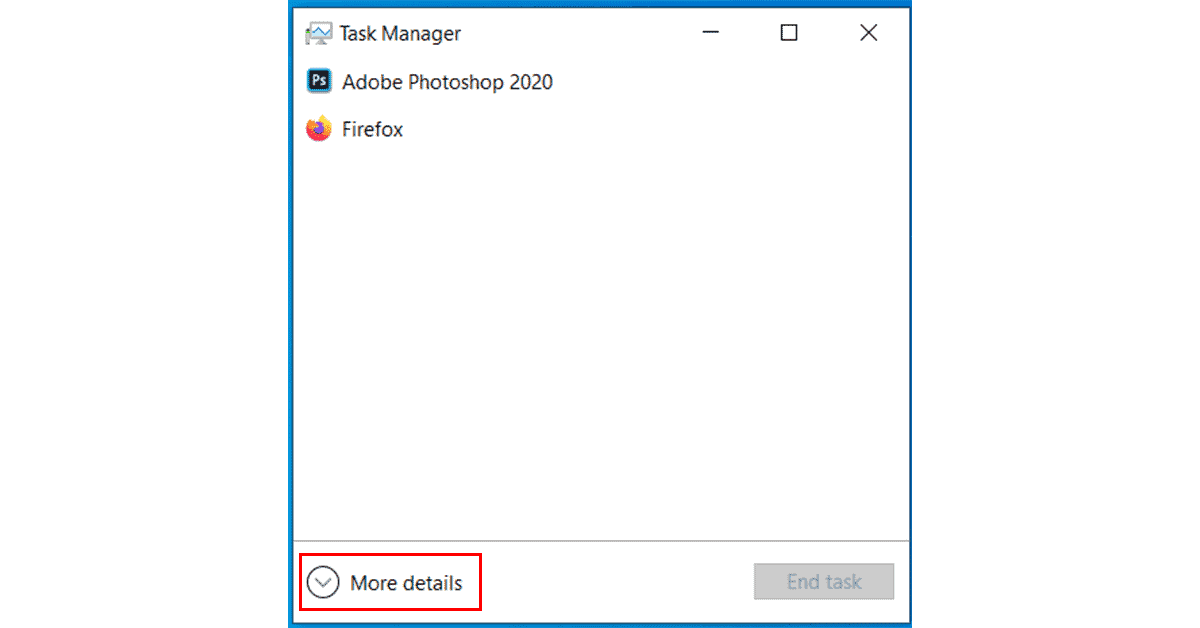
- When the task manager opens, chances are that you will not see all the tabs and options. To reveal the expanded view of the Task Manager, just click on the More details drop-down, and you will immediately see the expanded view of the Task Manager.
- Now, click on the Startup tab in the Task Manager and then scroll down till you see the Skype option. Right Click on Skype and then click on the Disable option, This will Disable Skype from Starting up automatically on boot.
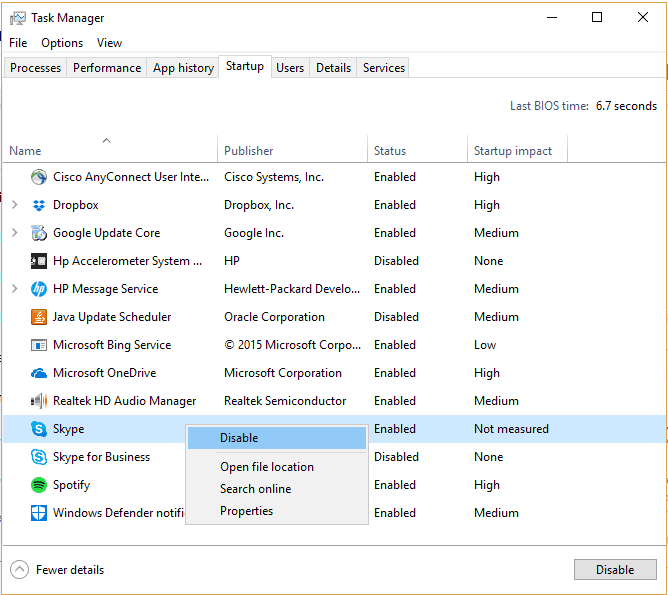
Just like that, Skype will no longer open automatically when you start up the PC/laptop. A useful tip is that when you are in the startup tab, you can also select other programs that you do not want to open automatically on startup.
The fewer programs or services that are on that startup list, the faster your PC will be.
