

Microsoft’s new Windows 11 OS has been officially announced and the enthusiasts and developers who are part of the Windows Insider program can now officially download the developer preview of the Windows 11 OS. Don’t worry, you will not lose any of your data in the process.
If you have opted for the same and are now running the all-new OS, then you will notice that the platform is that of Windows 10, but there is a major UI overhaul and performance enhancements. The customization options on this new OS are aplenty and of these is the ability to change the username of your Windows 11 PC.
Usually, the username of your Windows 10/11 PC, mimics that of your Microsoft account, but that doesn’t mean that you can’t change it. In this article, we will walk you through how you can change the username on a Windows 11 PC or Laptop.
Let’s get started –
Open the search bar on the Task Bar. This will open the search window.
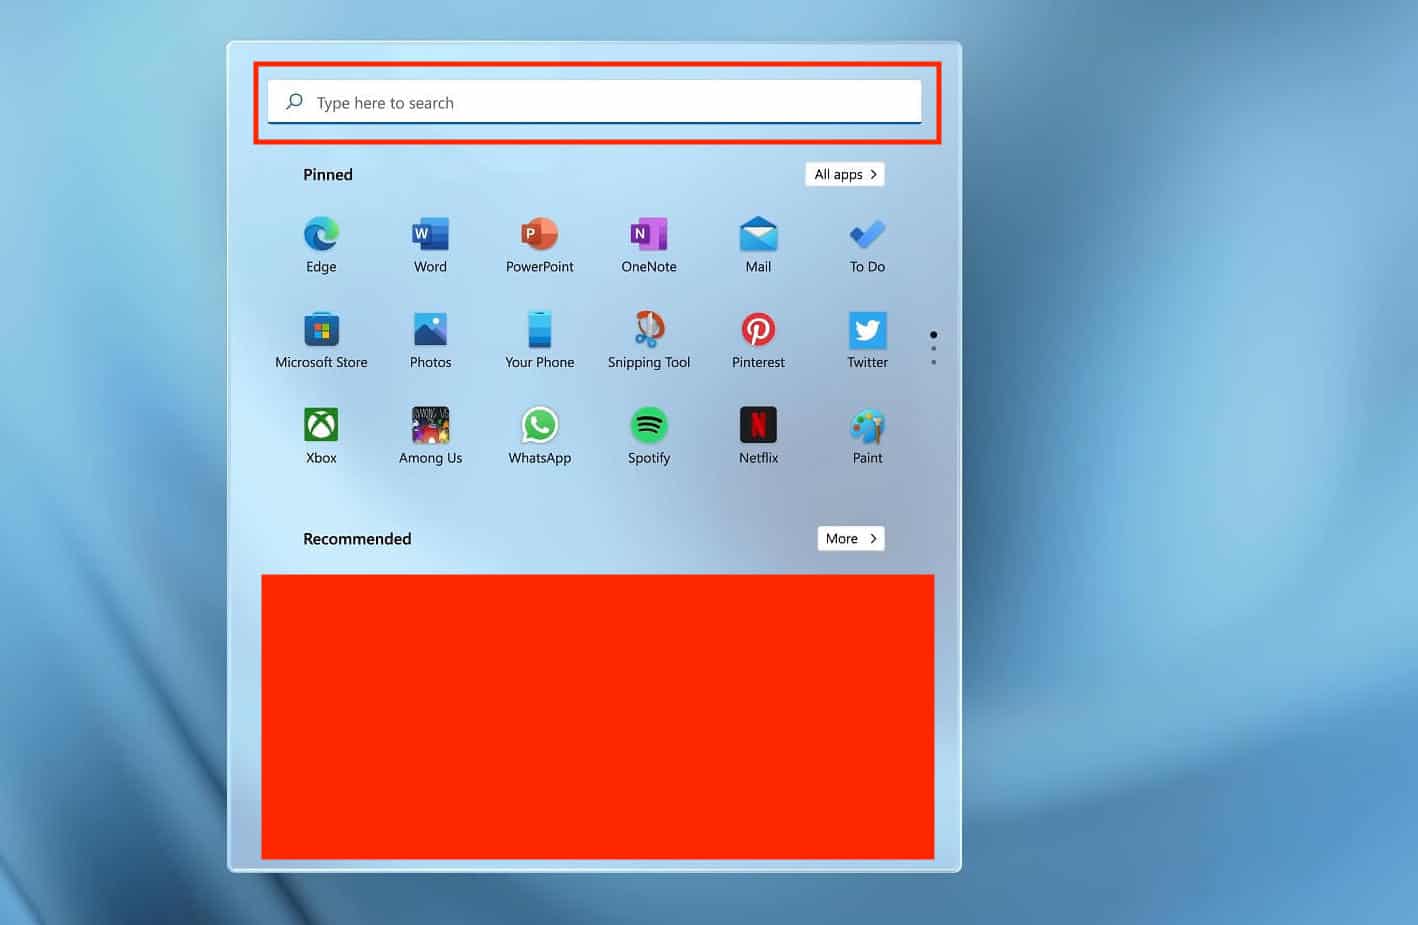
In the search bar, type in ‘Control Panel’, and then open the control panel application.
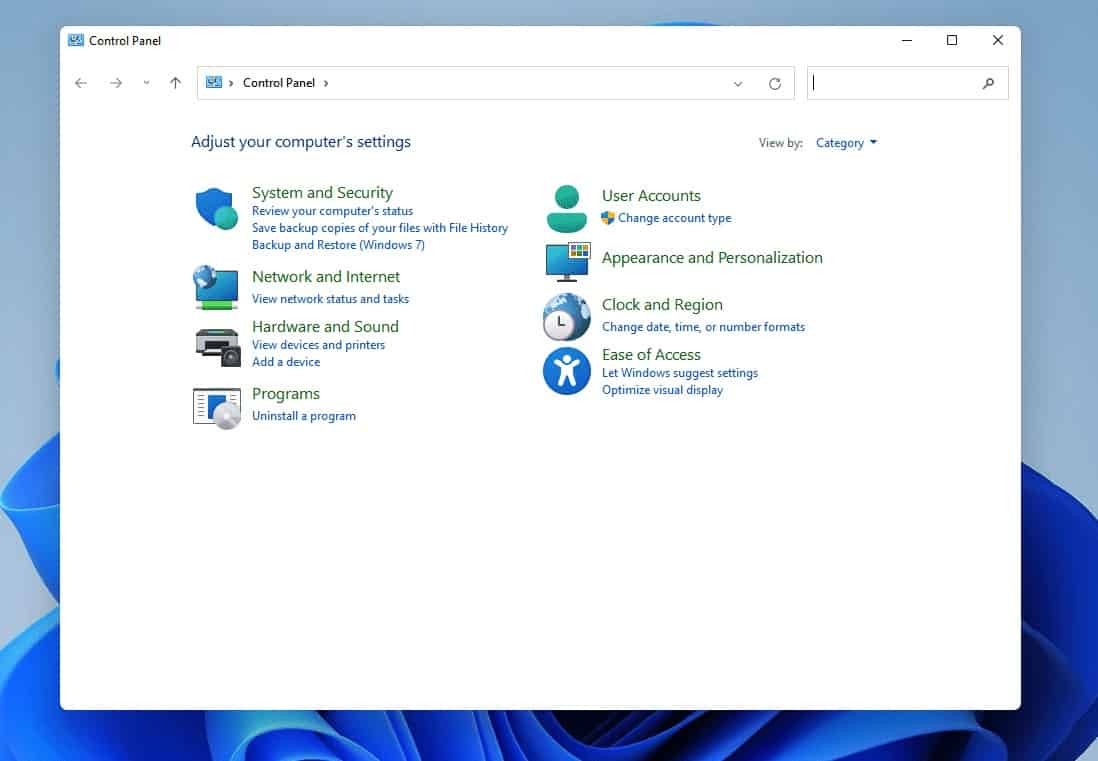
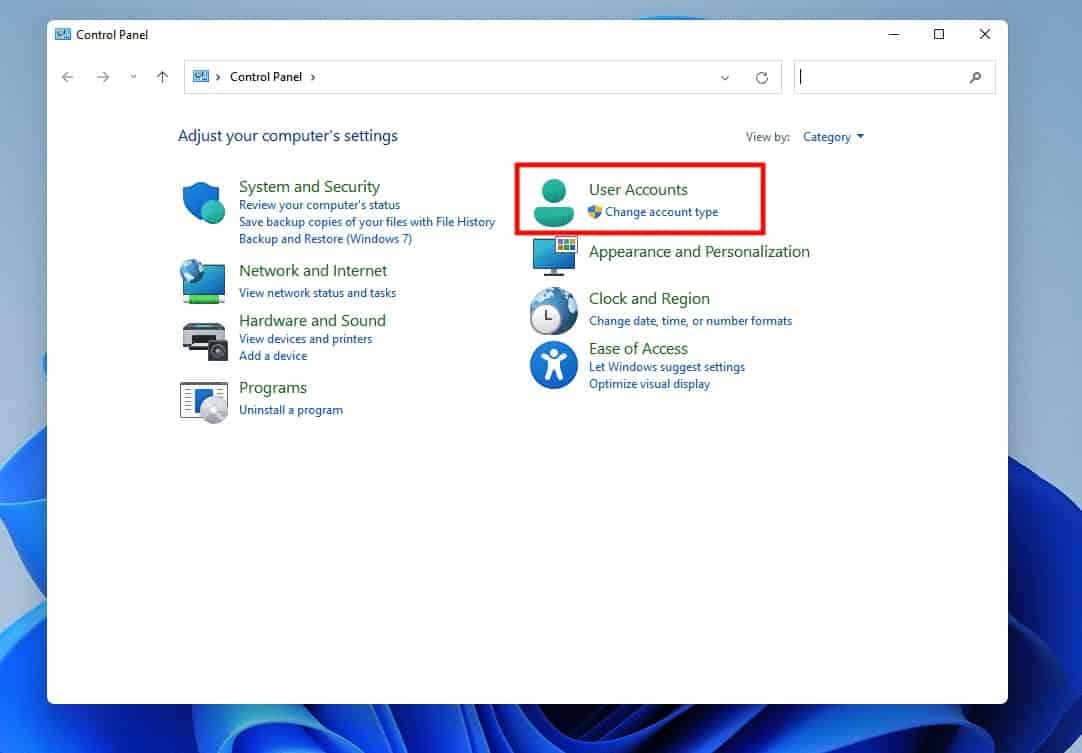
Now, in the main window, select the ‘User Accounts’ option.
Now, if you are a single user on the PC, select the user profile.
However, if you are hosting multiple accounts on the Windows 11 PC or Laptop, then select the user whose username you want to change.
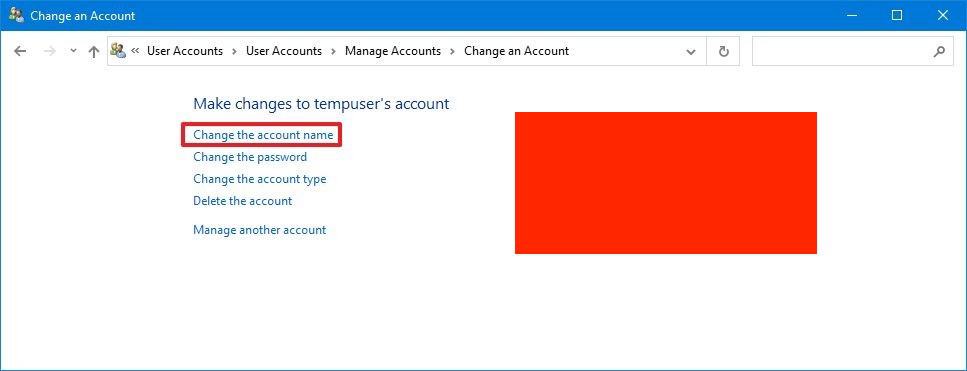
On the next window, click on the ‘Change the Account Name’ feature.
Type a new user name that you want to add and replace the old one.
Once you type, click on the ‘Change name’ button.
You can now proceed to reboot the Windows 11 PC or Laptop and then you will see that the username has been changed as per your choice. You can do this as many times as you want, so don’t worry, if you don’t like the changed username, you can either go for something new or even revert back to the old one.
If you are using a Windows 10 PC or Laptop and you want to upgrade to Windows 11 right now, click here to view our dedicated article on the same topic.
