

When it comes to desktops or laptops, one of the most important tasks for the user is to back up the system. BAcking up frequently allows you to retain the data you have been working on for days or months, and in case of a system glitch or problem, having a recent backup helps you pick up right where you left off. The Mac and Macbook devices allow you to backup your data using two methods.
- Using the Cloud service from Apple, called iCloud.
- Using the proprietary Time Machine feature.
iCloud allows you to store all the data you have on your Mac device in the cloud and once you perform a reset operation on your Mac, you can always re-download all your data from the cloud. In the beginning, iCloud offers you 15GB of storage space which sounds good, but when you have a lot of data, expanding the iCloud storage costs, which may or may not be to your taste.
Now, if you are interested in using iCloud to back up the contents of your Mac or Macbook, then stay tuned, because in this tutorial, we will show you how to backup the Mac to the iCloud.
Table of Contents
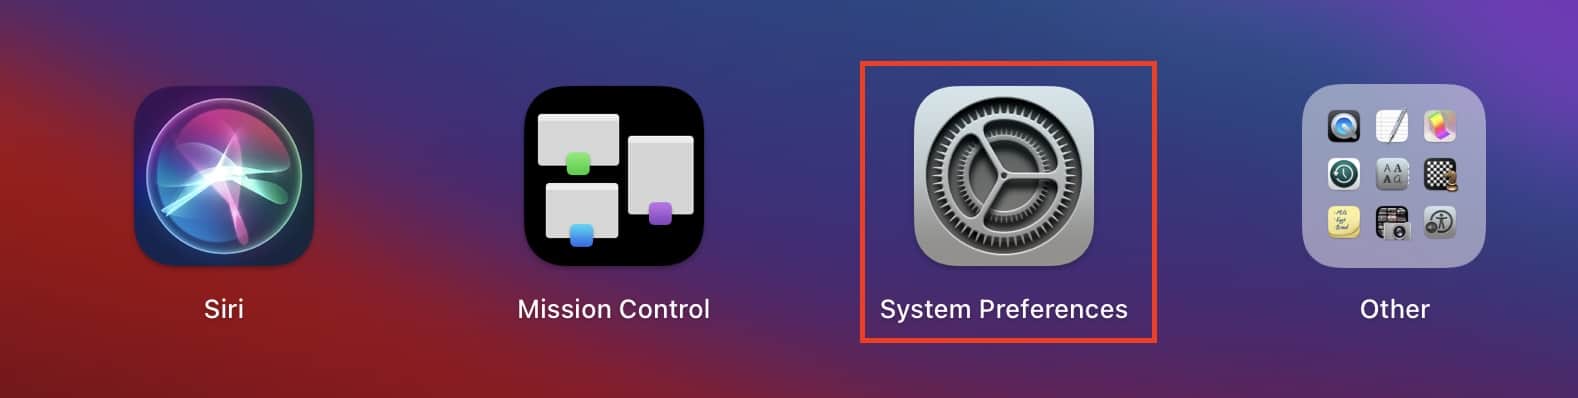
Open the System Preferences app on your Mac device.
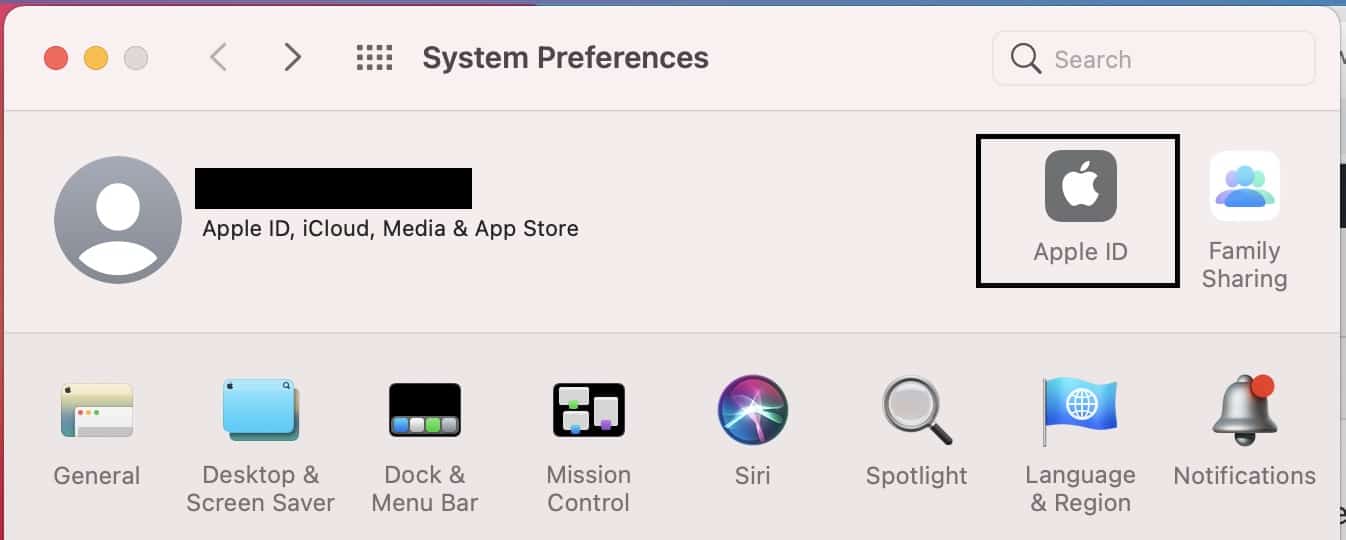
Click on the Profile icon which has your name on it.
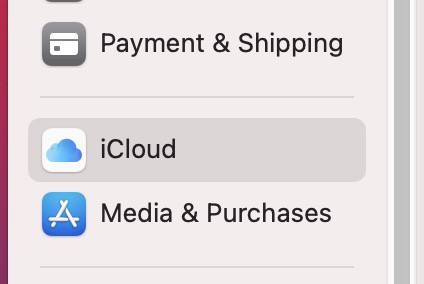
From the side menu, click on the ‘iCloud’ option.
Now, you will see a list of folders and content that you can back up to the cloud.
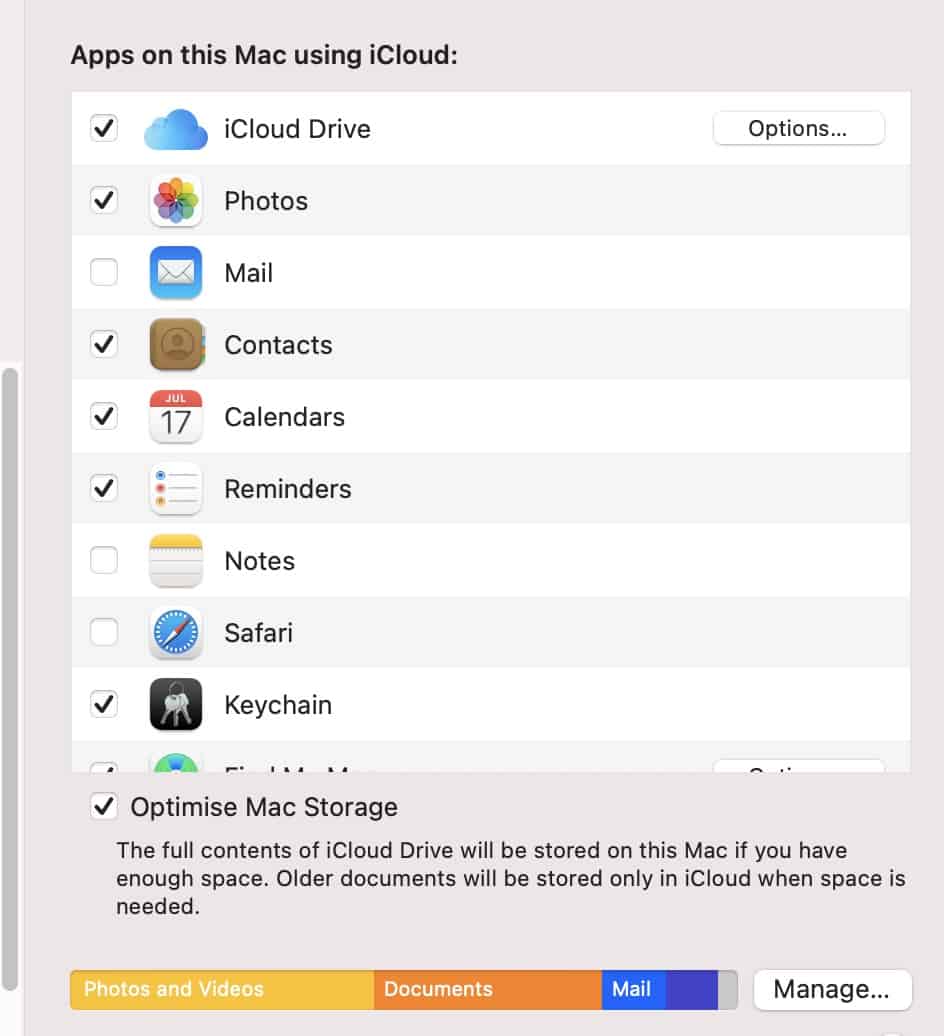
You can check the boxes next to the content that you want to back up to the cloud and once enabled, depending on the space you have on the iCloud, the files on your system will start getting back up on your iCloud account.
Now, please be advised that at the start, you have 5GB of free iCloud storage, but this quickly burns up because everything gets backed up on the cloud when you bott up the Mac. So, if you are fully committed to using iCloud, you can expand the storage by paying a monthly fee.
