
Apple has finally released their much-awaited software upgrade package with the iOS 15.4, iPadOS 15.4, and macOS Monterrey 12.3 all being distributed over the air as a free upgrade. The new package brings in a host of new features, but one feature that has been hyped for almost a year now is universal control. The feature, which is still in beta allows you to use your MacBook trackpad for your iPad and also drag and drop items from your iPad to Mac or MacBook and vice versa. Now, if you own an iPad that is running iOS 15.4 and a Mac or MacBook that is running the new macOS Monterrey 12.3 version, then you can use this tutorial, to set them up for universal control. We have tried this out when the OS was in the beta stage and now in the final release build as well and the feature seems to be working absolutely fine and it’s actually a lot of fun.
In order to get things ready for universal control, we will tackle the two sections one by one. But before that, make sure that the iPad and Mac or MacBook are signed in with the same Apple/iCloud account, and have Bluetooth enabled. The range for Universal Control maxes out at 30 feet, which is a typical Bluetooth range. Once this is verified, let’s start setting things up.
On the Mac/MacBook
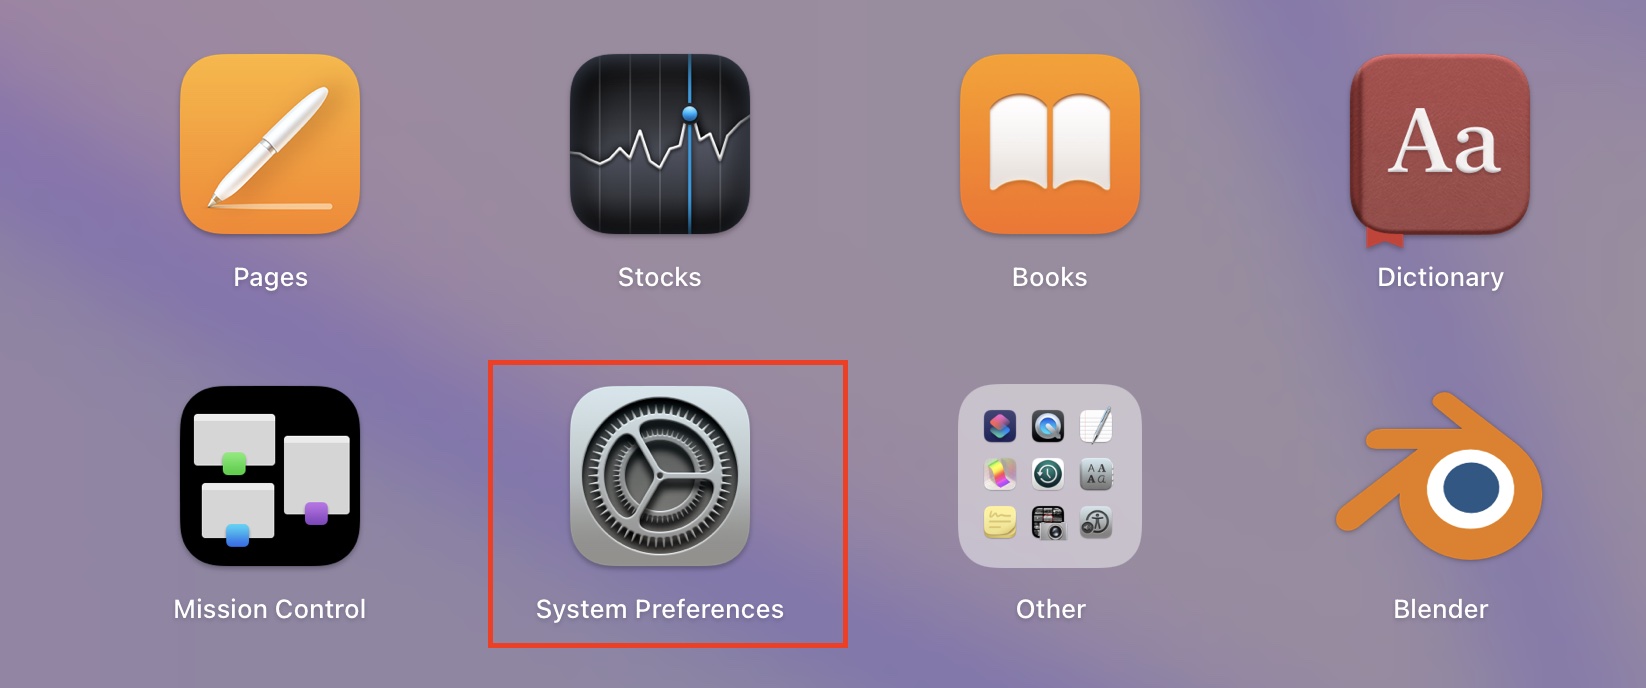
Step 1. Open the System Preferences on your Mac/MacBook.
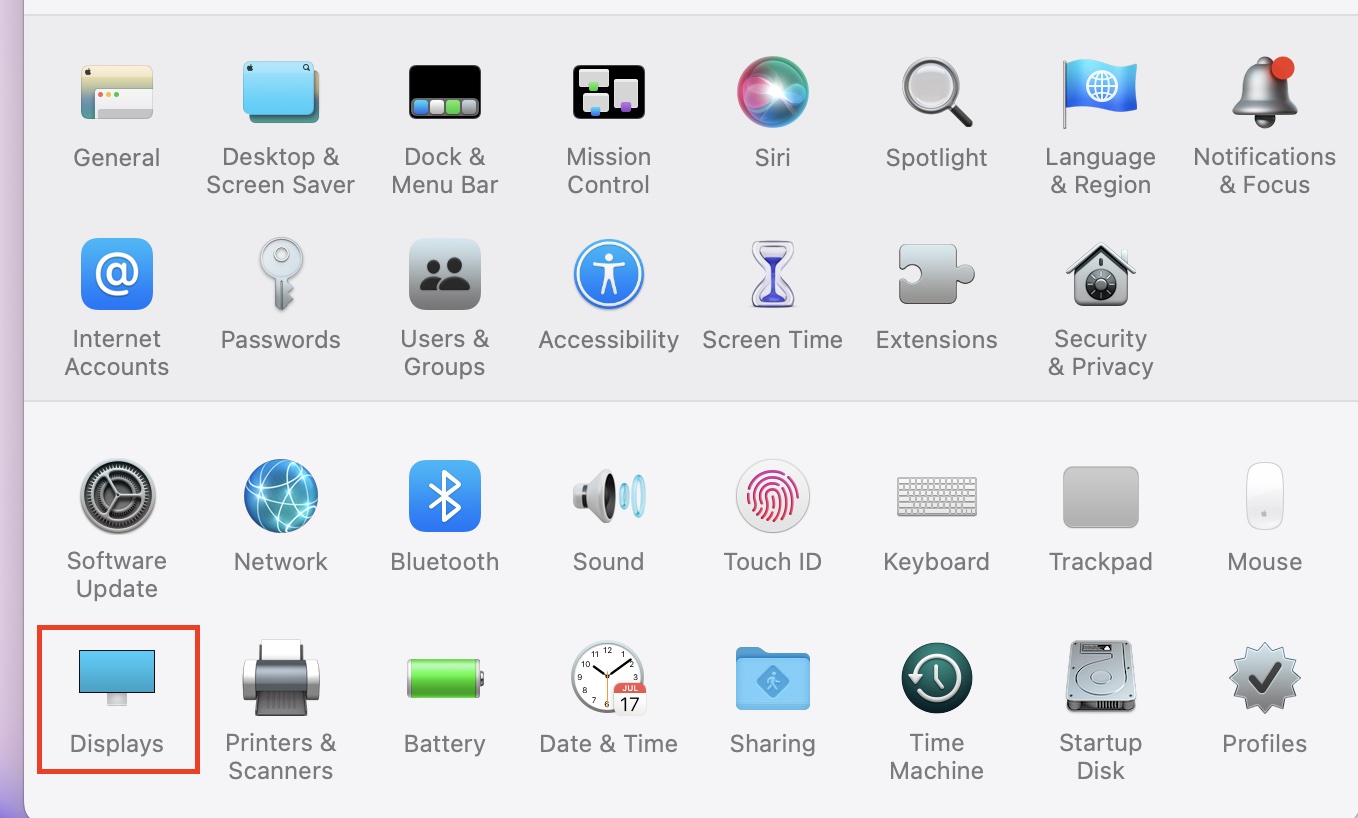
Step 2. In the settings menu, click on the ‘Displays’ option.
Step 3. In the display settings menu, click on the ‘Universal Control’ button.
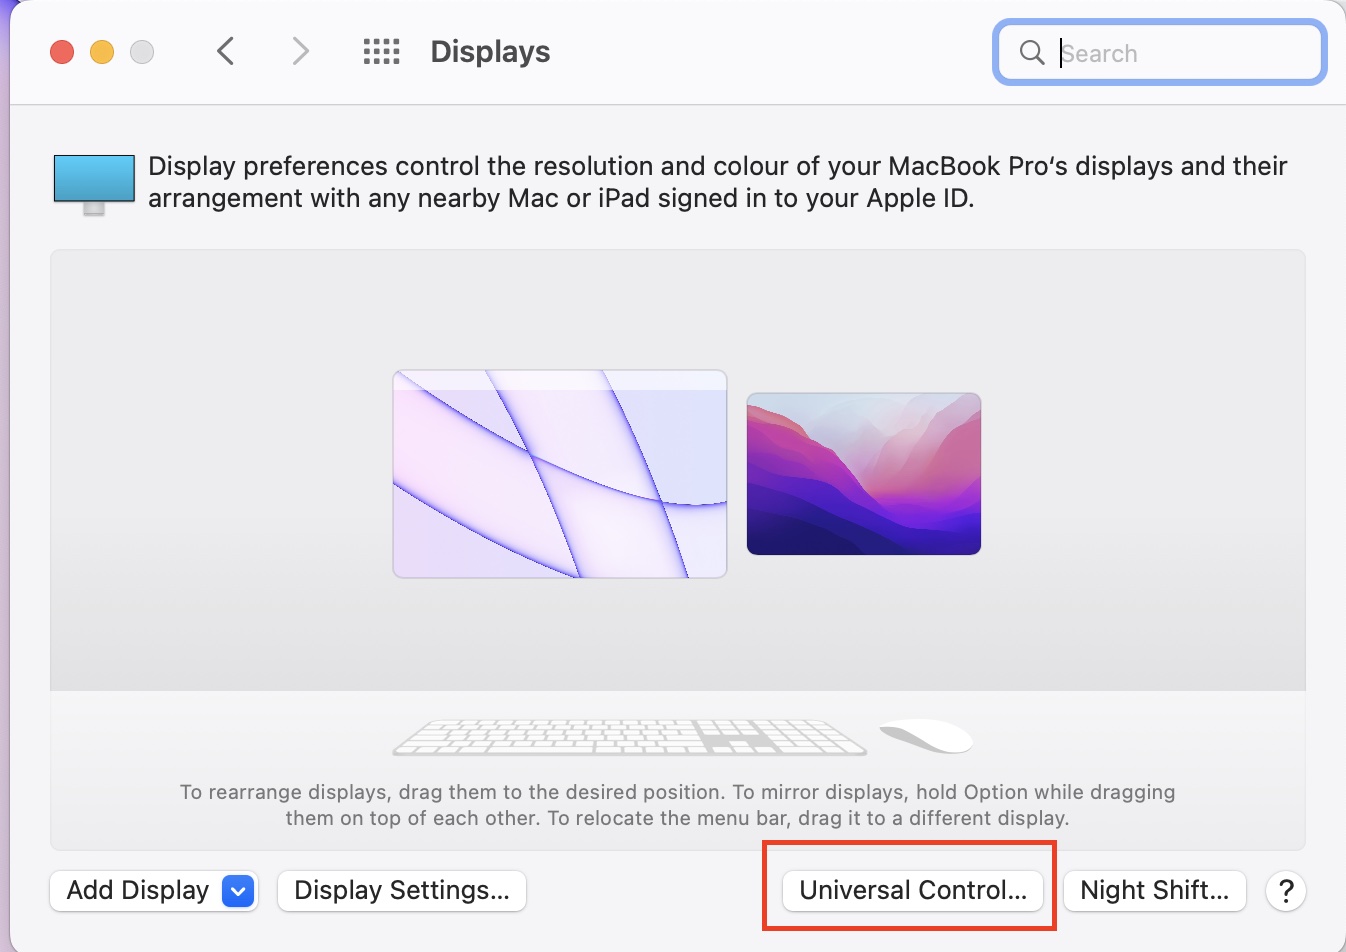
Step 4. Check the boxes in order to enable all the settings.
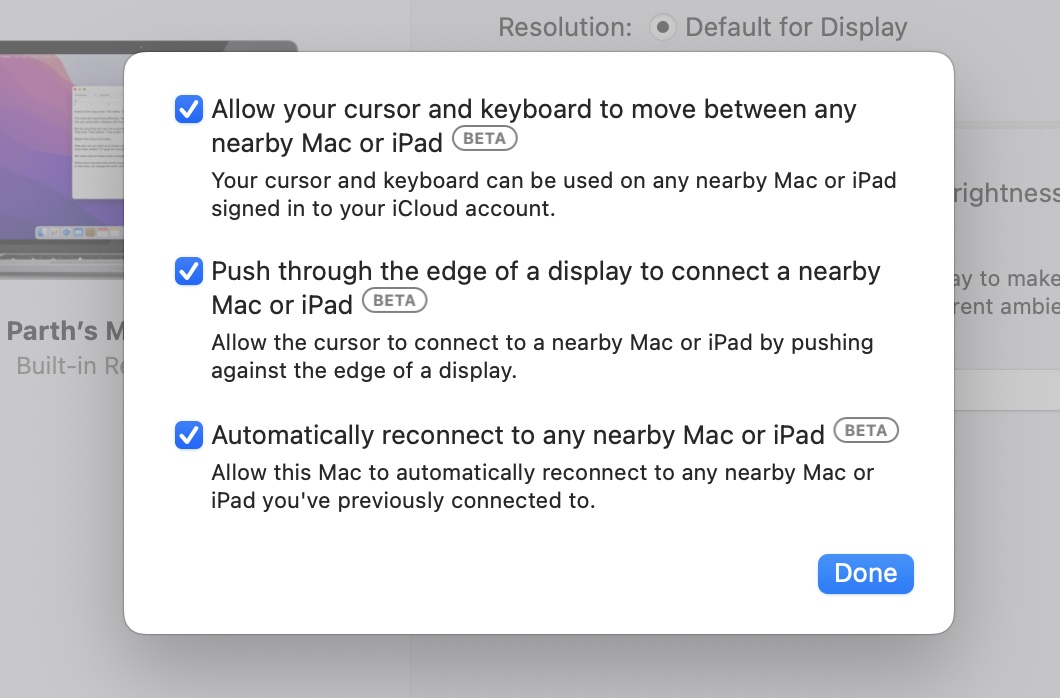
This will officially enable Universal Control on your Mac. Now, let’s move to the iPad.
On the iPad
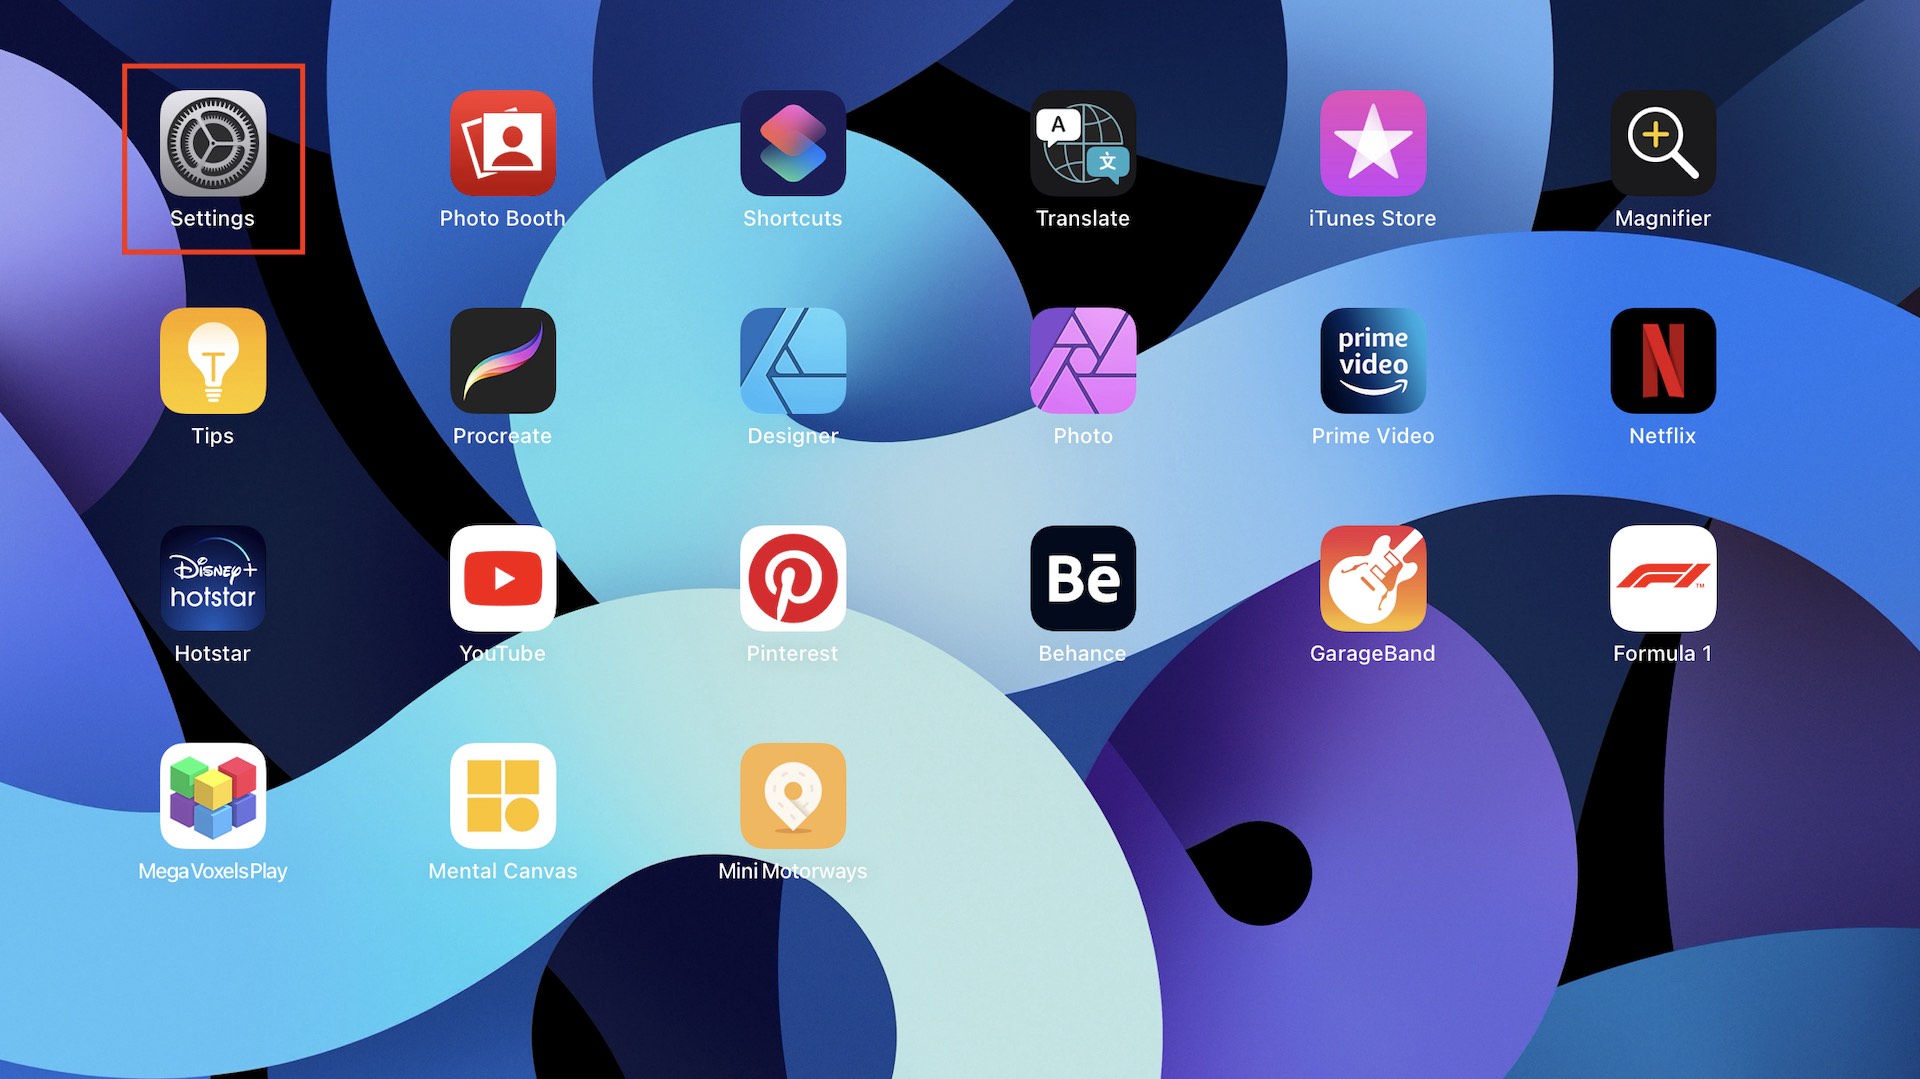
Step 1. Open the Settings app on your iPad.
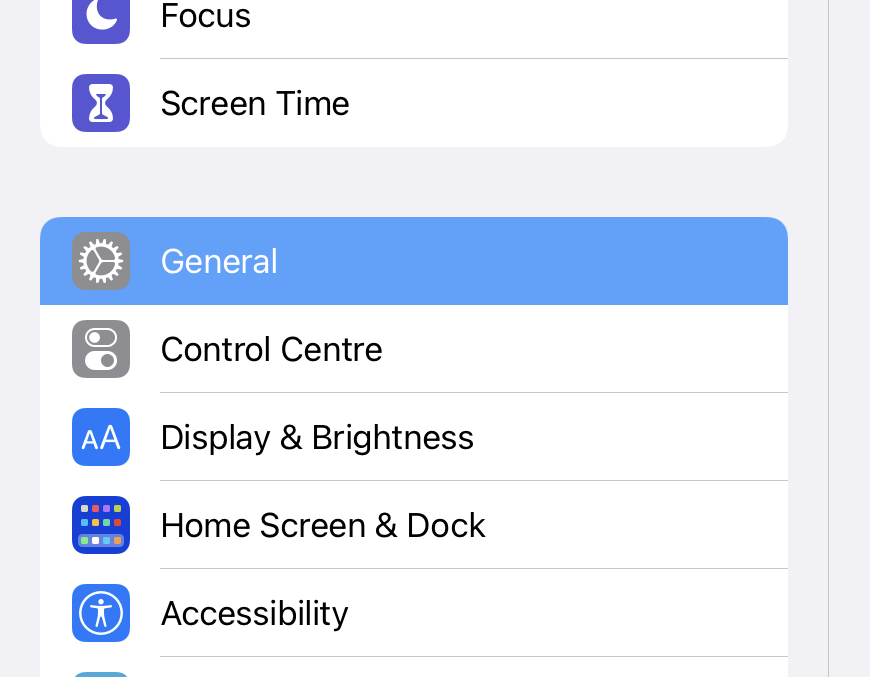
Step 2. In the settings menu, click on the ‘General’ option.
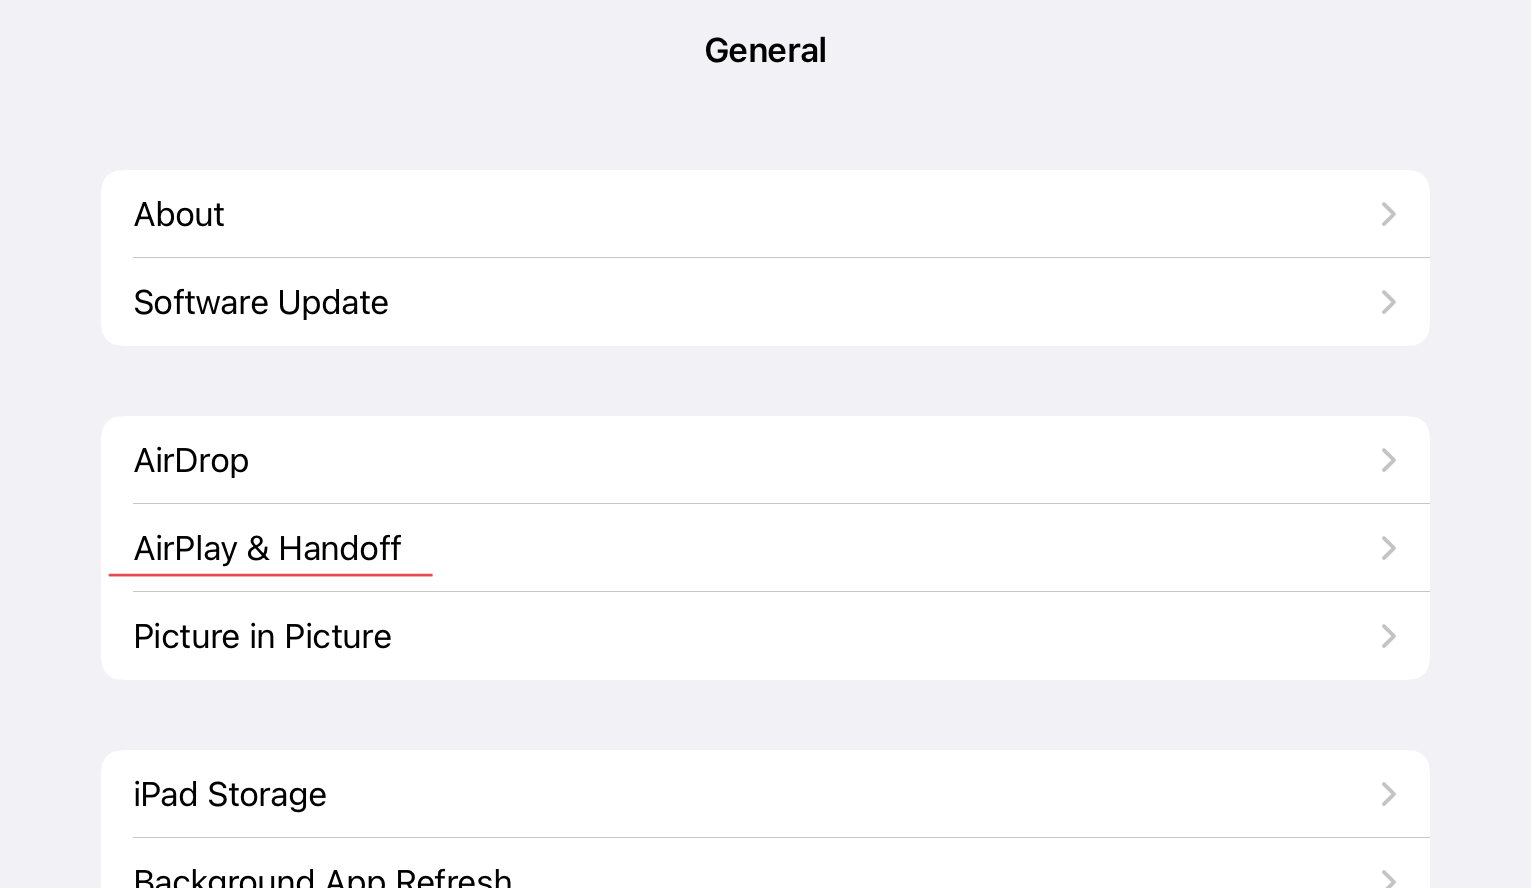
Step 3. Next, tap on the ‘Airplay and Handoff’ option.
Step 4. Toggle ON the ‘Cursor and Keyboard’ option.
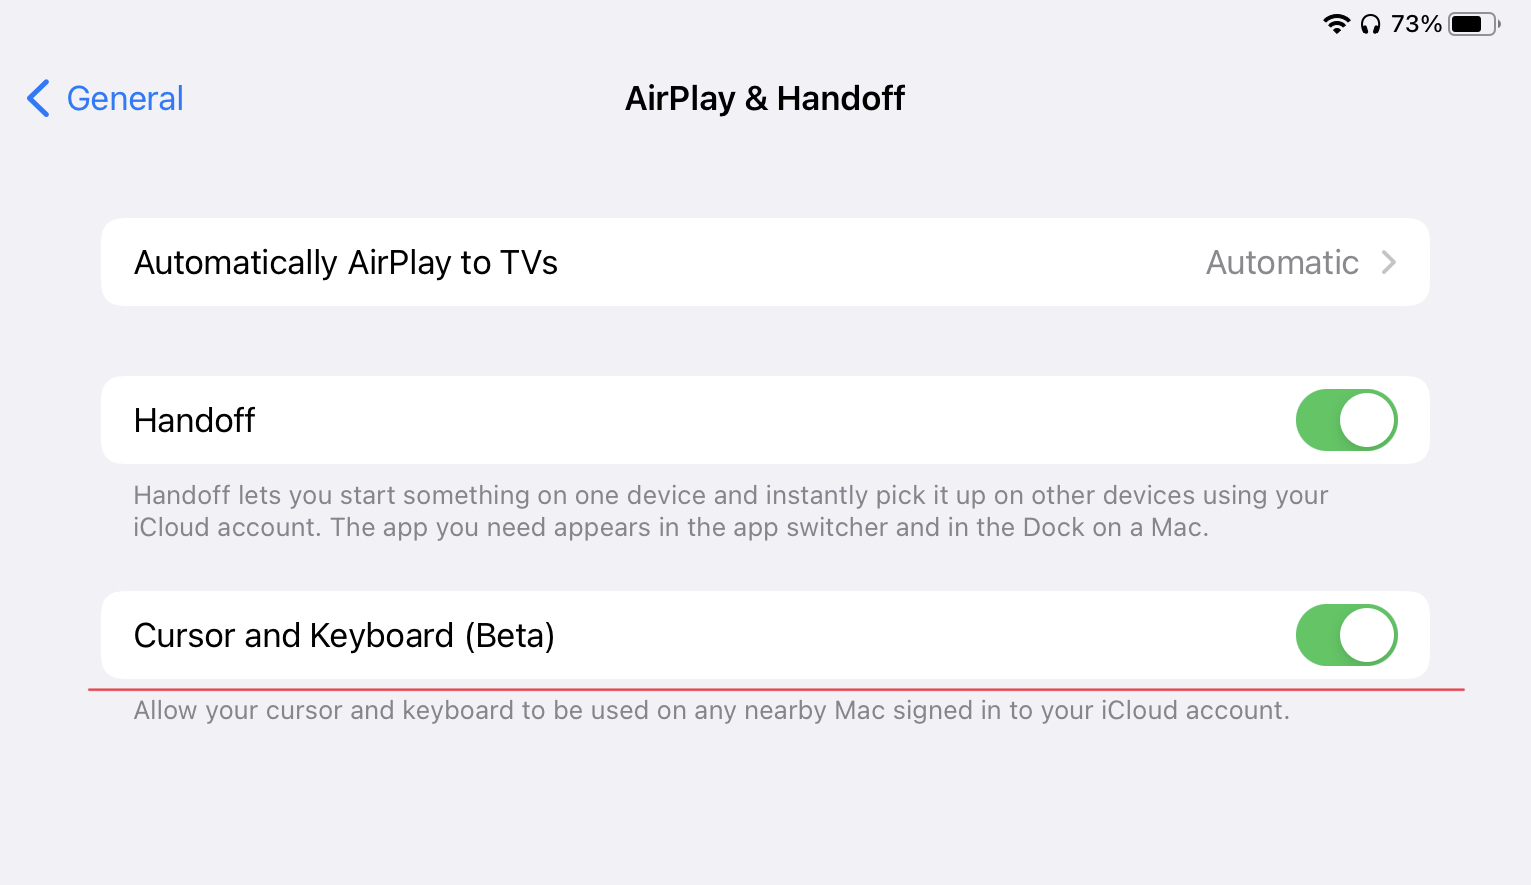
Once you do this, you are all set to use Universal Control across the two devices. Make sure you place the iPad and MacBook next to each other and within 30 feet of each other. Using the trackpad on your MacBook, move the cursor to the edge of the screen that is closest to the iPad and when you push further towards the iPad, you will see that the cursor will migrate to the iPad and you can now interact with apps and photos on your iPad using the trackpad on your MacBook. This is just one of the uses of Universal Control and we would love to hear your experiences with this new feature in the comments below.
